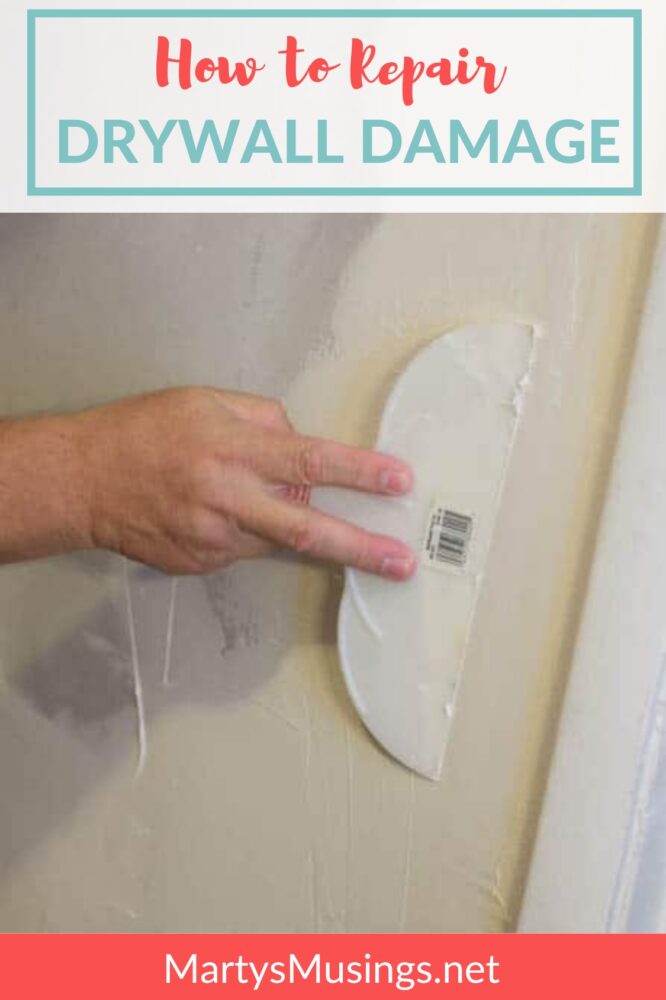
How to Repair Drywall Damage
This post may contain affiliate links which won't change your price but will share some commission. Read more here.Instructions on how to repair drywall damage, a must read for fixing holes, gaps and other imperfections in your walls!

One of the basic improvements many homeowners need to make is patching and repairing sheetrocking.
When my ex-husband and I moved into our ranch home in 1990 there was an original exterior window in our kitchen. The entire house was in terrible shape and we had no idea what we had gotten ourselves into. During our years of marriage and raising kids there were definitely a lot of projects and repairs done!

Here’s our first after picture. Yes, it was during my country blue phase. Isn’t it just the cutest?

Travel forward 20+ years and you have the same opening has had a sheet of plywood added and painted to separate the den from the kitchen with shelves added for decorative purposes. Yes, I was slightly tea pot obsessed but I am now recovering.

Often homeowners believe they have to hire a professional to do home improvement repairs like this one but you can use a drywall patch kit or order the products I’ve suggested below. It may also depend on your confidence level and the size of the job.
Our project was more than small dents in the drywall or a repair you can use a self-adhesive mesh patch or mesh tape on. Take these tips and apply them to YOUR own DIY project!
Materials you’ll need


Instructions
Step 1: Remove obstacles and clean opening if necessary.
For this project, the first step was to remove all obstacles that would get in the way of framing the opening to receive sheetrock. The shelves were removed and the opening cleaned . The sill and casing are already gone.

Step 2: Nail 1″x 3″ strips around inside perimeter.
Nail 1″ x 3″ strips all around the inside perimeter that the sheetrock will be nailed or screwed into. These strips were backed off the opening the exact thickness of the sheetrock so that we have as even a transition as possible, even at this point.

Step 3: Cut and piece the new section of drywall into the opening.
Because this was originally an exterior window (the room on the other side was added on), it was framed as such. You can see that, on the right side, we actually had a gap to deal with, but that was not an issue.


The sheetrock was screwed into those 1″ x 3″‘s which is a better idea than banging nails and taking the chance of knocking that framing out of place.
Tips for fixing damaged drywall:
- it’s critical to “set-up” the opening with as little transitional difference at the seams as possible. The bigger the difference now, the greater difficulty in getting a nice, smooth wall later.
- For a simple crack repair, you just scrape across the crack with a painter’s tool or putty knife to remove the high spots.
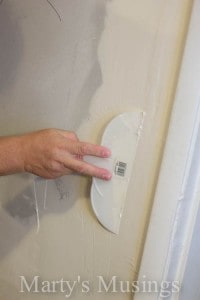
- When spackling, on any occasion, use TWO knives. The smaller one, a 2″ blade, will ONLY be used to scoop the goop out of the container so it never touches the wall.
- Start out small when sparkling and do NOT worry about perfection! The first run will be just enough to cover the seams/cracks. You will most likely only end up with a 2″ wide patch right now and that’s just what you want.
- Use “wet sanding” to avoid cleaning every room in the house because of a coating of sheetrock dust.
Step 4: Apply necessary coats of spackle and let dry completely.
Spackling is a multi-step process which is true for this or any other spackling job you do.
Let it dry completely after the first layer of spackle. Yes, you can cheat with a hair dryer if you must but NO HEAT GUN and it has to be dry before moving on.
For the final step for smaller cracks and medium holes, you want to make it as smooth as possible. Still not perfect here, but the better spackling job you do the easier sanding you will have in just a bit.
You can see in the picture that this is still not smooth – we actually did four coats.

Step 5: Wet sanding.
The answer is called “wet sanding.” Use a large sanding sponge that wallpaper hangers typically use, keep it almost wrung-out (you want the water to do the work, not your elbow), and go for smooth! This also avoids the necessity of wearing a dust mask or goggles when sanding.
Can you see how wide our spackle path ended up? It is over 6″ wide total, which makes it MUCH easier to achieve perfection here.
Wipe over and over gently until you can neither see nor feel bumps or valleys. If you find that too much spackle is coming off, back off the water content in the sponge and try again.

If you still have some trouble spots, re-spackle those and start again. You’ll get the hang of wet sanding pretty quickly! You will LOVE that it is totally dust-free!

The bigger blade, and we usually use a metal 4″ (not the plastic 6″ in the picture), applies the spackle. It never goes in the container.
This is the perfect way to keep the trash and clumps that you might pull off the wall from getting into your nice, clean drywall mud. Scoop mud with the smaller, scrape it on the bigger blade, and apply to the wall. Anything ugly on the big blade gets removed with a paper towel.

Remember that gap we pointed out earlier? We needed to address it again with the wide blade since we weren’t totally happy with the result.
I was glad to have that door casing to the right as a good stopping point! Take advantage of that if at all possible.
Step 6: Apply primer and paint.
Prime with a coat of white latex primer to seal all that repair work. Killz Odorless is our choice but it’s really not odorless! This product floats on well and dries quite fast, but it SPLATTERS like crazy.
You must protect the floor before using this, or any, primer. Latex gloves are necessary as well.
Be aware that this particular product also leaves a very heavy “footprint” on the wall – that crazy orange-peel texture. If it dries with an unpleasant texture for you, regular sandpaper is necessary, or even a palm sander. It is unique to this Killz product.

Two finish coats to match your existing walls and the window (or crack) is gone!
Step 7. For smaller jobs like patching a small nail hole take advantage of products available today to make this process easier.
Obviously it’s not necessary to buy a new piece of drywall for a patch and repair job. You can use drywall tape or joint compound if it’s appplicable to your job.
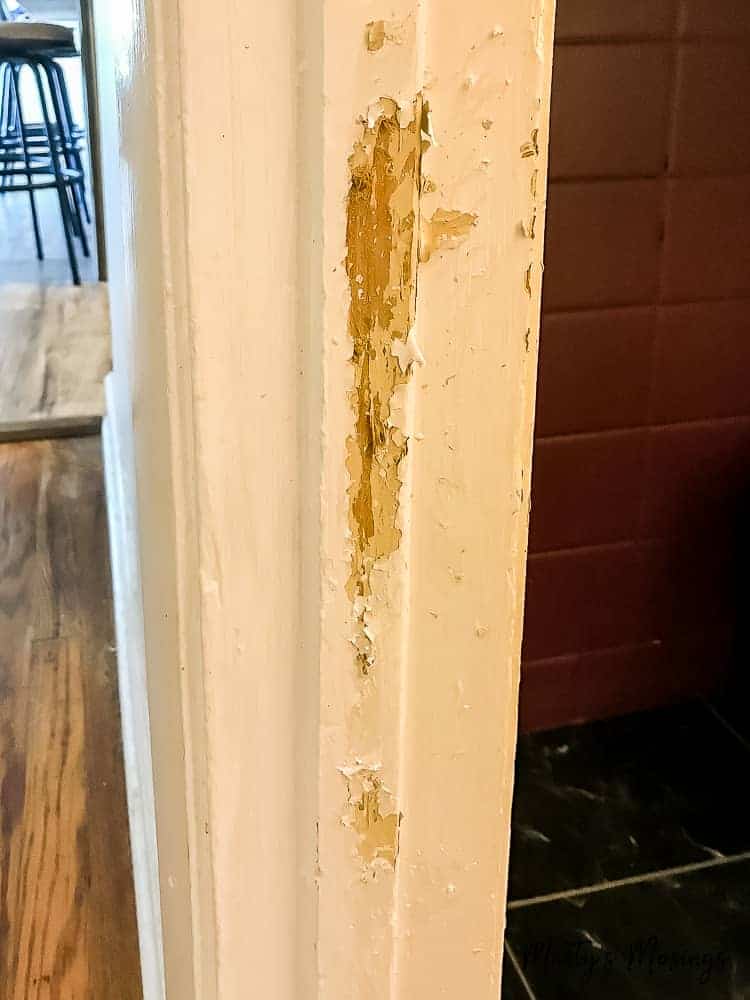
Below you can see we also had pet damage as well to both a wall and door frame.
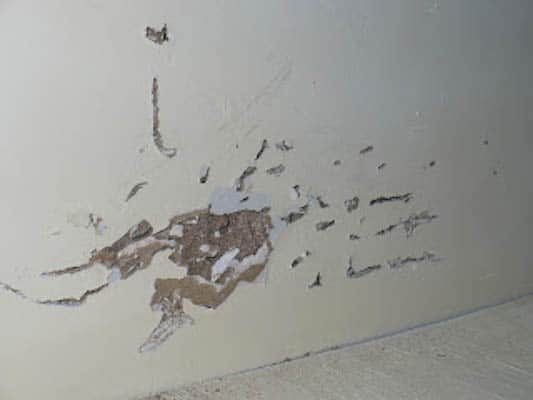
One Fourth of July we left our dogs inside for the entire day and their anxiety went to work when the fireworks started. It IS possible to do smaller repairs yourself!
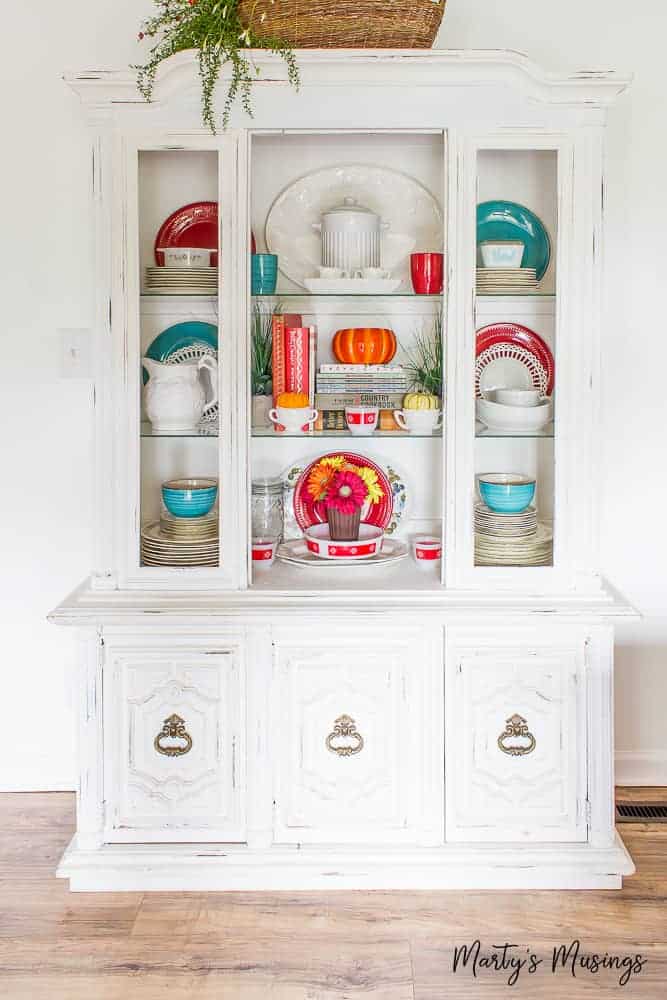
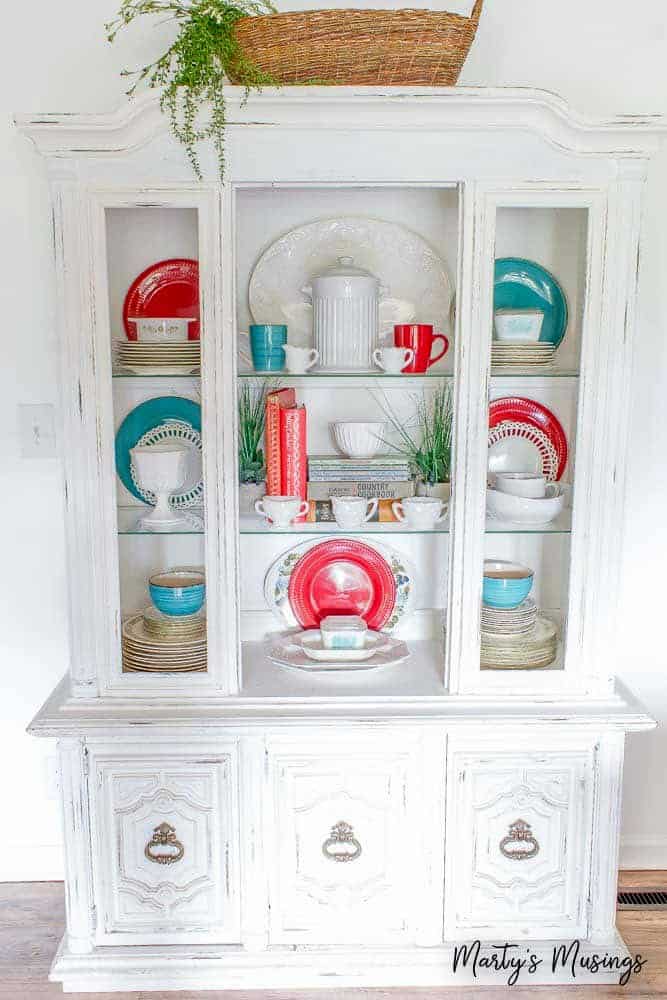
Eventually we landed on this look after we gutted our kitchen (read about how to remodel a ranch style kitchen). The repair is behind the hutch and I love that we settled on white walls after the remodel.
FAQs about Drywall Repair
More Painting Tips
Practical painting tips for the home that anyone can use, including chalk painting, accent walls and choosing the right colors.

How to Repair Drywall Damage
Ingredients
- 1 tub Spackling paste
- 1 Utility knife
- 1 can KILZ interior primer
- 1 Wallpaper removal sponge
- 1 Drywall screws
- 1 Latex gloves
- 1 Drywall repair kit (optional)
Instructions
- Remove obstacles and clean opening if necessary.
- Nail 1″x 3″ strips around inside perimeter.
- Cut and piece the new section of drywall into the opening.
- Apply necessary coats of spackle and let dry completely.
- Wet sanding.
- Apply primer and paint.
- For smaller jobs like patching a small nail hole take advantage of products available today to make this process easier.
It’s good to know more about fixing drywall. The steps you have here don’t sound too difficult, like cutting the sheet rock into the right shape and things. However, I don’t dare try and remodel our kitchen, so I’d rather hire a professional for all of this!
Its a amazing information Thank you for posting.. It’s really helpful post!
What a wonderful team you are !!! My hubby and I are inspired by you two. Great work on the house. Great tips too.
Thanks, Sheila. That’s so sweet! Our home is definitely a work in process…..going on 23 years!
Wow – nice to know there are still some people who are craftsmen. Really helpful post!
Thanks, Ellen, for visiting Marty’s Musings and our china hutch project. My husband has a great eye for details, doesn’t he?
Marty
Thanks, Ellen, for visiting Marty’s Musings and our wall repair post. My husband is quite the DIY’er and I’ll pass on your compliment!
Marty
Way to go Tim!!!!!! I have to show this post to my hubby!!!
Thanks so much for sharing this at The DIY Dreamer… From Dream To Reality!!
Great job!