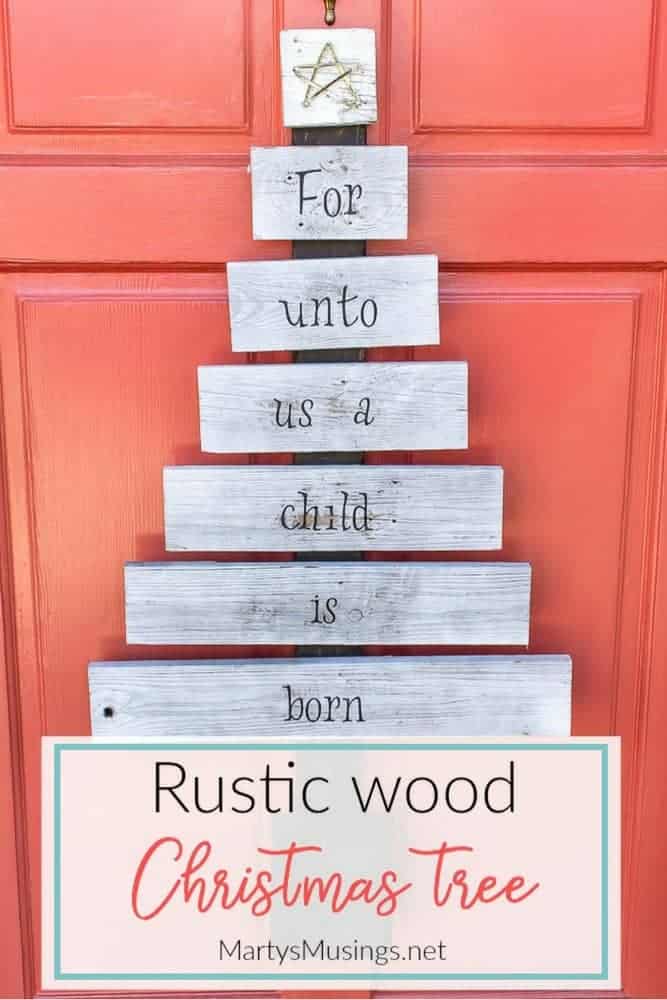
Scrap Wood Christmas Tree
This post may contain affiliate links which won't change your price but will share some commission. Read more here.Want unique repurposed holiday decor you can make yourself? This creative scrap wood Christmas tree is made from old fence boards and vinyl letters.
I love decorating for Christmas, but I don’t want my home to look like everyone else’s!
Inspiration for my projects can come most anywhere, but my husband and I both enjoy finding ways to repurpose old wood into something new and beautiful.
From Tim: This scrap wood Christmas tree was a fantastically simple project (inspired by this sign)!
My bride asked, “Can you make me this Chr…” and it was done. Well, maybe not THAT fast, but it did clock in at around 8 minutes – total!
I did it on my Super Pinterest Saturday, where I completed a handful of Pinterest projects in one day.
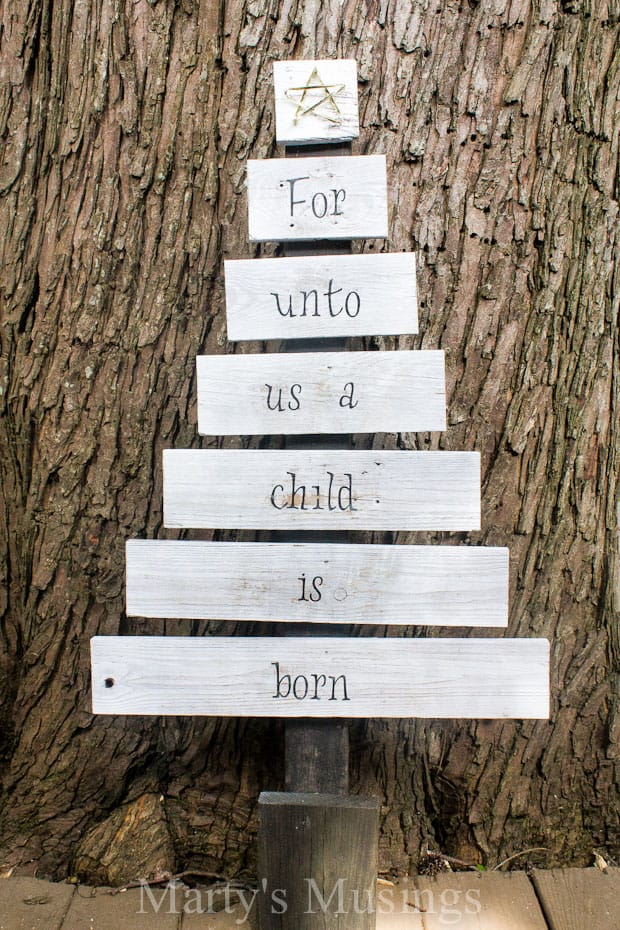
Every bit of it was pulled from my scrap wood re-purposing pile; the trunk of the tree was part of an old bookshelf and was already a dark stain, the “branches” were my favorite re-purposed fence slat wood, and the “stand” was just a chunk of 2″ x 6″.
Scrap Wood Christmas Tree
(I’ve included some affiliate links for your convenience. Click here to read my full disclosure policy.)
Materials:
Scrap wood or fence boards
Zinsser 1-2-3 Spray Primer
Black Spray Paint
Cricut diecutting machine
Lyrical Letters font
Black glossy vinyl
Step 1. Choose wood
Honestly, I don’t throw anything into the fire pit anymore! The picture shows a rough set-up of the tree for approval…and a picture, of course. Man, the photographer slows me down sometimes!

While I liked the rough, unfinished look of the wood, I wanted a bit more uniformity to accommodate the vinyl lettering to happen later.
Step 2. Spray lightly with aerosol primer
All I did was lay out the “branches” and dust them with a light aerosol primer (just happened to have some Zinser 1-2-3 oil-based primer). No need to do the back, but I did hit all the edges and ends.

See! That light spray gave a nice look, while still showing the grain and imperfection of the lumber.
Step 3. Attach to center board
I didn’t want perfection, so I fought my need to measure the center of each board and adjust the spacing between each one and achieve maximum symmetry…bah! I just banged each piece in with two finish nails and let them lay where they wanted to go.
Step 4. Spray paint “stand”
I did give the “stand” a good coat of black spray paint, but just because I had it in the shop. Gotta love my design philosophy.

My work here was now done! I turned it over to the photographer my wife who labored over the vinyl lettering.
I also drove five nails in the top piece for her to make a beautiful ribbon star, but she will probably insert her own words at this point.

Again, you wouldn’t believe how easy and fast this little piece was, and it is such a nice, new addition to our Christmas explosion decorations.
From Marty: Yes, my husband can make most anything. He may not completely follow the directions, but he’s good at winging it (much like with his acting skills!)
This particular Saturday he was a man possessed and finished projects faster than I could take and edit pictures, write and post the project!
The hardest part of this project was the lettering.
Step 5. Use a die cutting machine to cut out vinyl letters
I hooked up my trusty Cricut diecutting machine and practiced cutting the letters on cardstock.
I decided on the Lyrical Letters font and set the size to 2 inches. Every time I do a vinyl project I have to go back and watch this video to help me!
(The new Circuit machines don’t use individual fonts that you buy but I’m still using my oldie but goodie machine!)
Even with that I still messed up the letters the first time.
After I cut out the black vinyl it was time to press the letters to the wood. Easier said than done.
The vinyl did not stick well at first and there was a learning curve in figuring out the right pressure to get the letters to stick without ripping them.
Step 6. Attach to wood and distress letters with sandpaper
I had to do a couple of letters over and once I got through the first couple of words I started to get the hang of it. I distressed the letters with sandpaper to give a more vintage feel to the wood.
Several friends that have been to our home thought the letters were routed out of the wood. Score one for realism!

We had this ornament hanging on our real tree and thought it would have special meaning hanging on this project. Without Christ there is no “Christ”mas.

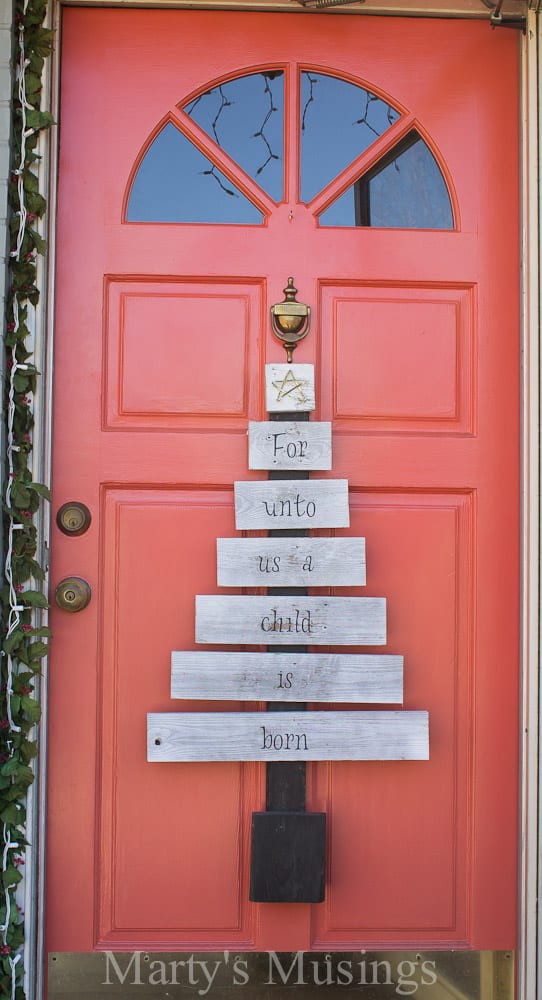
I’ve also used my favorite Christmas tree on my front door in place of a wreath.
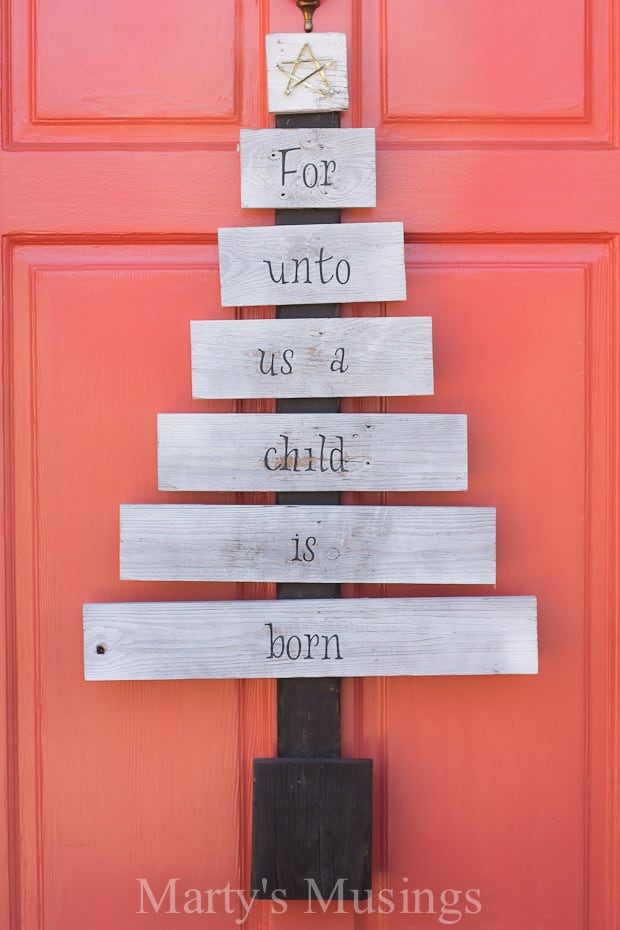
How do you like my scrap wood Christmas tree?
Love the tree (and the little ornament on it).
Inspires me to get busy and just do it!
Thanks for the inspiration!
Have a blessed Christmas…
Hi, Annie. I’m so glad our little tree inspired you. It’s hanging on the front door right now!
I LOVE this scrap wood Christmas tree. You and your hubby make a great team! I’m about to make one for our house out of scrap fence boards. I do have one question. Will it stand alone with the base, or does it need to lean or hang? From looking at the pictures, I can’t tell. Just wondering if I need to adjust the base for it to stand alone. Thank you SO much for sharing all your great ideas and the info on how you do it. You are amazing!! Have a blessed day! Oh, BTW, I am making the Happy Fall Yall sign also. 🙂
Hi, Patti. Our scrap wood Christmas tree doesn’t have a base and I’ve always just hung it on the wall. This year I may use it for outdoor decoration and just lean it. Good luck with the project, and I’m glad you enjoyed the pumpkin sign, too! Have a blessed day!