How to Install Beadboard Paneling
This post may contain affiliate links which won't change your price but will share some commission. Read more here.Create interest in any room with this step-by-step tutorial on how to install beadboard paneling. It will totally change your home!

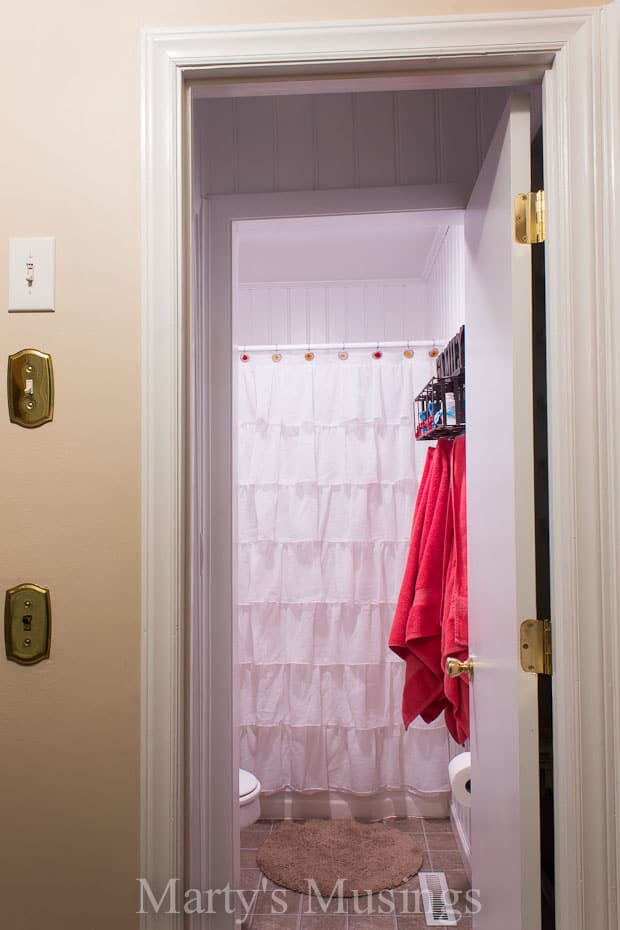
This small bathroom in the ranch home (where we lived 30 years before the divorce) had several problems (leak and moisture behind the shower kit, ugly tile walls and inefficient use of space). We knew we wanted a different look from what we’d lived with for 22+ years.
This was a total room makeover job and my ex-husband did all the work except some plumbing. Everything was harder because this was such a tiny space to work in.
Here’s a picture of the ugly before. Don’t you just love the green sponge painting on the walls?
Yes, the toilet was right next to the door which meant my children would hit my legs opening the door if I was sitting on the toilet (and all kids need mom when she’s in the bathroom, right?)
You can read in this post (Built-in Bathroom Storage) how we took down that door and very cleverly added extra space.
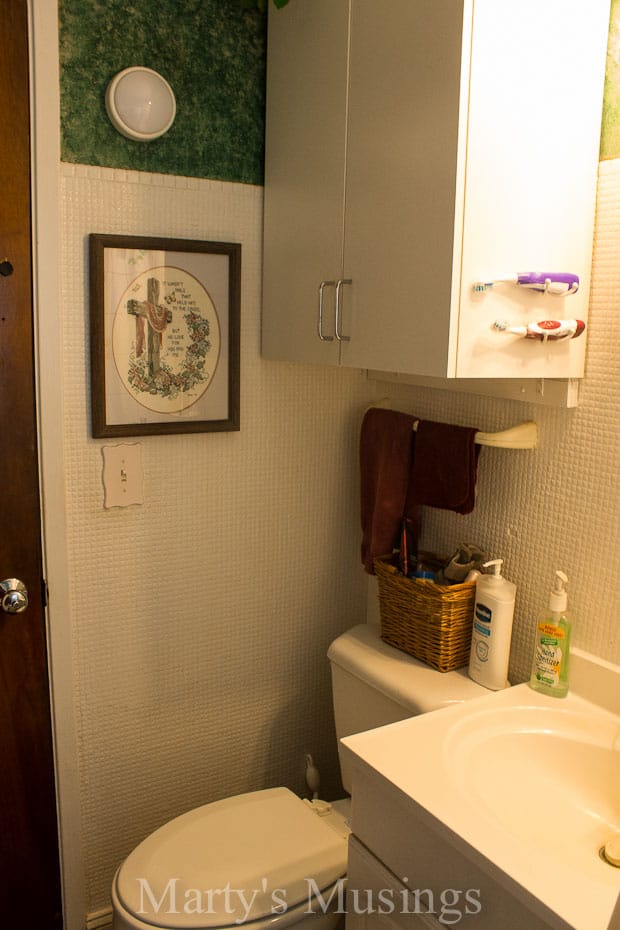
There was also white tile over 3/4 of the walls in the entire bathroom. Even covered with white paint it was truly ugly.
Materials you’ll need


Instructions
Step 1. Prep the room first.
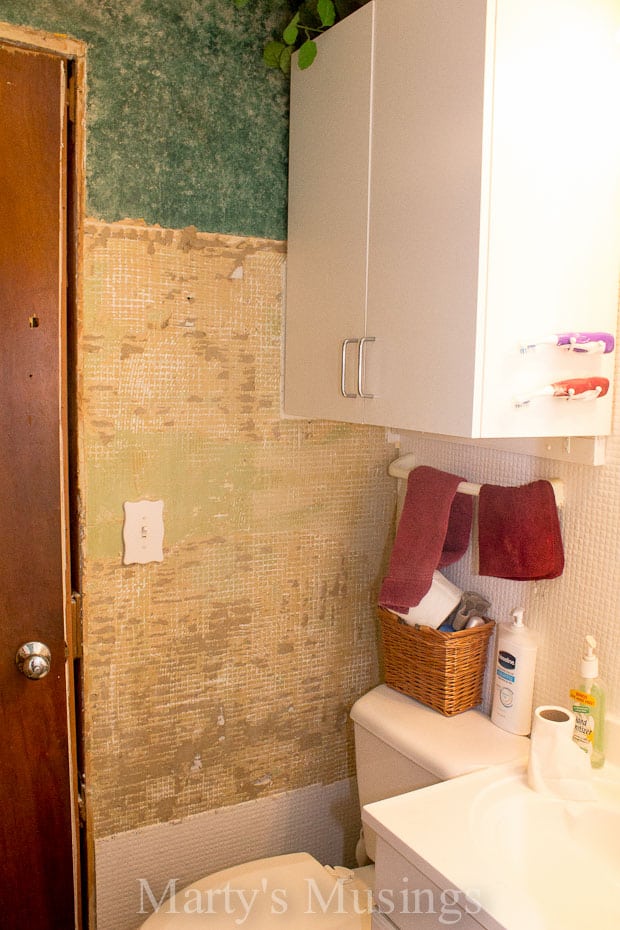
Usually every construction project begins with de-construction of some sort. In our case, the mosaic tile simply had to go.
We knew this would come at the cost of the drywall underneath, so rather than deal with an entire room filled with repair work, we decided that leveling and covering with beadboard was a better option.
This was incredibly intimidating, but it gets even worse.

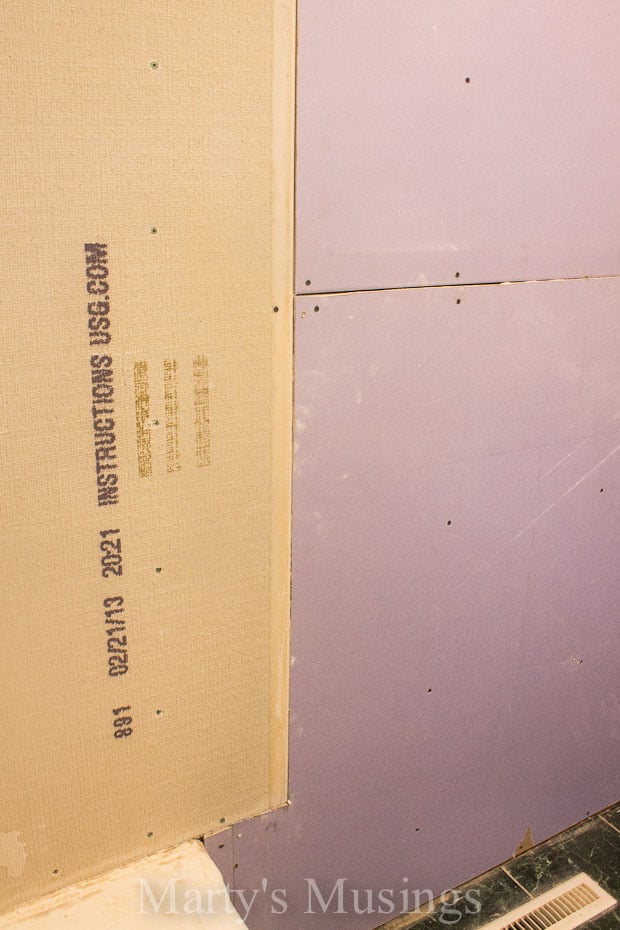
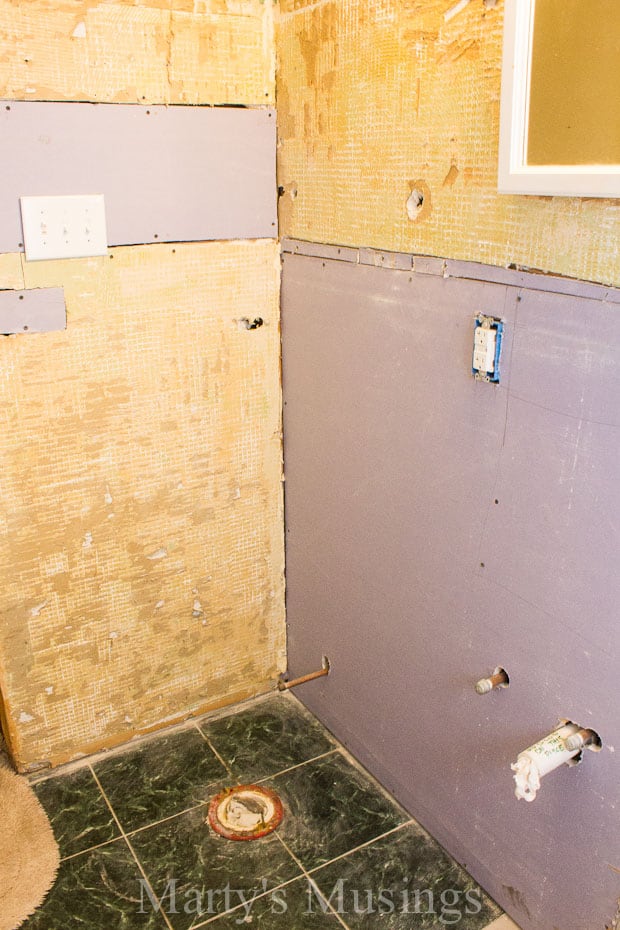
Step 2. Remove and replace sheetrock as needed.
Not only did the tile come down but most of the sheetrock as well. There was both electrical and plumbing work to be done behind it all so almost everything you see here was removed and replaced.
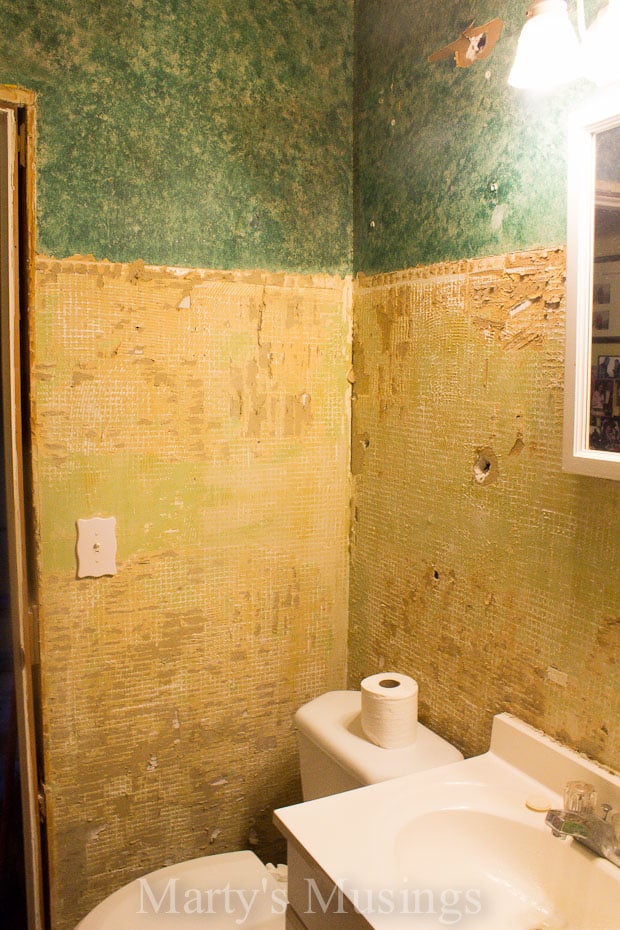
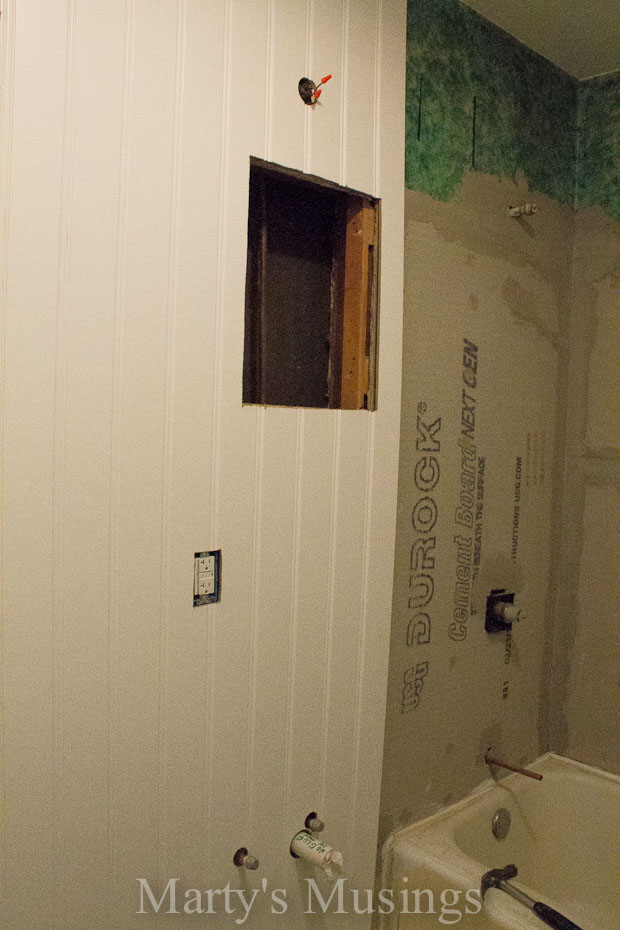
Coming out of the tub surround was the Durock (cement board), then new sheetrock running into existing sheetrock which created so many transitions.
The desire was to maintain everything at the same level – 1/2″ thickness in preparation for the beadboard. Not looking for perfection, just level.

Step 3: Mark the studs with painter’s tape and a marker.
A good idea, even before this point, is to mark the studs in some way on the floor and/or ceiling so you know where the solid points are. You can use painter’s tape and a marker or pencil.
Even though the beadboard would be glued and sparsely nailed, I still wanted to hit those studs as much as possible. Another way to find studs is with a stud finder.
Again, not pretty, just level.
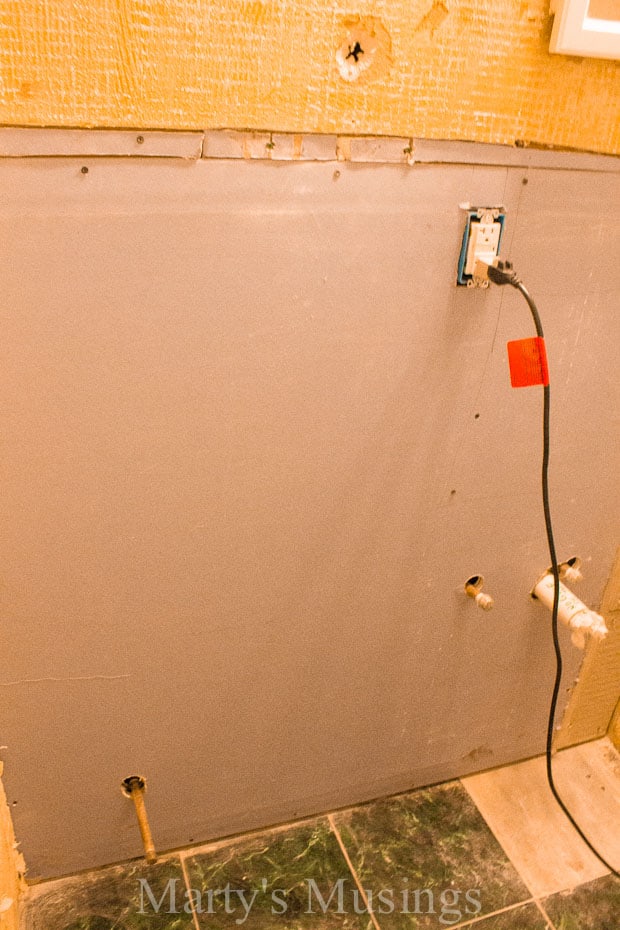
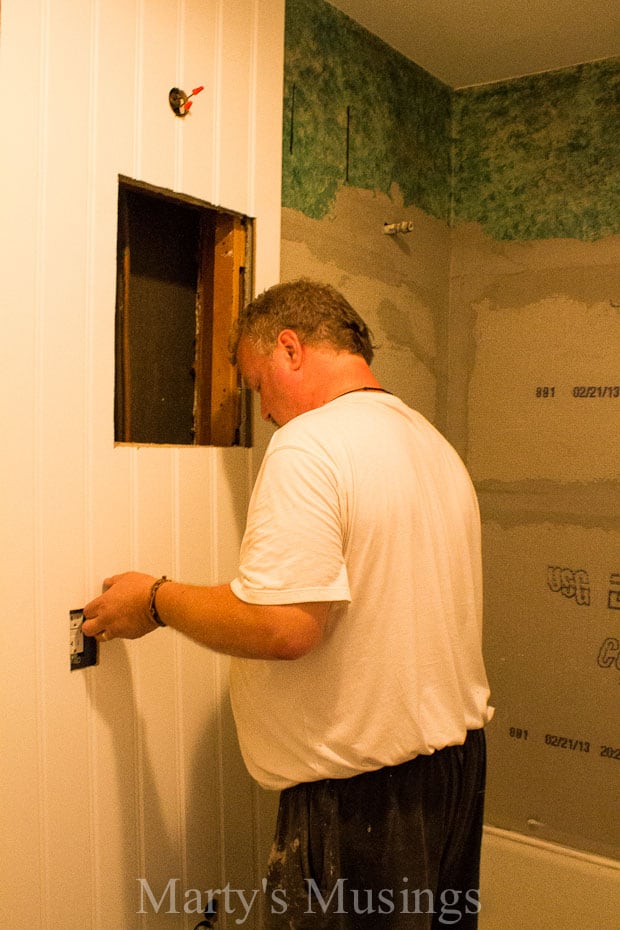
The electrical is new, a GFCI and a three-way switch for the new ventilation fan/light combo (with the existing light above the vanity). These were additional obstacles to consider when using the jigsaw to cut the beadboard but there was a solution.
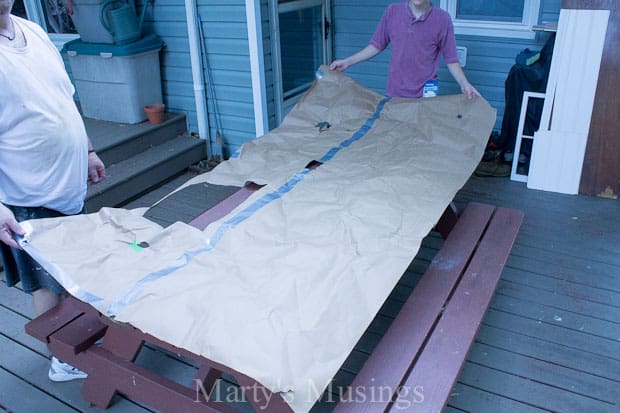
Step 4. Make a template.

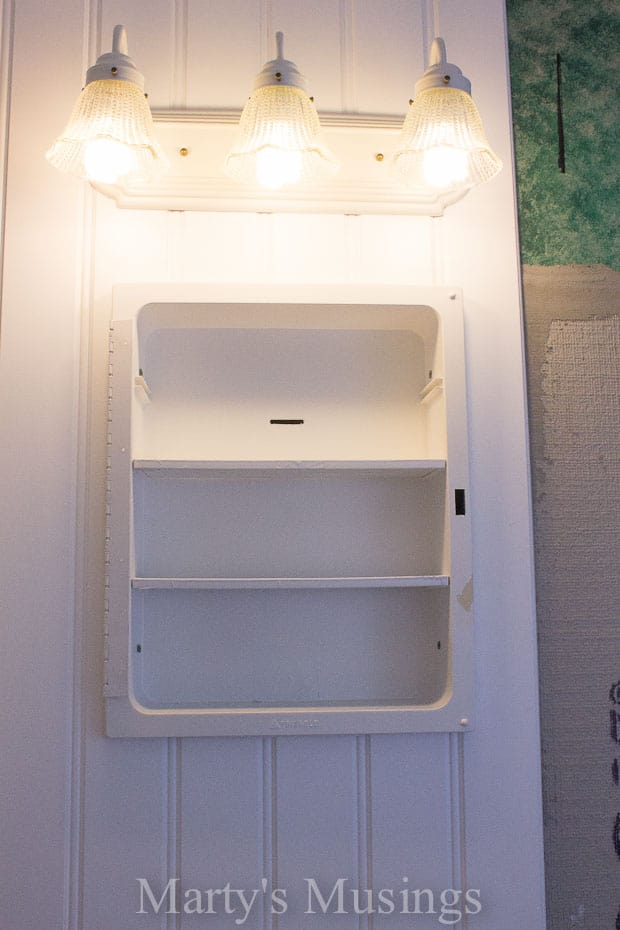
Beadboard comes in 4′ x 8′ sheets so we made a replica out of Kraft paper that comes on a roll. The template was held up on the wall and all those things we knew we had to cut around were easy to find; pipes, electrical and even the big hole for the medicine cabinet!
There is NO wiggle room when using beadboard, especially when running it from the floor to the ceiling. Everything had to be in exactly the right place or the $32/sheet beadboard was wasted.
Step 5. Cut out template with a jig saw.
The template was genius! After marking and cutting out the holes, those were transferred to the sheet of beadboard with a marker and then everything was cut out with a jig saw.
Step 6. Glue to sub-surface with Liquid Nails adhesive and then nail.
Each piece was glued to the sub-surface with Liquid Nails construction adhesive and then nailed along the top, bottom and corner where I knew the trim work would hide the finish nail holes.
In the entire bathroom, I only had four partial seams that were not in corners, since the DIY shower tile ran right to the beadboard.
Glued, nailed, and moving on. You can see what I mean about those cutouts needing to be exact. No wiggle room…
Step 7. Caulk where necessary and paint.
These seams would either be covered or lightly caulked; crown molding at the top, corner molding and then baseboard at the bottom. Everything got a coat of paint to finish it off.
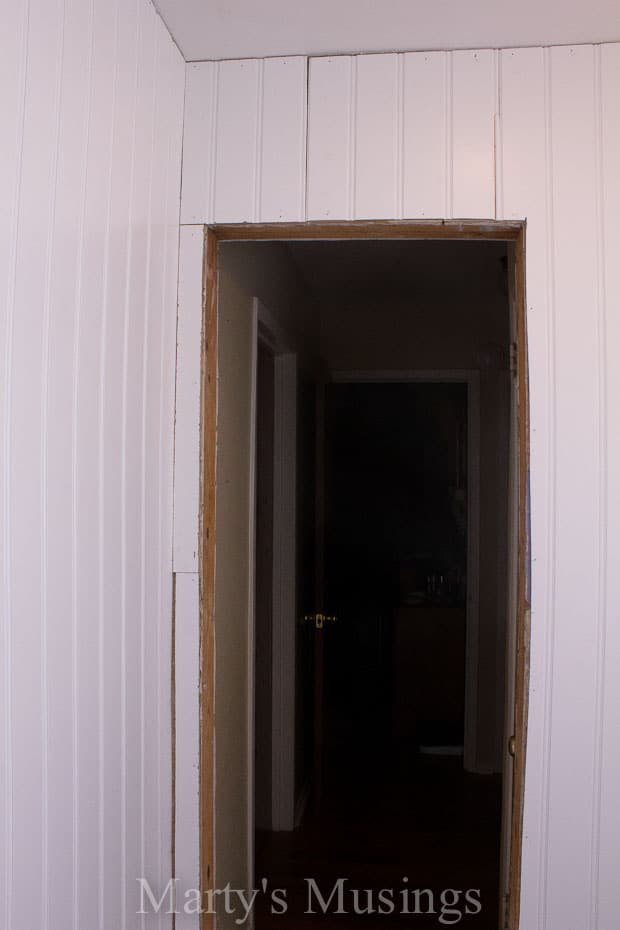
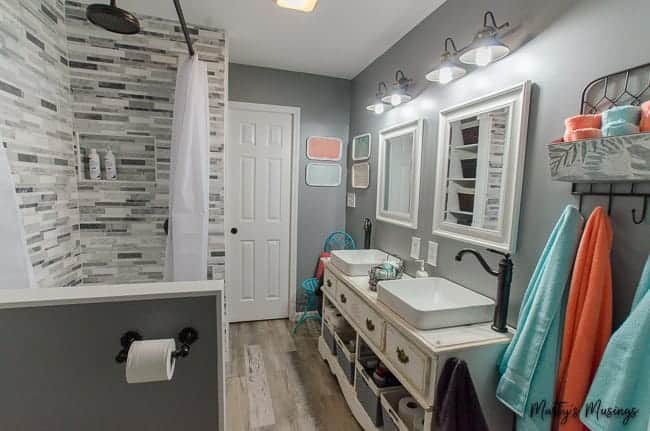
It is astonishing how these long, vertical lines make the little bath seem bigger. I’m glad we decided not to stop it with a chair railing.
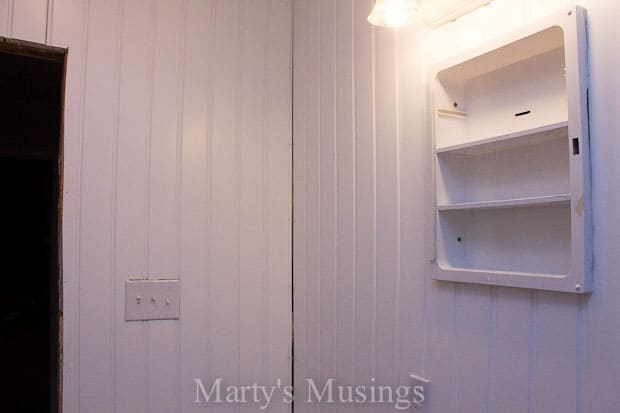
Step 8. Reinstall light switches and electrical outlets.
We bought all new fixtures for this small bathroom remodel and the finish work was completed on the beadboard installation.
In case you’re wondering, the entire bathroom remodel took about six weeks, working almost every day.
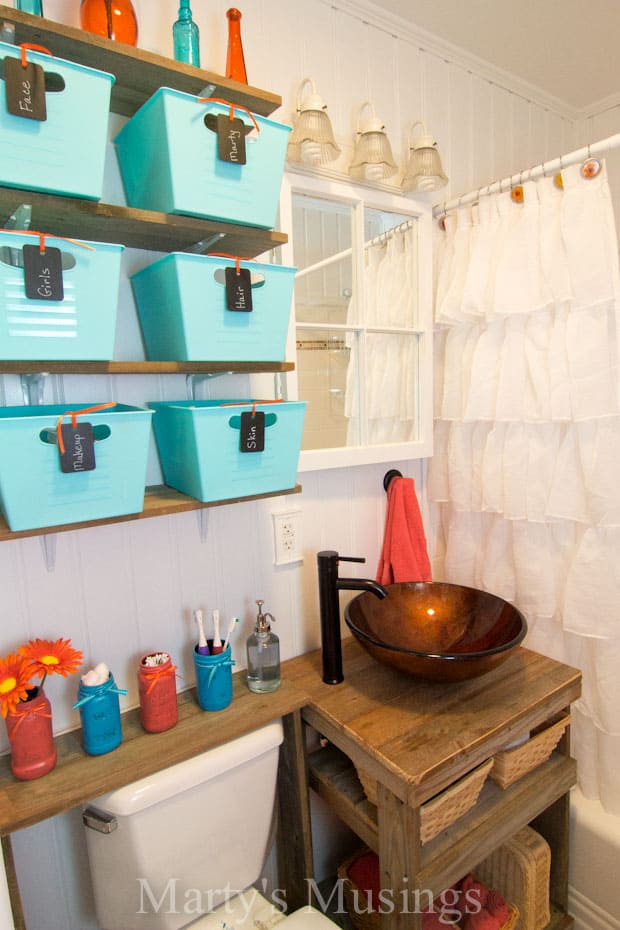
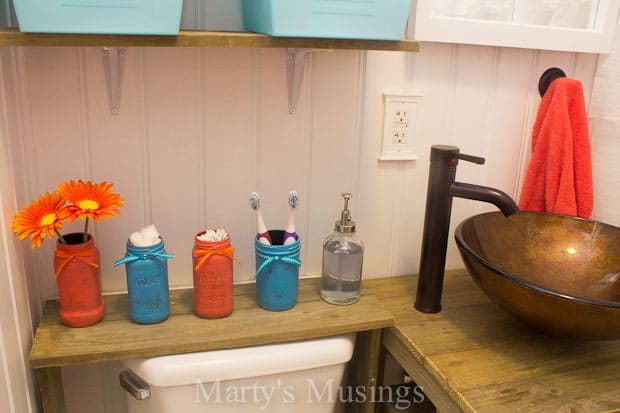
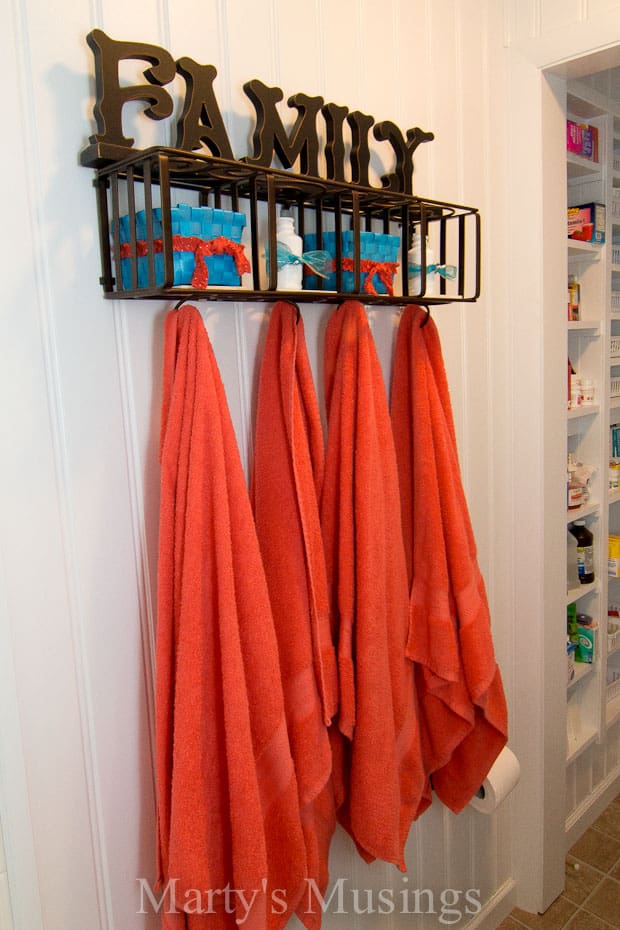
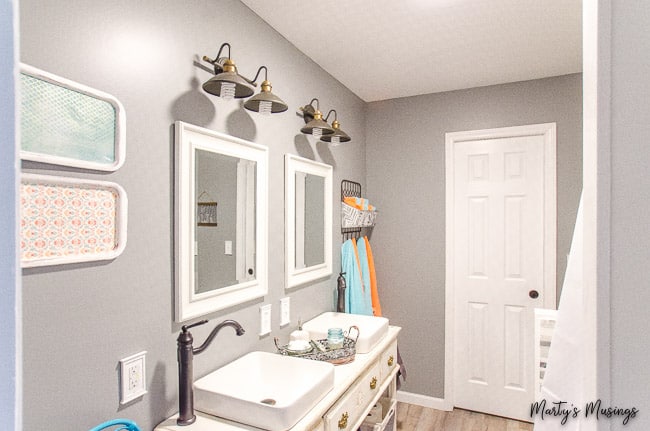
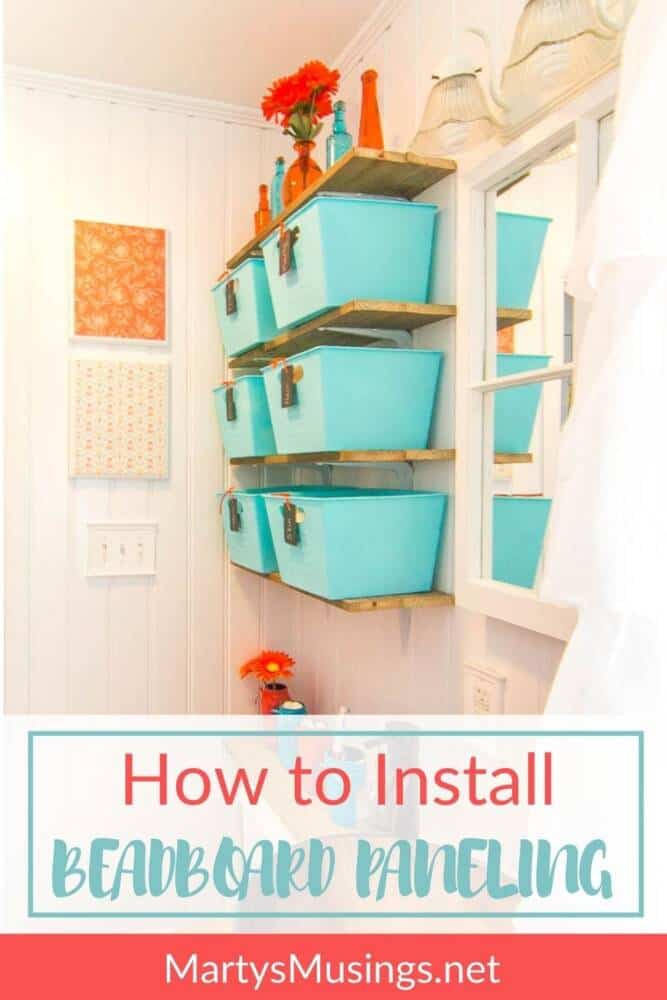
It was totally worth it! Every little detail was planned, down to the rustic jars, coral accents and blue baskets.
I love the way the beadboard makes this tiny bathroom feel so much larger. It’s a fabulous clean and updated look.
FAQs about beadboard

How to Install Beadboard Paneling
Ingredients
- 1 Liquid Nails
- 1 roll Frog Tape
- 1 roll Kraft paper roll
- 1 Jigsaw
- 1 Waterproof caulk and seal
- 1 Stud finder
- Flat head nails
- 1 Tape measure
Instructions
- Prep the room first.
- Remove and replace sheetrock as needed.
- Mark the studs with painter’s tape and a marker.
- Make a template.
- Cut out template with a jig saw.
- Glue to sub-surface with Liquid Nails adhesive and then nail.
- Caulk where necessary and paint.
- Reinstall light switches and outlets.
More Bathroom Projects
Bathrooms are often the last room in the home to receive attention and a makeover. There are both easy and more difficult DIY projects here to inspire you.


Hey, I love the bead board idea, and it looks great! We were considering it for our remodel over previously tiled walls in our main bathroom, but when we went browsing home improvement stores, I am saw that it is not recommended for high-moisture areas. Is there a particular way you worked around that with a certain paint and/or primer?