How to Install a Bathroom Exhaust Fan and Electrical Outlets
This post may contain affiliate links which won't change your price but will share some commission. Read more here.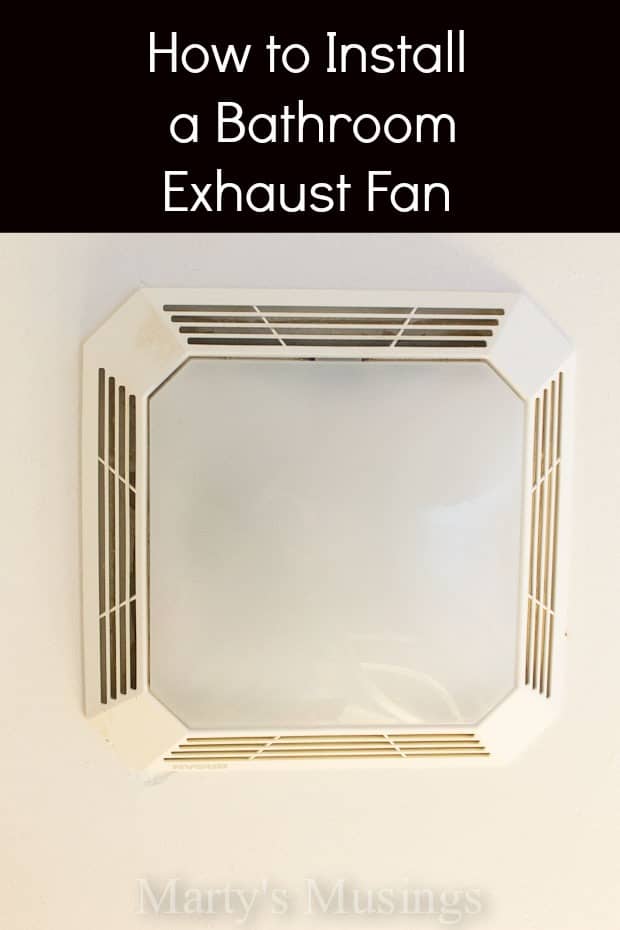
***Disclaimer: This a DIY project by a homeowner and does not constitute advice on electrical wiring.
As you may know, we completed our small bathroom remodel in July and we’ve written about the reveal, the DIY shower (part one and two), the built-in bathroom shelving cut from the sheetrock and how to install beadboard paneling. Now I’m turning the next tutorial over to my handy hubby.
From Tim: Let me preface this post in two brief ways. First, this is a DIY project and I am issuing a fervent disclaimer when it comes to any electrical work. I will simply relay what I did, not what you should do! Second, there are a ton of really helpful videos and tutorials out there on this process. They can be helpful for situations unique to your space.
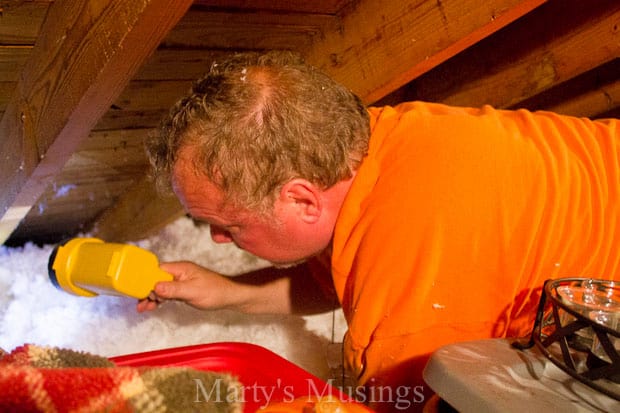
One of the more unpleasant aspects of installing a bathroom ventilation fan is having to work up in the attic. But, it is a necessary part and so you just have to suck it up and make the trip into that space. I knew approximately where the fan needed to be in relation to the bathroom ceiling, but I needed to determine if that was viable in the attic.
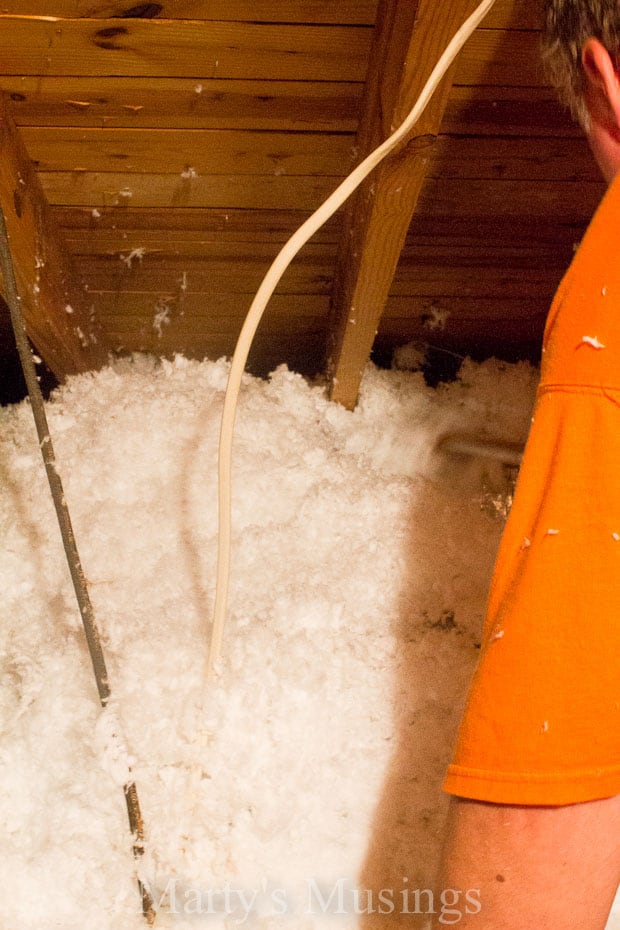
You have to consider available space, rafters for mounting, obstacles, venting and wiring. I made a small hole that would be at the center of where the fan would be and then straightened a coat hanger and stuck it through the sheet rock into the attic. You can see that small straight line at my right elbow.
The tricky thing for this project was to figure out how to run juice power to the fan. I had an existing line that I could tap into that operated the original line for the bathroom light fixture above the vanity, but Marty really wanted that light, the fan, and the fan light to operate on three independent switches at the same location. So, that meant I just needed to get the lines from the fan down to the receptacle box. That a simple matter of following these lines and running new ones beside them.
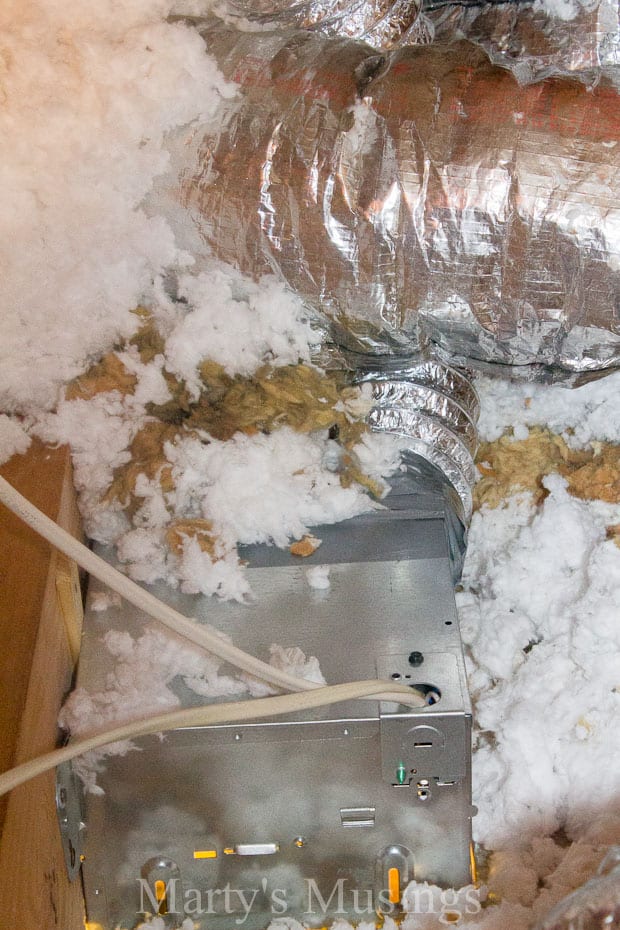
OK – I skipped a number of steps by this point where pictures are concerned…I will readily re-confess that I really hate pausing for the photographer! The location of the fan was slightly altered to accommodate mounting to the closest rafter. Then I cleared away the insulation and placed the fan on the sheet rock for marking and cutting. Cutting through the sheet rock was easy enough with a hand saw. The fan was then placed in the hole and nailed through the support brackets on the fan into the rafter. Oh, I did make all the electrical connections inside the fan FIRST, since there was SO much to work around in this little hot space. Wiring instructions came with the fan.
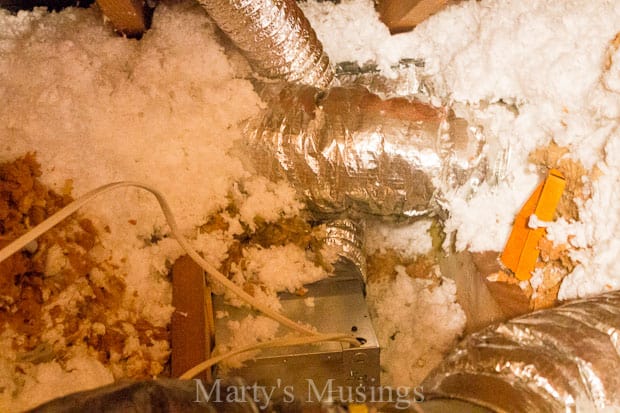
This is just a close up of everything I had to work around, including working over the top of large ventilation ducts that ran right across my work area. They could not be crushed, which made it quite awkward.
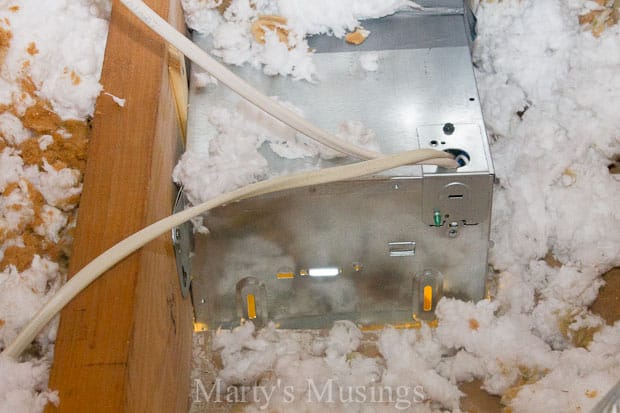
I was a little concerned that instructions did not allow for support on both side of the fan and I was actually prepared to add additional bracing, but the unit is not terribly heavy and the mounting brackets seemed to be able to handle the weight. I did end up driving a small wooden wedge between the brackets to correct just a slight wobble and lift from banging in the nails.
So, here we are back down in the bathroom with the unit secured and the facing installed. I took a little chunk out of the ceiling in the corner, but that was easily repaired with spackle prior to painting.
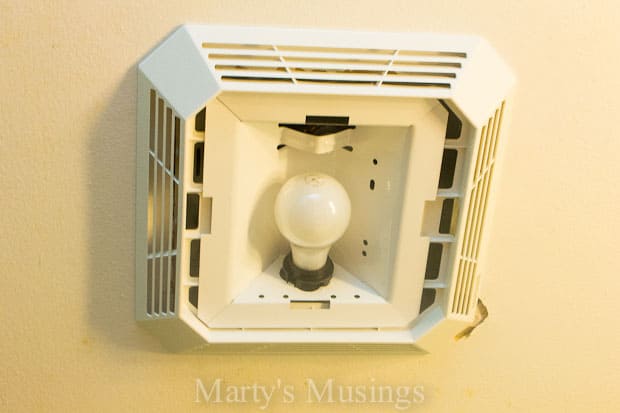
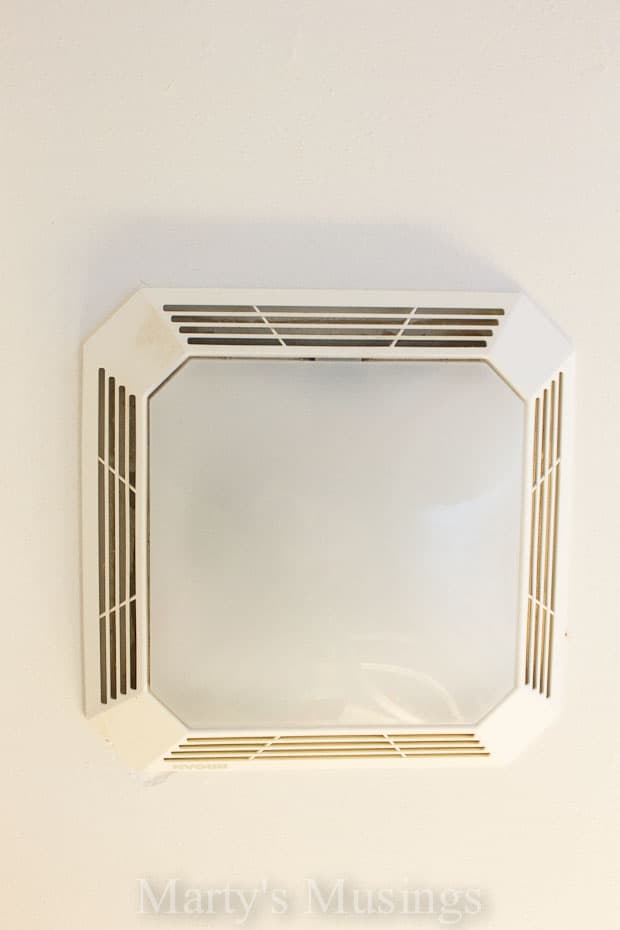
Put the cover on and this part is complete!
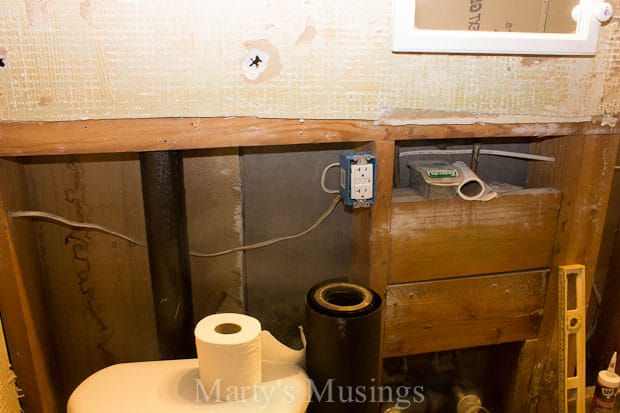
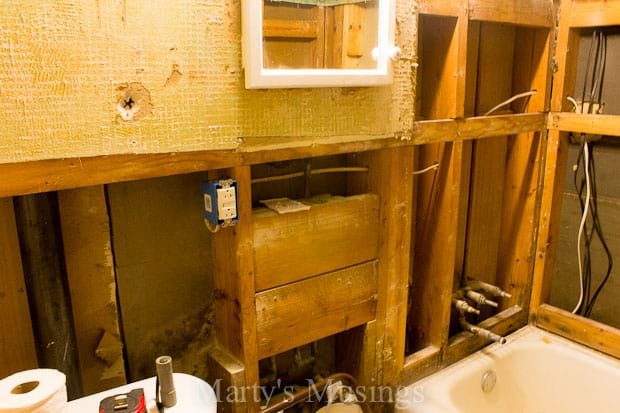
Now, I’ll back up just a bit for the wiring part of the project. Pictured below are the two new wires from the fan and the light in the unit and the existing switch for the vanity light. But, remember that I needed three separate switches according to the chief my bride.

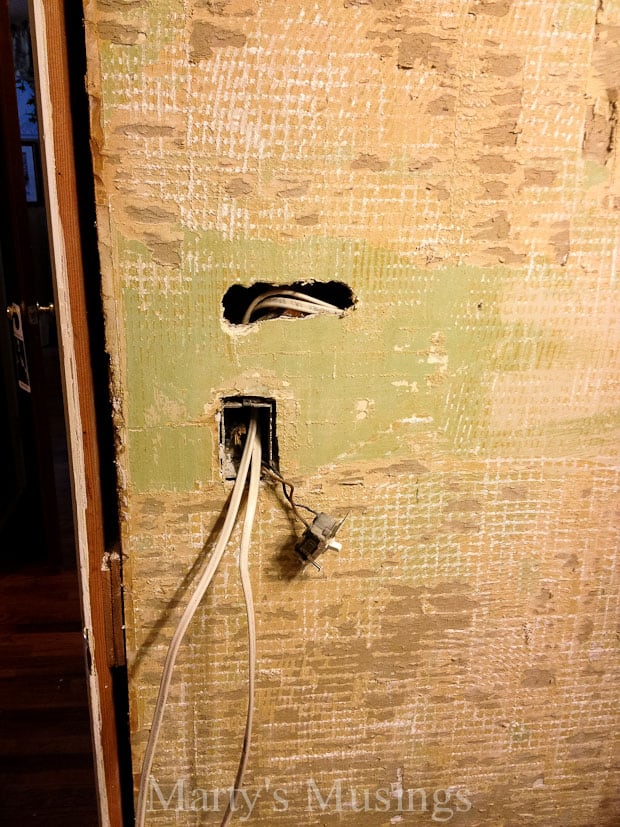
I needed to make the top hole to get the wires into the box, but that was really a mute point since I now realized I needed a much bigger box behind the wall…
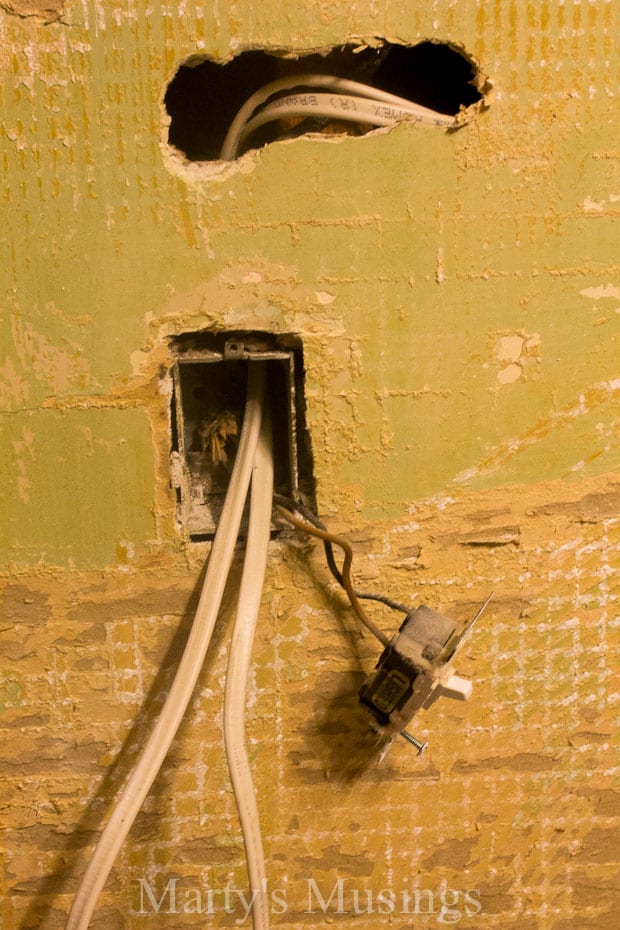
See what I mean?! This was all going to be roughed-in with sheet rock and then covered with the beadboard, so I could open up as much as I needed to accomplish the task.
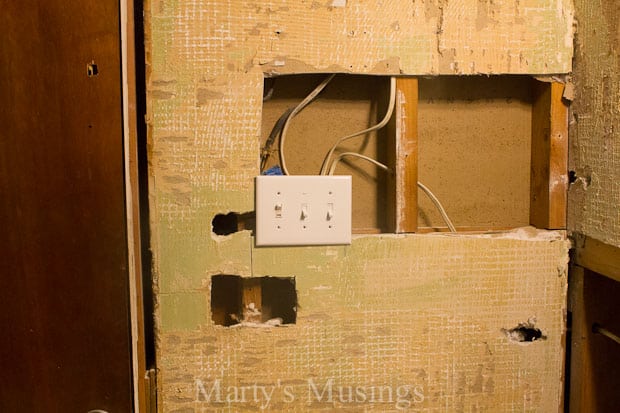
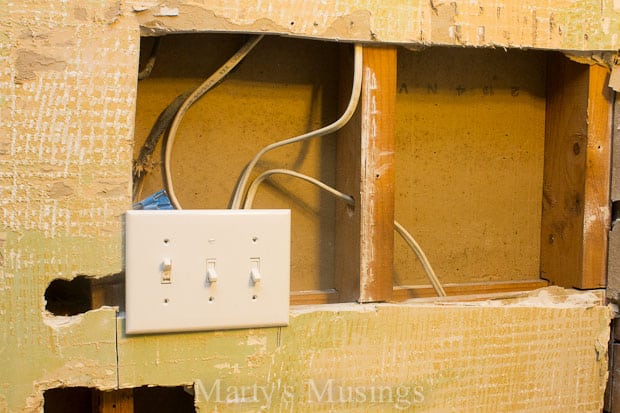
A triple-gang box was installed (nailed into the stud) and all the wires run into it. So, I have the original switch at the far left slot, then the fan light in the middle and the fan switch on the far right. The line entering from the right, through the stud, is the new hot line a tapped into across the room. I put the cover on for safety.
Here is a new GFCI that would be next to the vessel sink. It is continuing the circuit on a new line I ran for everything.
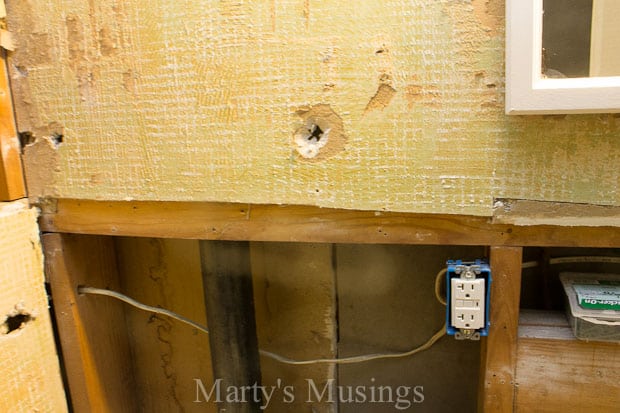
A little wider shot. The line runs left out of the GFCI to the triple switch and from the line I tapped into to the right.
Follow that white wire to an outlet that was available on the other side of the wall that backs up to the tub. That was how I got power.
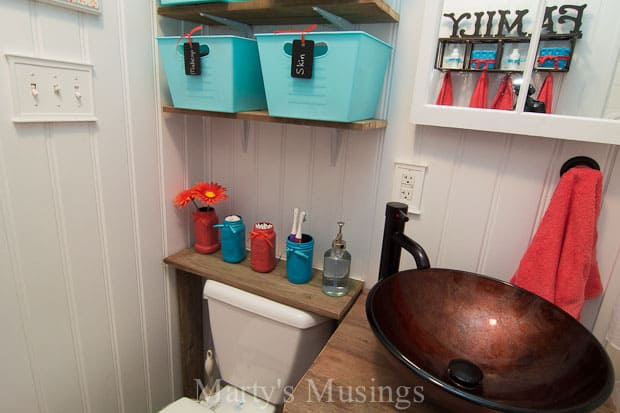
You have to view the total remodel to get an idea of this final touch, but I thought it went well with the bead board. Just a decorative plate from Lowe’s.
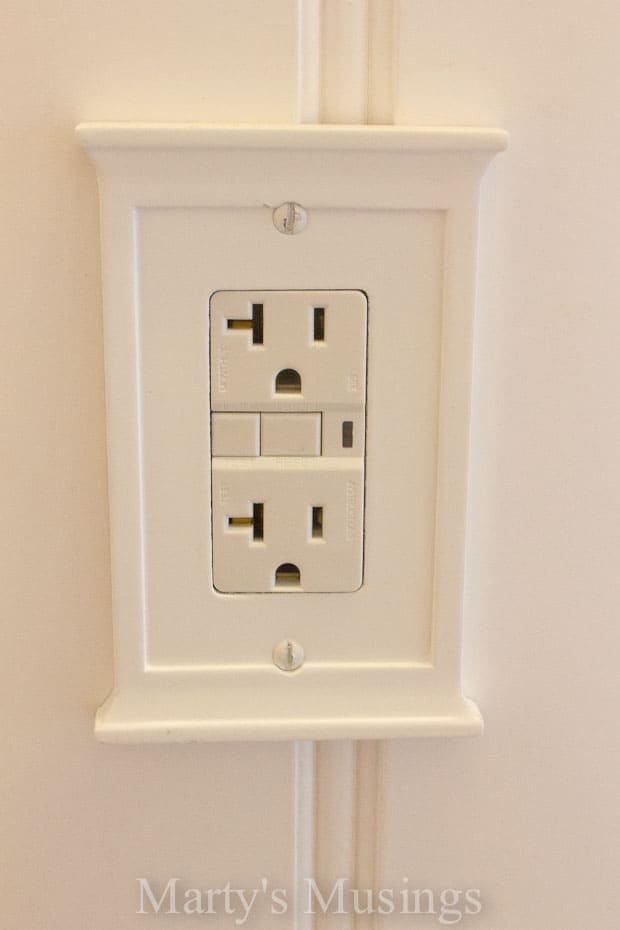
Here it is all put together! I told you all those holes would disappear. I do love it when a plan comes together!
READ ALL THE POSTS IN OUR SMALL BATHROOM REMODEL:
- Rustic Small Bathroom Reveal
- Fence Board Bathroom Cabinet
- Bathroom Old Window Mirror and Glazing Tutorial
- Built-in Bathroom Storage
- DIY Shower Tile Part One
- DIY Shower Tile Part Two
- How to Install a Bathroom Exhaust Fan and Electrical Outlets (you are here)
- How to Install Beadboard Paneling
- How to Install an Interior Door
I could be wrong, and maybe code is different where you are, but I thought it was against code to pull anything off the GCFI outlets. Just my two cents. Like I said, I could be wrong.