Fence Board Bathroom Cabinet
This post may contain affiliate links which won't change your price but will share some commission. Read more here.Old wood was repurposed into a rustic fence board bathroom cabinet for a vessel sink in this small bathroom budget makeover
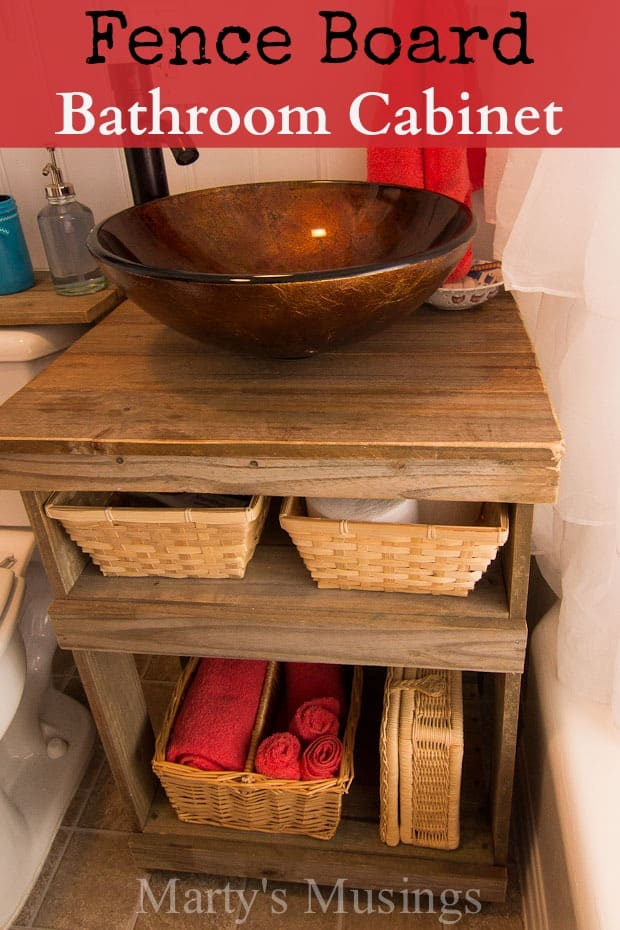
Have you seen our small bathroom makeover? If you like the rustic look (which we do) my husband has all the details below on the fence board bathroom cabinet he built.
Fence Board Bathroom Cabinet
From Tim: This was one of our more ambitious fence board projects because of all the variables involved, plus it was a “from scratch” dealio, too! There were a multitude of considerations: dimensions, functionality, finish, durability, hygiene, and aesthetics.
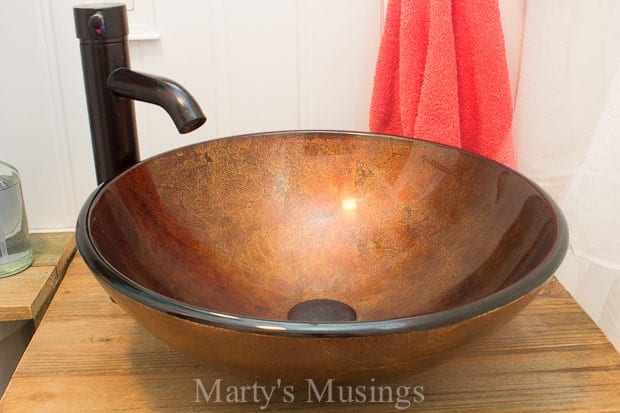
The unique vessel sink, a first for us, would be the focal point of the remodel, so it really needed to partner with its base in the space.
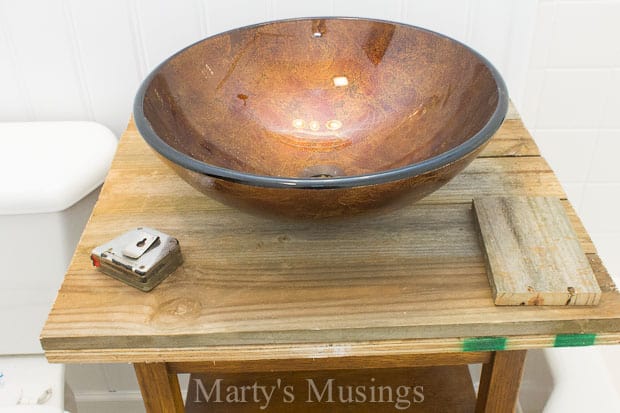
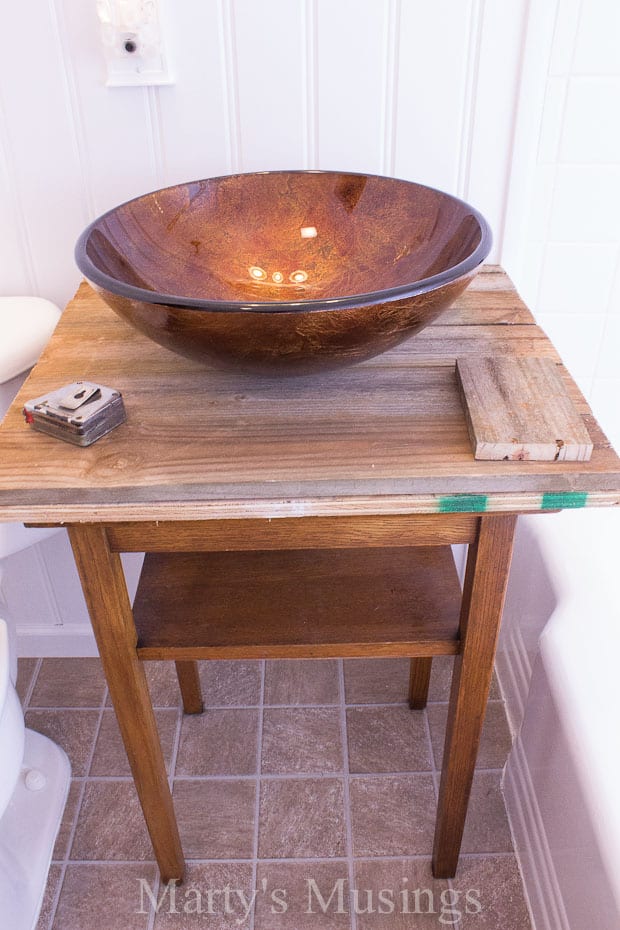
The first step was to just bring in the sink and an existing table to stand-in for the real cabinet. I also needed to beef-up the fence boards to disallow any flex in the platform.
I did this by deciding to mount them onto a piece of 1/2″ plywood. So, all this below is just roughed-out for a first look.
Remember that anything done below the sink line must allow for the plumbing. I also did not want to go all the way down to the floor with anything since we always seem to have a problem with cleaning issues and rot in that area.
Again, just trying to get a feel for exactly what the chief my wife wanted.
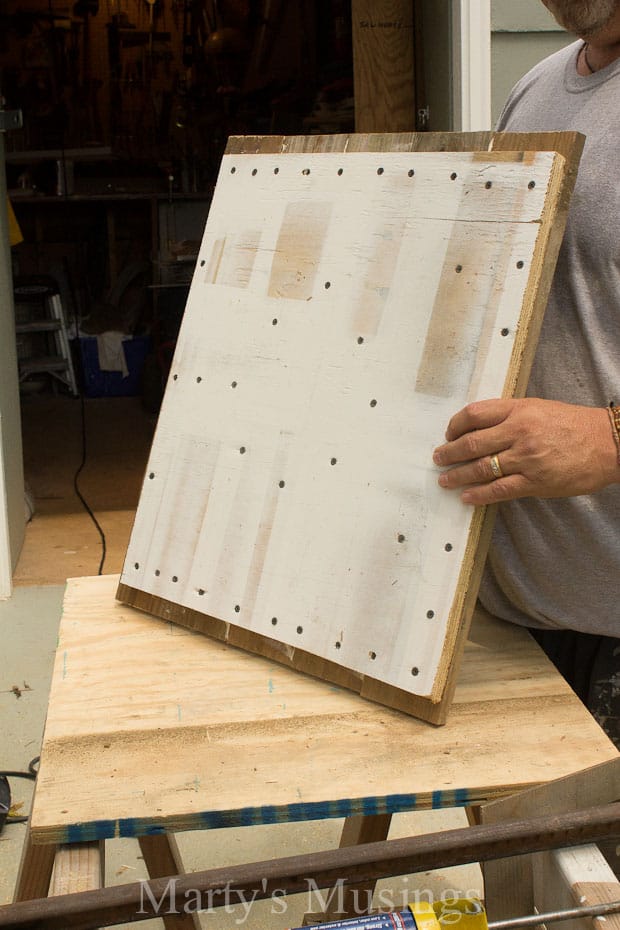
Having zeroed-in on the dimensions, the next step was to mount the fence boards onto that plywood. I did so by gluing and clamping them in place and then reinforcing that with screws, two on each board.
I also did not want any flex around the sink, so that explains the circle of screws near where the center drain would be cut. Could be a little over-kill here, but since I only get one shot at this I’d rather over-compensate.
In this picture, my hand is on what would be the front, so the space left on the sides (the top and bottom in this pic) would leave room for legs and finish framing that would happen at the end…at least that was the plan!
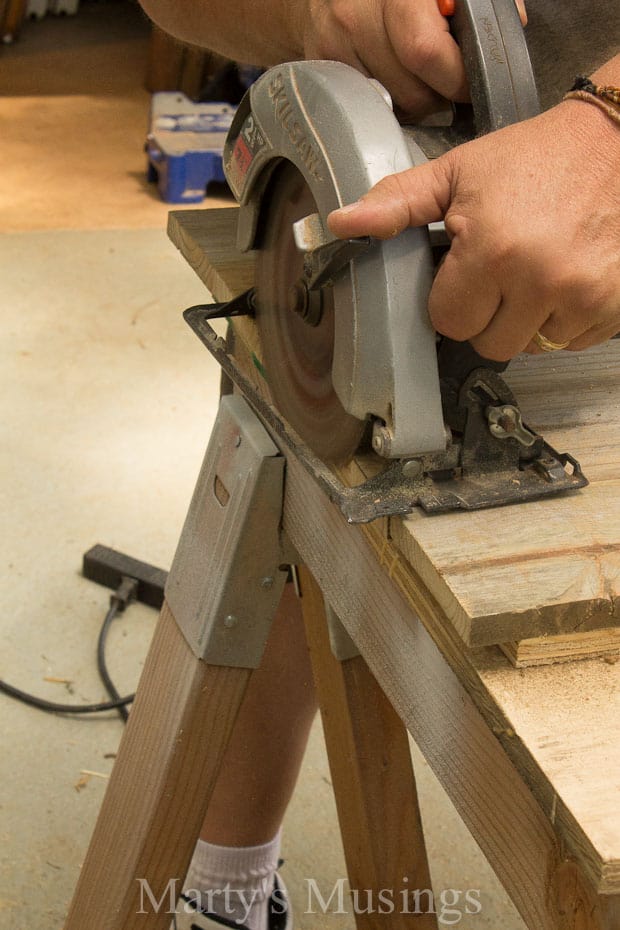
The imperfections and warping that naturally occur with fence boards can really make it quirky to work with. It doesn’t always perform like you think it should.
Here I just needed to straighten my edges a bit. Pop a line down and trim away with the circular saw.
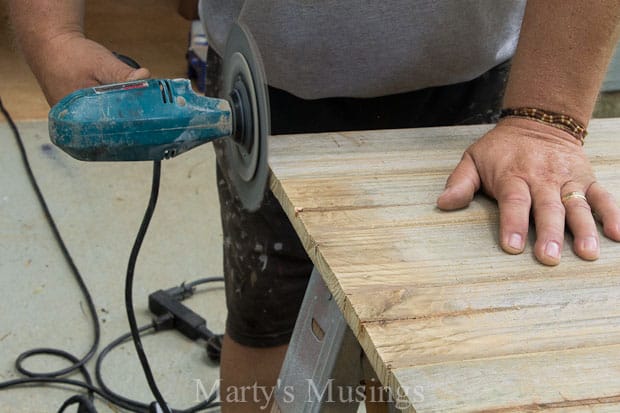
Because I knew there would be a lot of fingers on this piece, I really didn’t want sharp edges. The answer was a grinder with 60-grit paper; VERY aggressive but, with proper use, nice results. I used this all the way around and even rounded the two front corners.
I also took this opportunity to put wood filler between the boards on the top and sanded. Heavy water exposure here, so I didn’t want things dripping through the cracks.
Additionally, I waxed (yes, WAXED) the entire top with Annie Sloan clear wax, the kind you finish chalk paint projects with.
I chose this over polyurethane because I wanted to be able to re-apply whenever needed in the future. It was a GREAT choice, allowing both protection and a bit of a seal for hygiene and cleanliness. It cleans very easily!
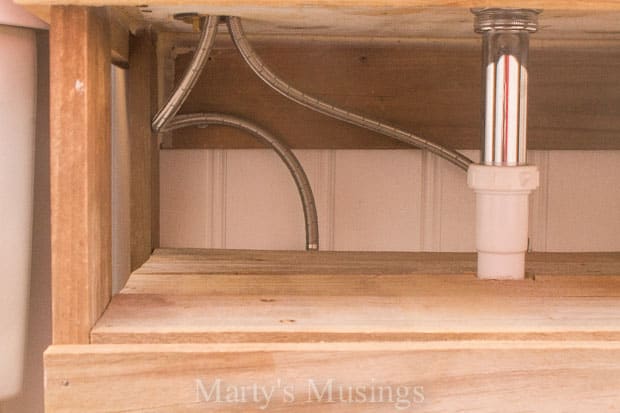
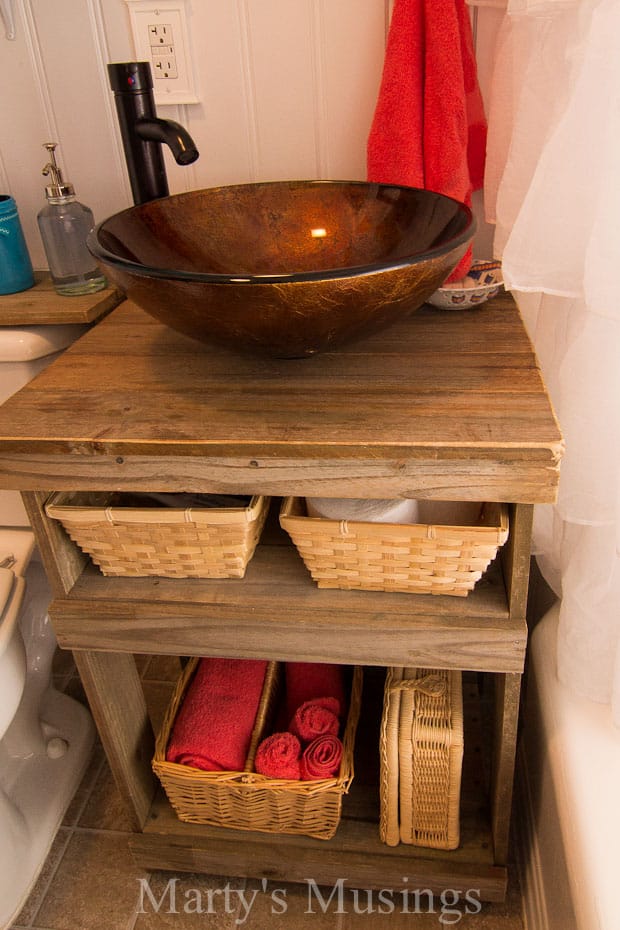
So, here was the first look actually in place. I needed to confirm no interference with the plumbing, the tub, and the toilet.
I ended up a little closer to the floor than I originally planned, but we’re still not right down to it. A shelf would come next that fit right around the trap and left plenty of room for clearance on the bottom shelf.
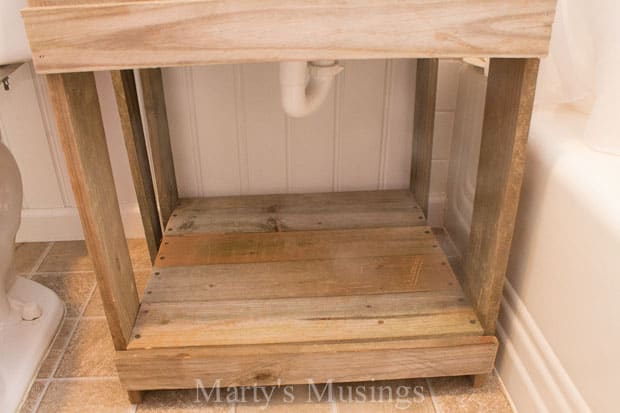
Voila! The middle shelf! Now, lest you think me a complete idiot (yes, I do read those comments on occasion!), the boards in the middle of the shelf that fall right around the trap assembly are NOT permanently attached to the cross bracing! They are notched but just sit on the supports in case there is a need in the future to address plumbing issues.
The same with the rear board right where the hot and cold supply valves land. I did think ahead!
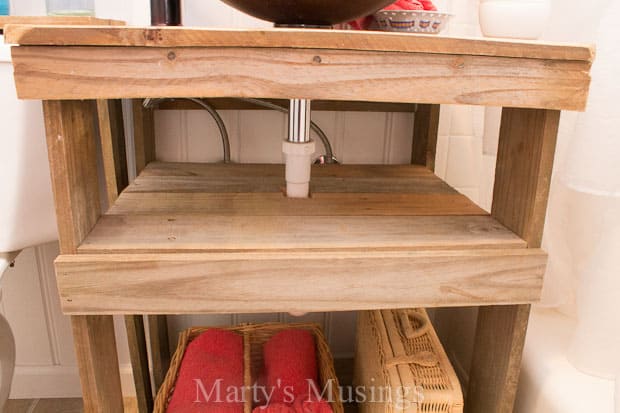
Here’s a good look at that arrangement, as well as the bracing board at the back of the cabinet that I used to attach the whole unit to the wall with screws.
At this point the cabinet is permanent and any finish trim work would be done in place. That was really just some facing boards that were cut down to give a slightly more finished look to the piece.

A brief mention here also on the installation of the vessel sink and farmhouse faucet: these are not terribly difficult to tackle, but you would be very wise to look at some videos before attempting it. They are both unique and must be done to the letter of any instructions provided.
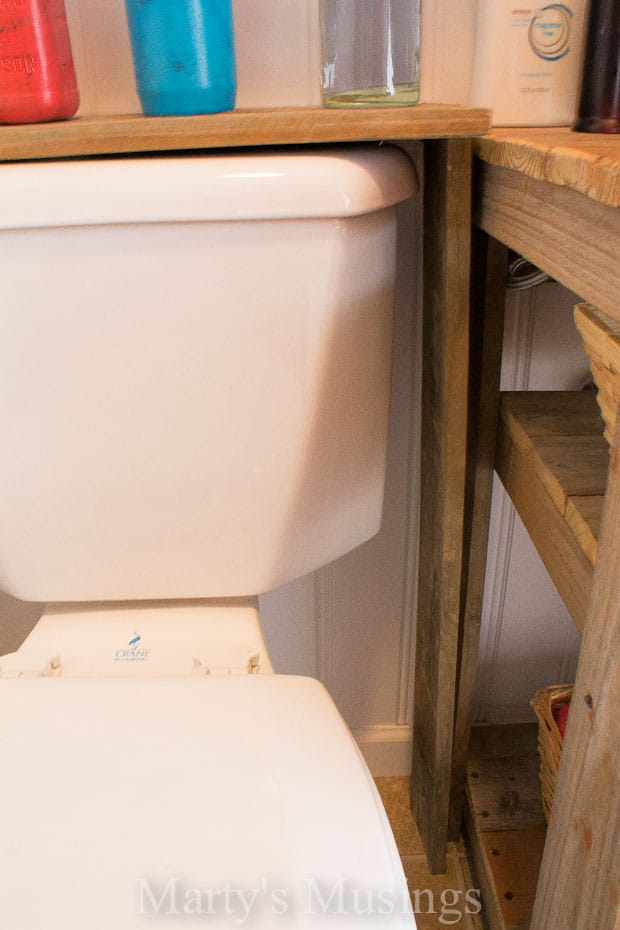
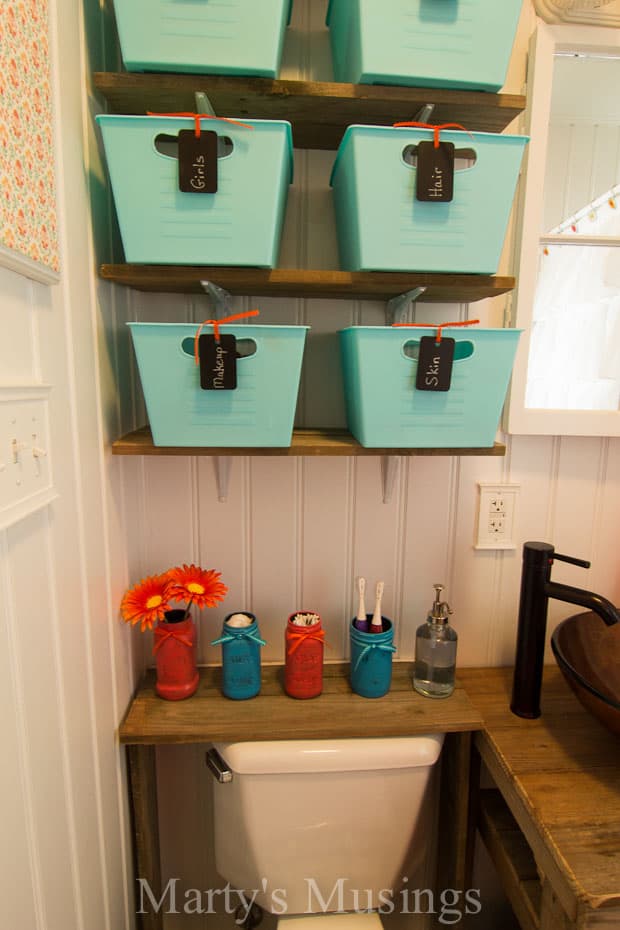
To compliment the cabinet and also provide just a bit more shelving space, I decided to add a shelf over the toilet tank. This is just a simple two-board span over legs.
Again, this is NOT attached to the wall so that any plumbing problems could be easily addressed. The whole unit simply lifts out and away from the tank.
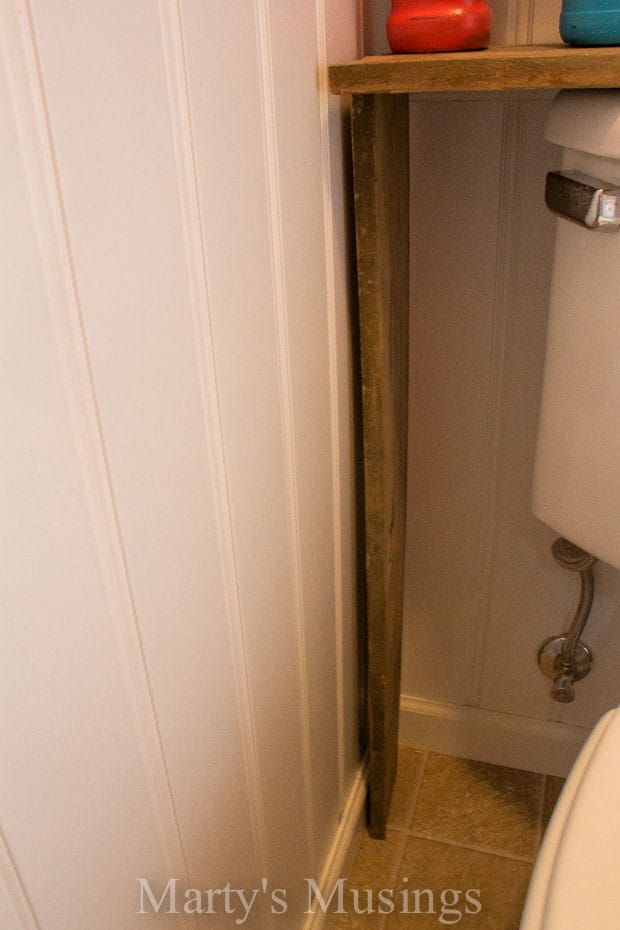
I think if I had a “do-over” I might have made the vessel sink cabinet just a bit higher so that both these pieces were at the same level. However, it is not too terribly offensive and the tank shelf was really an afterthought.
I relinquish my contribution at this point to my bride, who lends her lovely touch in decorating and accessorizing!
From Marty: When we start a project I never know exactly where it will end! We had specific ideas when we remodeled the bathroom, but until everything was in place much of the accessorizing (the fun part for me!) had to wait until almost the end.
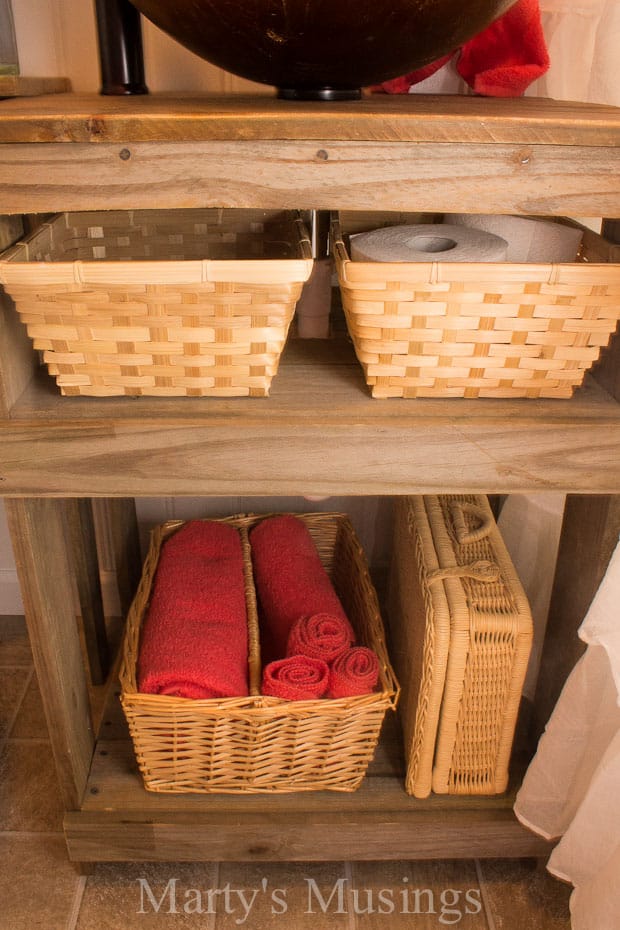
I knew I wanted open storage to give the bathroom the feel of more space.
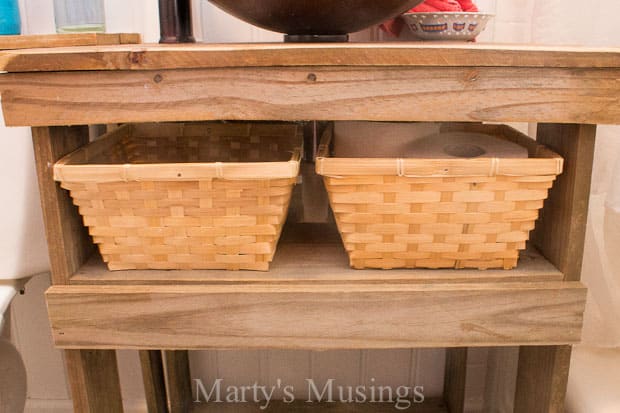
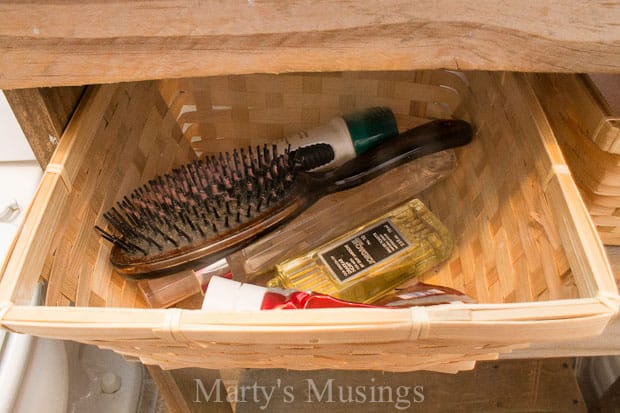
I wanted to take advantage of the space under the sink and these two dollar stores baskets were a perfect fit.
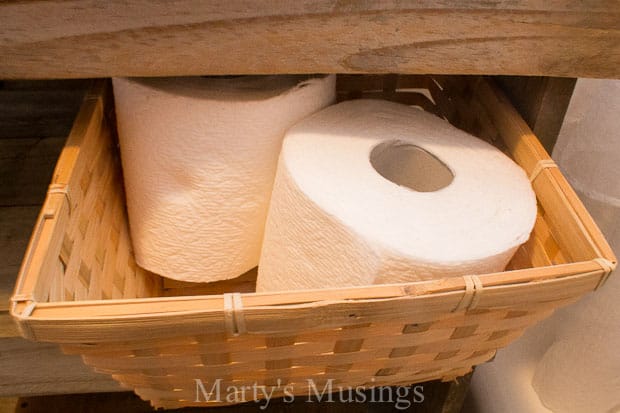
One basket holds some toilet paper and the other my hubby’s toiletries.
Both of the baskets below were $1 each at a yard sale. I put the extra towels in one for a pop of color and the second case is just for looks (although I could put more rolls of toilet paper in there if I needed to.)
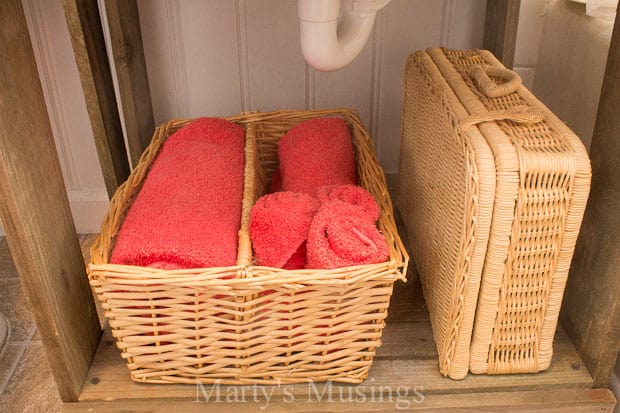
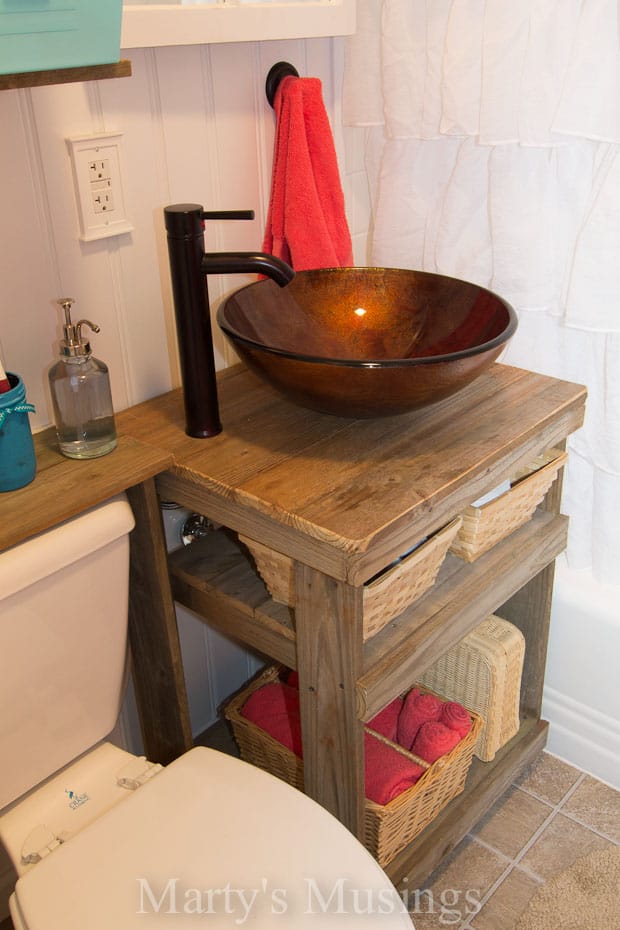
I love the look of the natural baskets with the wood and the pop of coral in the bathroom cheers me every time I go in there.
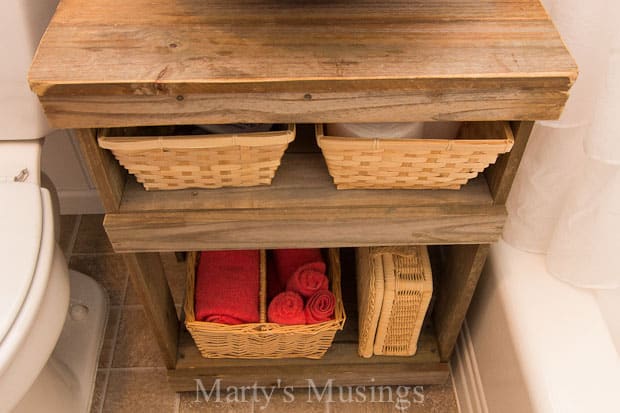
You can see how the baskets fit right next to the plumbing. One of the hardest questions Tim always ask me is how far do I want the shelves apart?
Yikes! Does anyone else struggle with this? I have no idea what I’m going to put on them so I have to just guess. In this instance it worked out perfectly!
I am madly in love with this vessel sink and faucet.
Even with the terrific ways we added space to this bathroom the fact remains that it is still small. I can live with that because now it’s beautiful and every inch of space has a purpose.
Since I was going with open storage these dollar store baskets are my favorite.
My prince husband did a great job at bringing our needs and my desires to fruition.
Read all the posts in our Small Bathroom Remodel:
- Rustic Small Bathroom Reveal
- Fence Board Bathroom Cabinet (you are here)
- Bathroom Old Window Mirror and Glazing Tutorial
- Built-in Bathroom Storage
- DIY Shower Tile Part One
- DIY Shower Tile Part Two
- How to Install a Bathroom Exhaust Fan and Electrical Outlets
- How to Install Beadboard Paneling
- How to Install an Interior Door
I love it! Really like the bold orange and turquoise colors too!
It’s a good start, Marty! I’m glad you chose to build an open storage to increase the space. I think you should paint the cabinet, or even better, put some tiles. I like the golden accent you used for the shower walls. You could use that accent to complete the look. The vessel sink is just gorgeous.
Christine @ Bondera
Thanks for the comment, Christine. I love the wood in the bathroom for now but who knows down the road? That’s the beauty of not spending any money on it!
Now, I hope Tim was joking when he said people have called him an idiot in the comments before. What? How rude! And how untrue.
I was quite interested to hear his comments about the durability of Annie Sloan wax on a surface like your countertops that are used every day. I’m considering painting my kitchen table, and I’m still deciding whether to poly or wax. Because we eat (and we’re messy when we do) three times a day. 🙂 I’m assuming you use the bathroom at least that often.