Fence Board Christmas Sign
This post may contain affiliate links which won't change your price but will share some commission. Read more here.Easy step by step tutorial for a fence board Christmas sign using repurposed wood, spray paint and a stencil. Perfect for the holidays!
Anyone remember these lyrics?
If I could make days last forever

If words could make wishes come true

I’d save every day like a treasure and then,
Again, I would spend them with you
Those lyrics by Jim Croce were a favorite when I was in high school back in (mumble, mumble) some years ago.
Today they encapsulate perfectly how I feel about my family.
The days are flying by much too quickly.

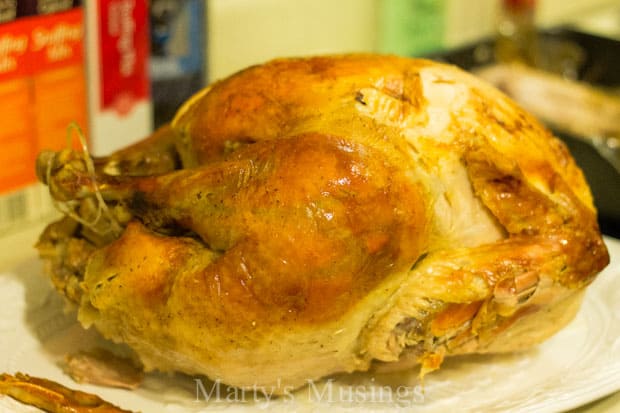
Thanksgiving is our big family holiday of the year.
Turkey and all the trimmings,
picking out the Christmas tree at our favorite tree lot,
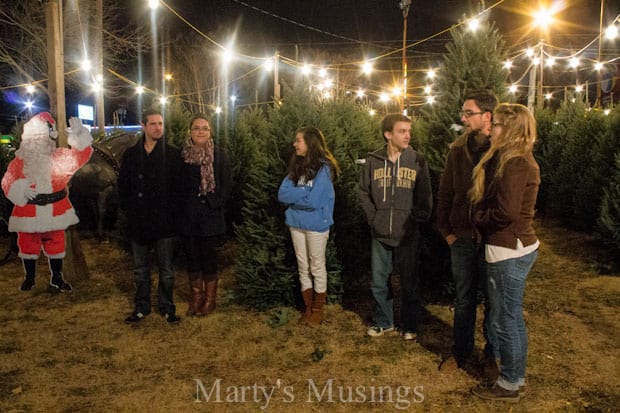
stringing the boughs with burlap and bows,
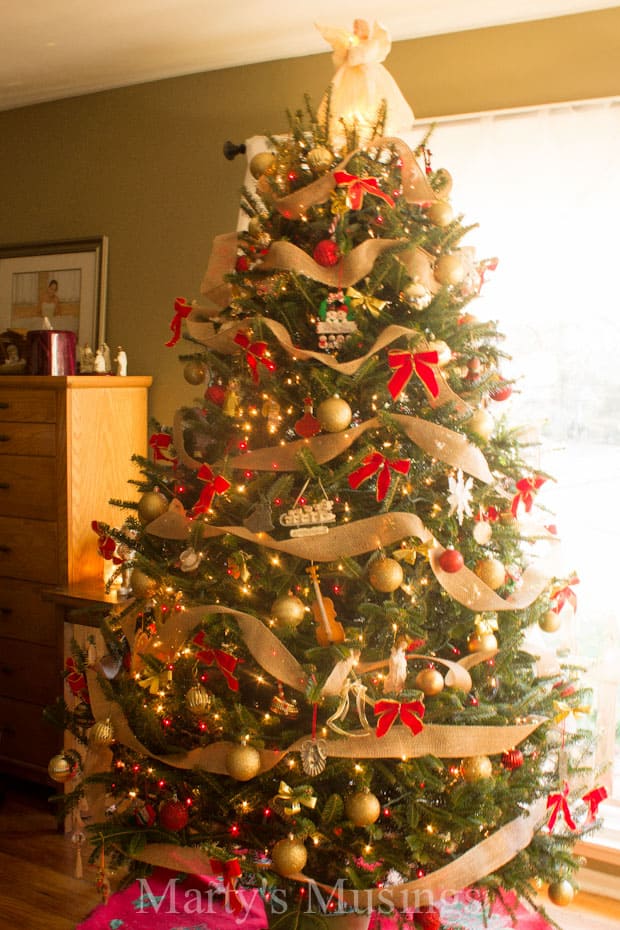
and remembering God’s blessings poured out on us through the year.
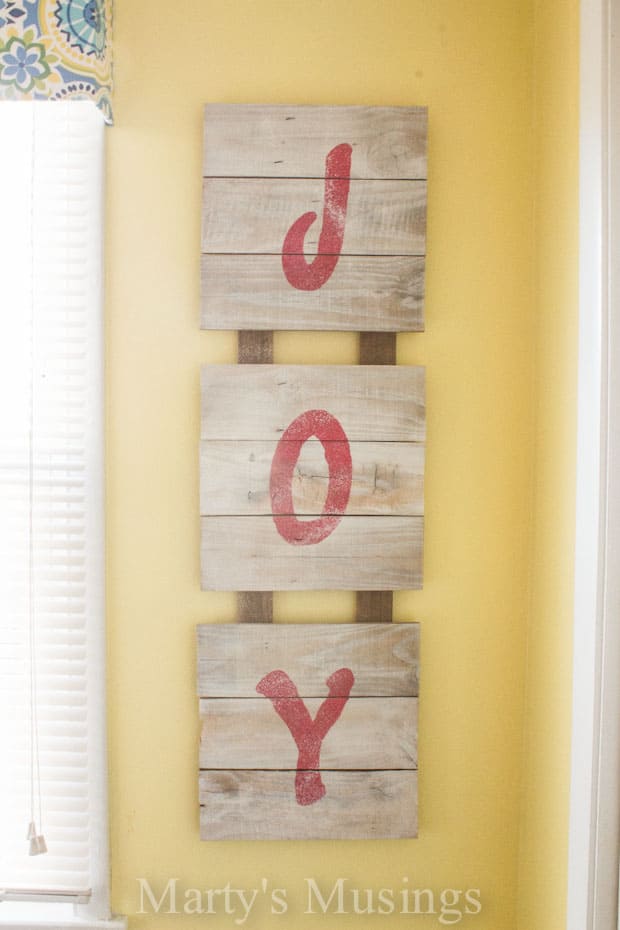
As we celebrate our earthly treasures Tim and I wanted to share a DIY Fence Board Christmas Sign that reminds us every day is filled with joy.
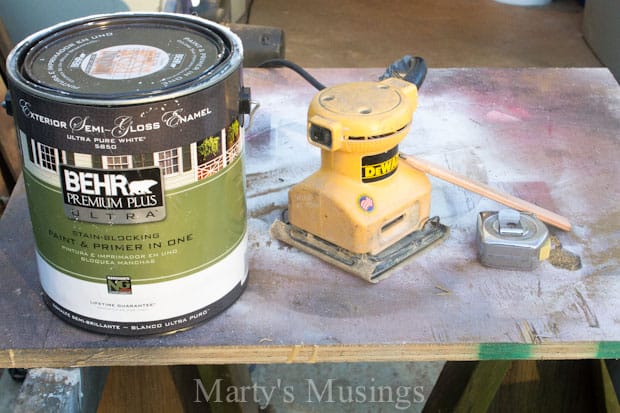
As always, we used a paint product from BEHR paints. These are Tim’s weapons of choice for yet another repurposed fence board project.
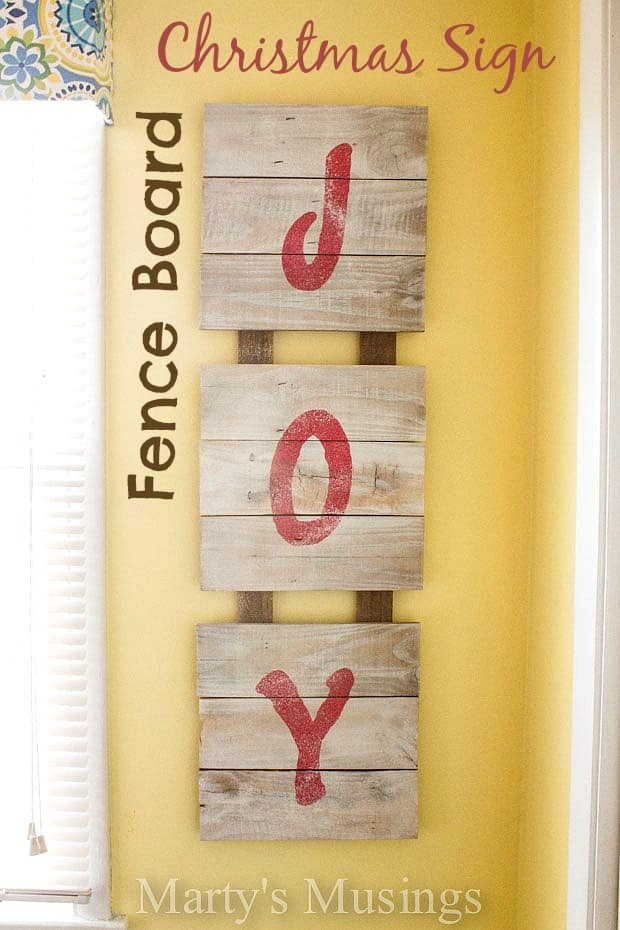
Fence Board Christmas Sign
This process is almost identical to the rustic wood chargers he made for our tablescape, with slightly different dimensions and a modification to attach all of them together.
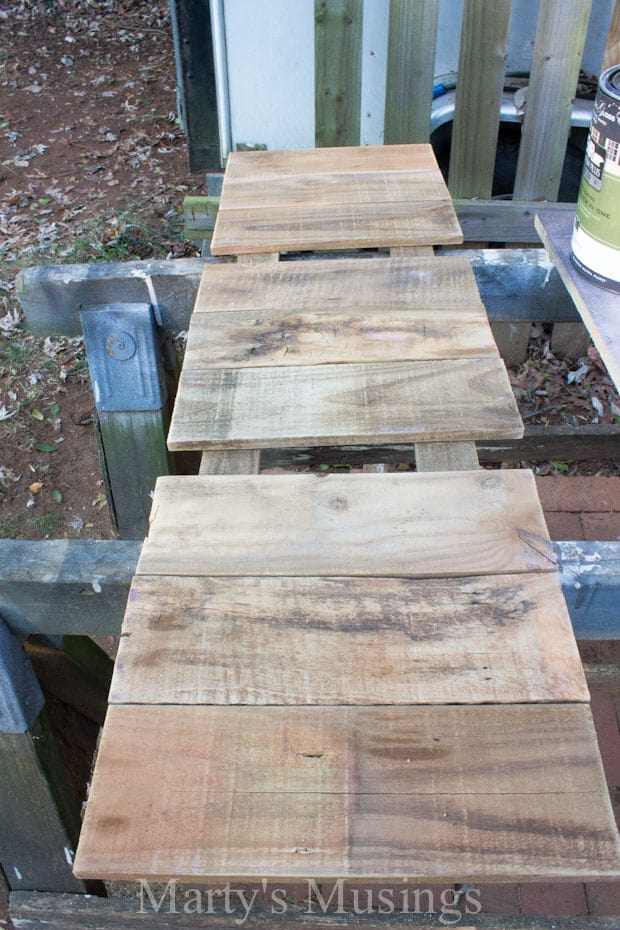
These boards have been cut, sanded and laid out for my approval…a necessary step my hubby craftsman has discovered.
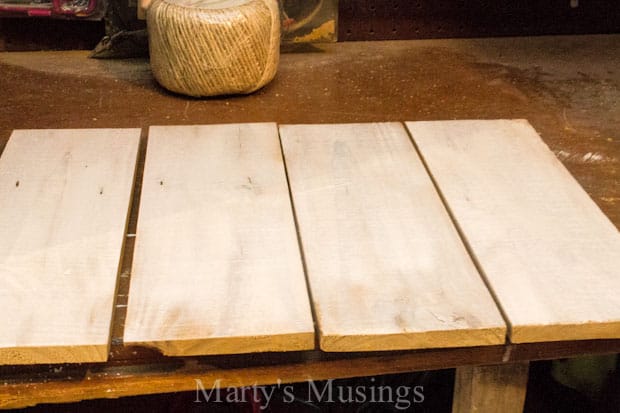
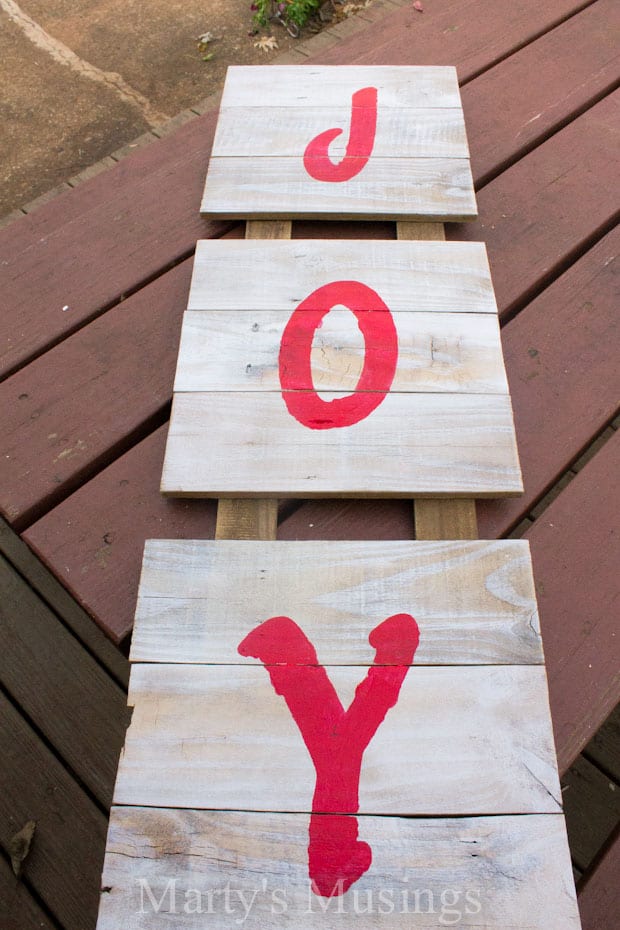
The slats are 4″ wide, so we decided to use three slats cut 12″ long, which results in (say it with me) a 12″ x 12″ square. Love the wood variation, as always!

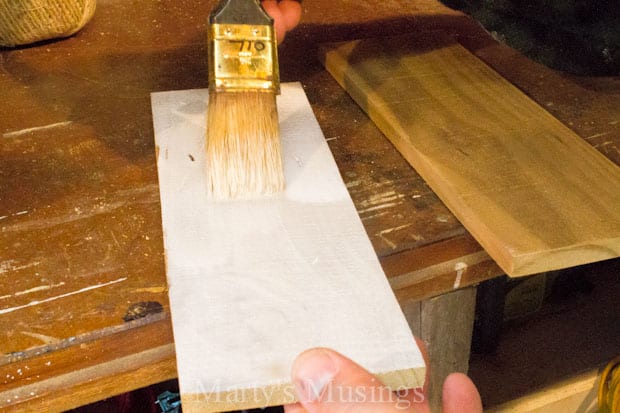
In order for the red letters to pop a bit more, I wanted the wood white washed. This is where the Behr paint comes in.
Tim did not want a solid white on top, so he watered the paint down at a 3:1 ratio – three parts water to one part paint. However, this is a primer/paint combo and that ratio could be reduced a bit if you use regular paint. He did end up putting two coats on to achieve the right look.
The supports that held all three blocks together were left natural, as were all the edges. The sheen is not too important here (flat, eggshell, semi-gloss), so just use whatever you have available.
Here’s a quick painting tip from Tim: in order to avoid drips at the edges, brush from the middle out to the edge. If you begin a brush stroke at the edge, which is very tempting to do and feels quite natural, you’ll end up scraping too much paint off the bristles and then you get a drip.
Here are just a few boards ready to be assembled. Like the chargers, Tim used wood glue where each piece met on the back side and then one screw to attach it to the supports. Not rocket science and just right for this application.
Then my part of the job comes in. I chose the font I wanted for my Cricut and used some ugly old cardstock to find the size that would fit our wood. (You can find more instructions on the Cricut here.)
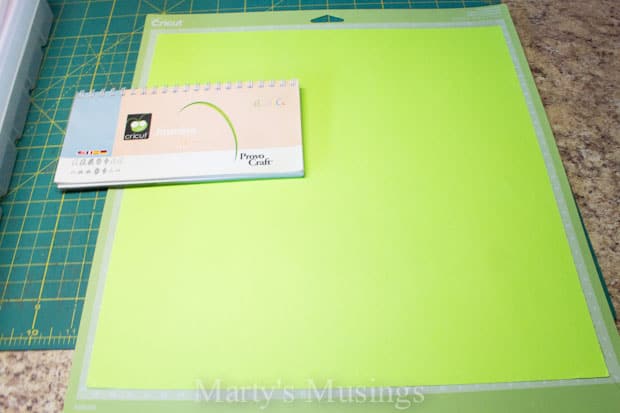
This allowed a nice standard stencil cut for each letter. Yours could easily be adjusted to whatever size works best in your space.
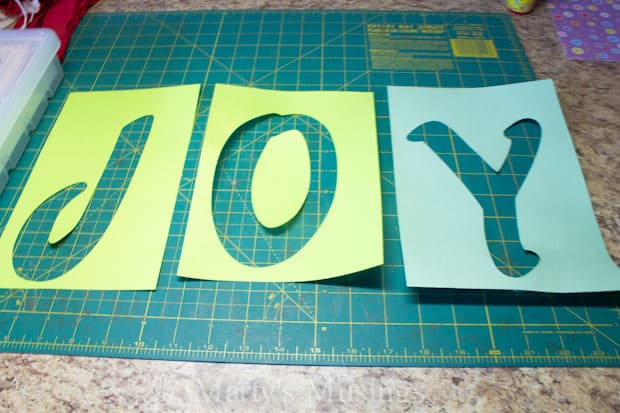
A bit of duct tape and measuring to center the letters and they’re ready to be
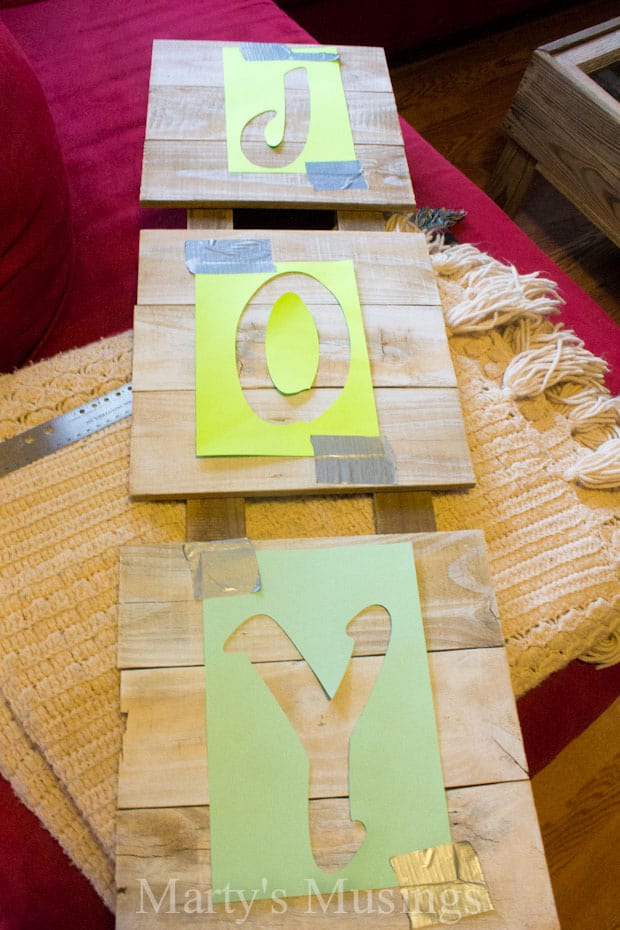
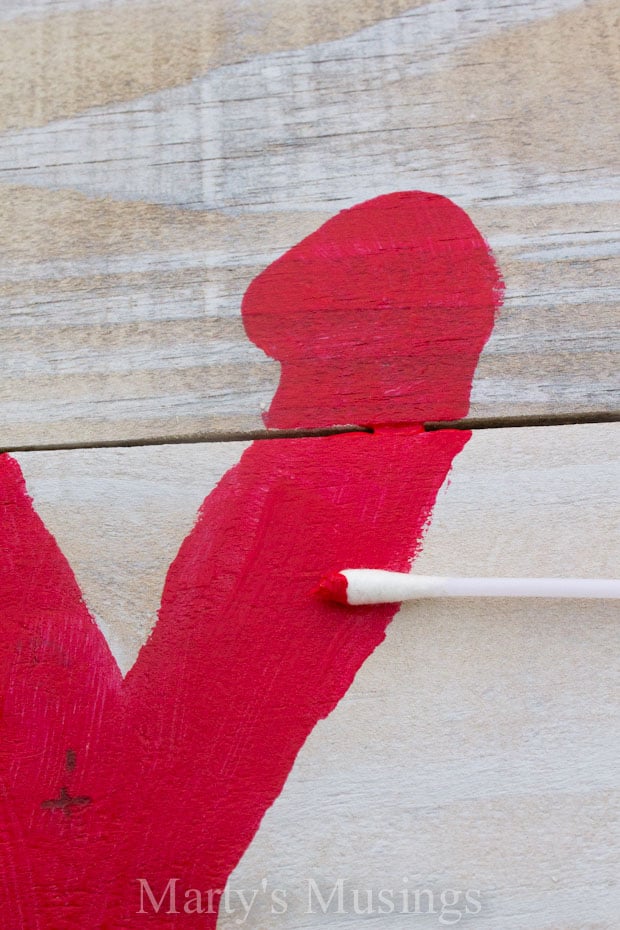
Since Tim is the paint meister, I gave him a small bottle of red arts and crafts paint to sponge with the stencil.
Because the stencil was cardstock, the red bled through a bit underneath the paper. I merely used a q-tip to straighten up the edges a bit. I wasn’t looking for perfection!
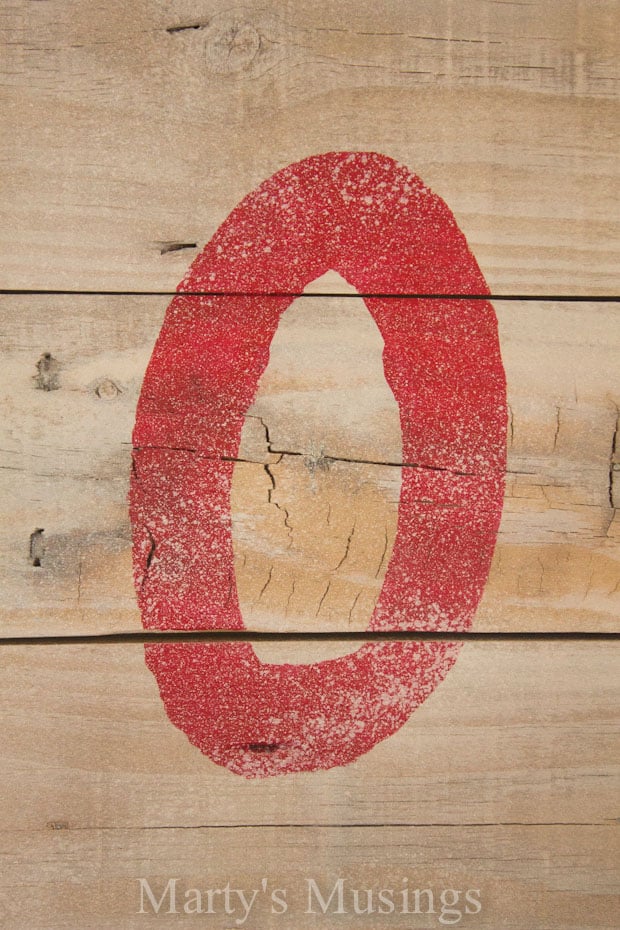
As the last step the red letters were then lightly over sprayed with white aerosol primer to give them a dusted feel.
Here’s a closeup hanging in our kitchen.

What do you think of the fence board Christmas sign? I love it and may have a place for it in my den after Christmas!
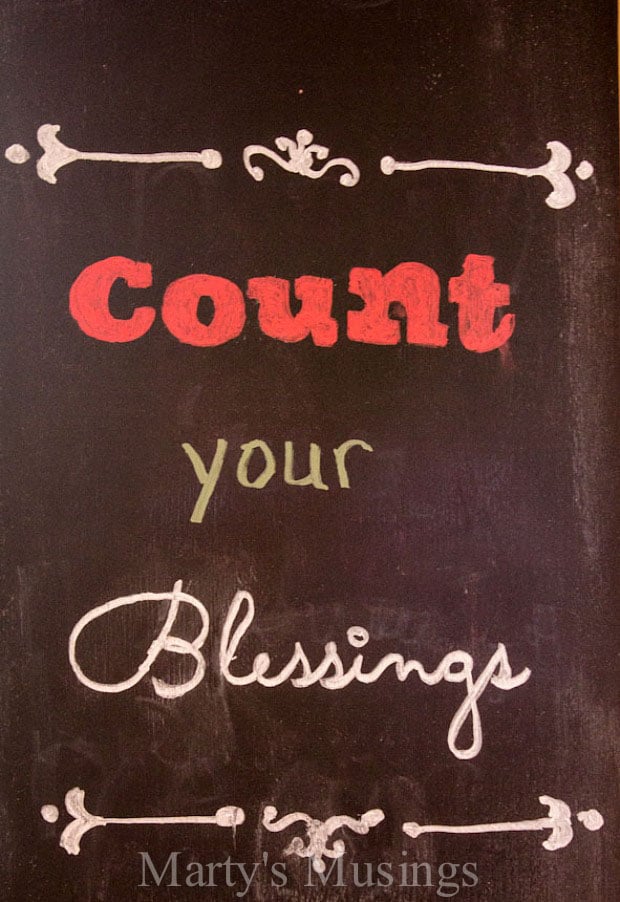
Just don’t forget to count your blessings as you share your joy with family and friends this Christmas season.
What presents are you going to give this year? Have you considered a handmade gift made with love and an investment in time?
For more info on the Behr products that we use and love check out the Colorfully, Behr blog or hook up with Behr through their social media:
Facebook: https://www.facebook.com/BehrPaint
Twitter: https://twitter.com/behrpaint
Pinterest: http://pinterest.com/behrpaint/
Disclosure: I was provided with product by Behr but the opinions are all my own!
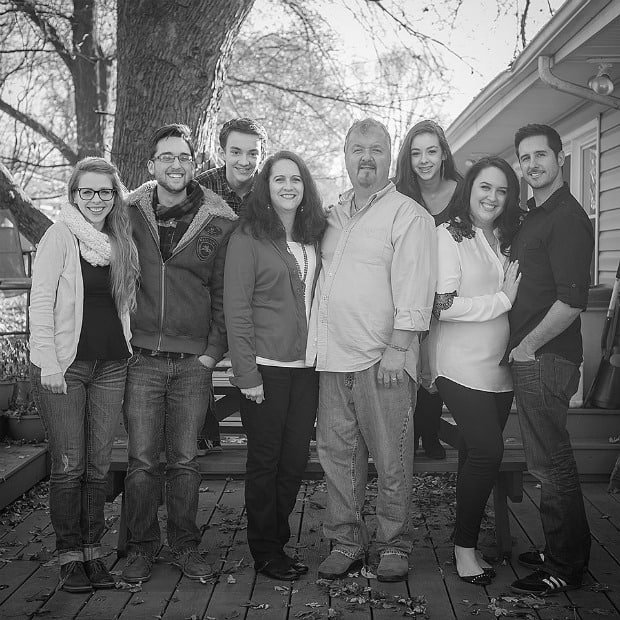
Great project! Your primer trick of misting the project makes it looks like snow; the crowning touch! BTW, love your black and white family pic 🙂
What a beautiful family. And what a beautiful board. Love this project. Thank you for sharing it at my 12 days linky party.
Thank you, Marianne. I love the joy sign and I’m hoping to move it into the den which is brown accented with red. You can’t have enough reminders of joy!
Overachiever that I am, I’m going to do this – but with the word “prosperity.” Wish me luck!
p.s. I might just settle for Joy.
I think your JOY sign came out beautifully 🙂 🙂 🙂 Love and hugs from the ocean shores of California, Heather 🙂
Thanks so much, Heather! I love doing projects that don’t have to be perfect! Hugs right back!
Very pretty! Thanks for sharing and have a wonderful Christmas.