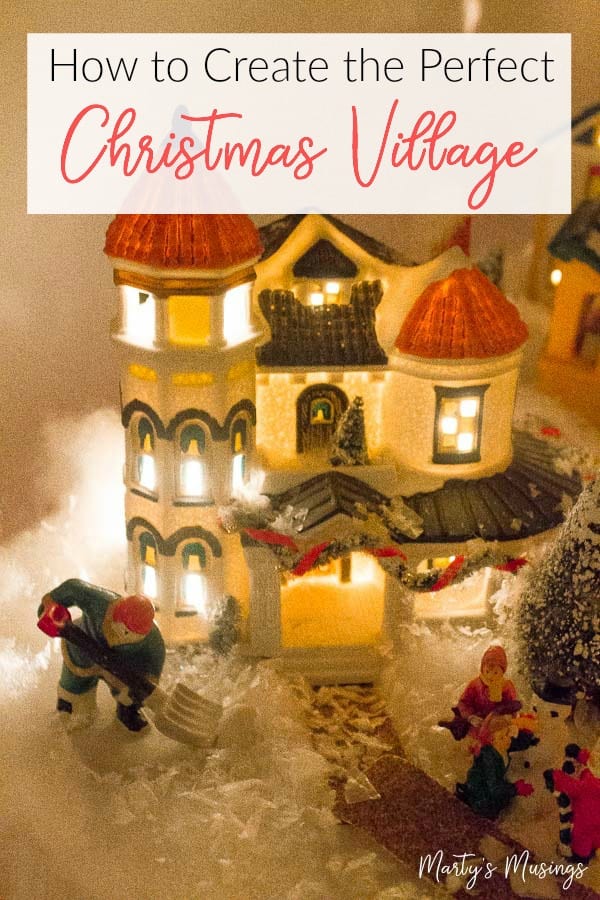
DIY Christmas Village Display Ideas
This post may contain affiliate links which won't change your price but will share some commission. Read more here.Step by step instructions on how to create a Christmas village display as a family tradition with money saving tips and video!
How do you start a Christmas village collection?
One year as a young bride I discovered the beauty of collecting miniature houses for Christmas. I was enthralled with the idea of owning a DIY Christmas display that our family could enjoy for years to come. (And we treasured our village for over three decades!)
Sometimes the process of starting is hardest the part. Don’t stress over whether everything matches or how few pieces you may have. Just pick a beautiful home and begin!
How to make a Christmas village on a budget.
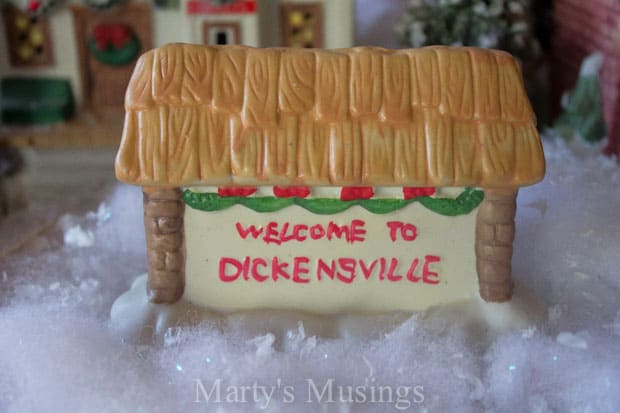
In the beginning I had my family purchase several of the Dickensville houses at half price at the end of the season and give them to me for my birthday each year. Once those became unavailable I just purchased additional pieces at the craft stores that were similar in style and size.
Another way to save money is to pick up houses and accessories at yard sales and thrift stores. There’s a definite difference in some of the lower priced sets and those that are truly collectibles.
At the very beginning of creating this fantasy village we used a train set that actually worked but the more houses we got the less room for the train!
What kind of platform should be used for the base?
As our village grew so did the way we presented the houses and tress, etc. Our solution was a sheet of plywood but I’ve seen many other Christmas village display ideas online such as shelving shaped as a tree or in half circles for the corner of a room. The solution could also be as easy as a shelf or the top of an entertainment unit.
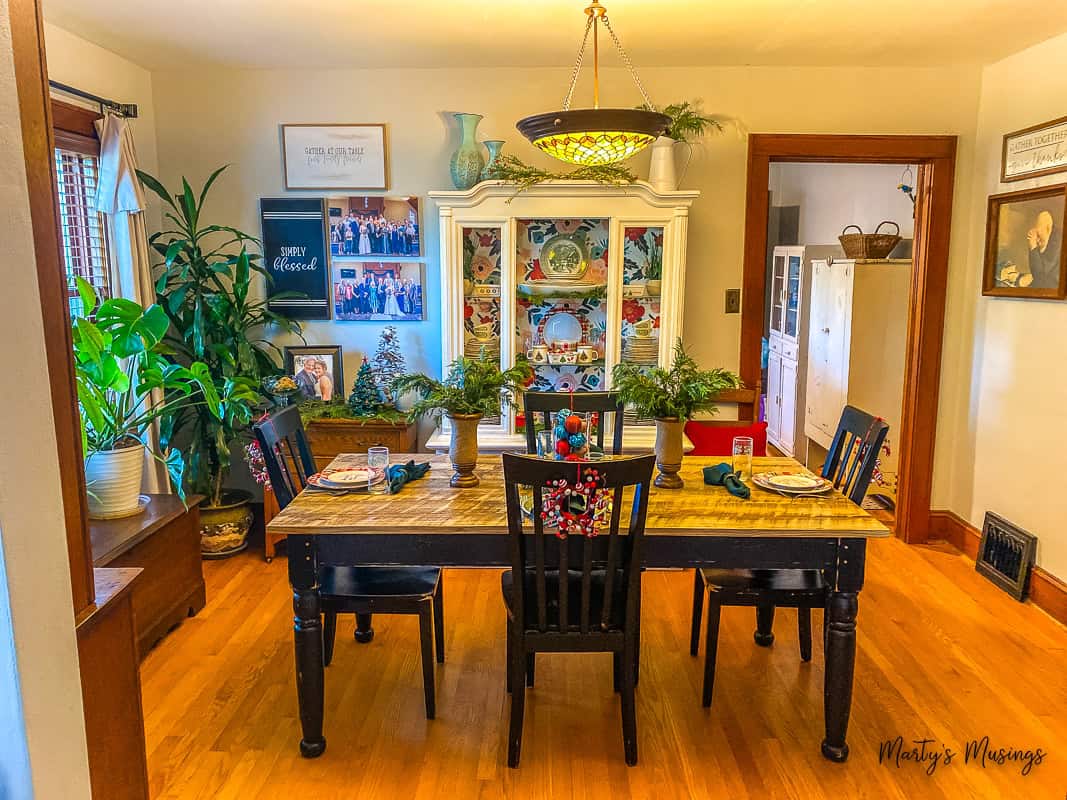
Since my husband and I are now divorced and all my kids have left home, I passed down the village to my oldest daughter. I will always cherish those decades of noise and chaos while setting up the vilage. (You can read all about my new cottage and my Christmas Decorations on a Budget here!)
Materials:
(I’ve included some affiliate links for your convenience. Click here to read my full disclosure policy.)
Christmas Village houses (Department 56 Dickens’ Village is a popular one or Lemax Village is another one)
Department 56 Dickens Village figurines or Lemax Village people
Street lamp set
Village brick street
Snow cover buffalo blanket
Styrofoam fake snow (our kids’ favorite part!)
Flat white sheets
Candy stripe red fabric
Burlap ribbon
Heavy duty staple gun
Extension cords
Surge protector power strip
Nightlight light bulbs
Step 1. Select appropriate size of plywood for your base.
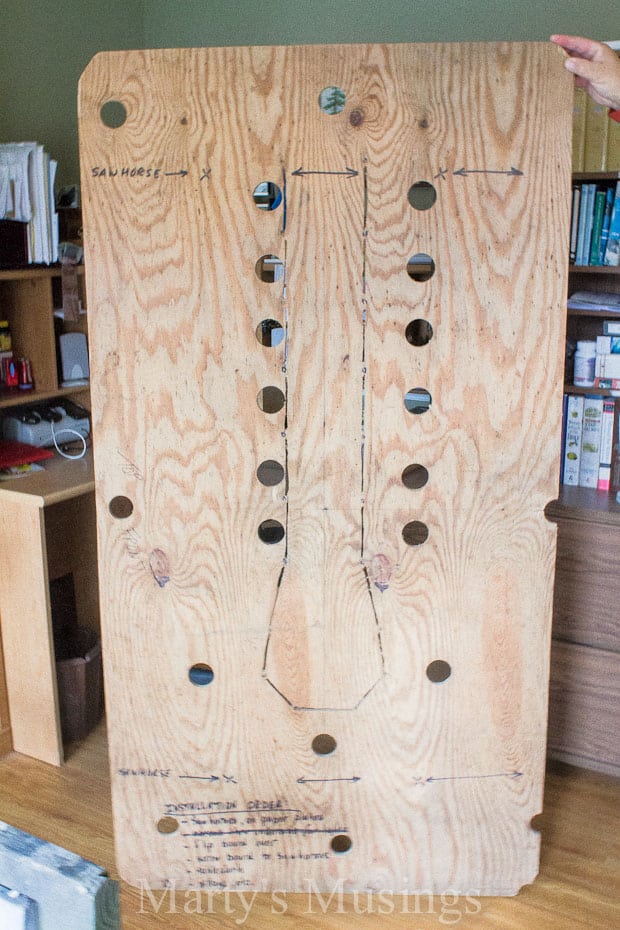
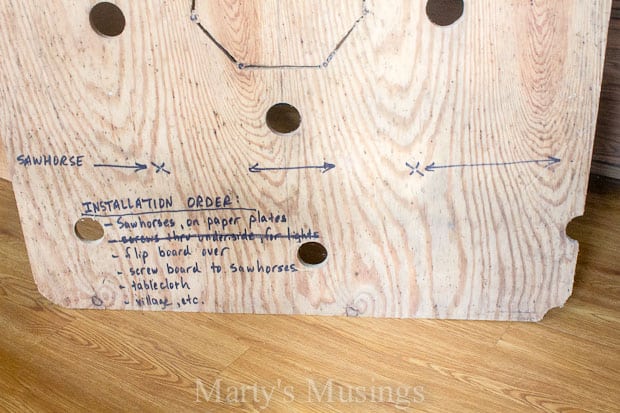
The foundation of our Christmas village was this piece of 1/2″ plywood that had been trimmed and modified over the years to accommodate every little nuance in its construction.
It had rounded corners for safety, holes large enough to push electrical plugs through and connecting grooves cut to hide extra wires. Arrows and lines drawn with permanent marker were a great way to remember how things were set up.
If you don’t have room for a large piece of plywood think about other options such as dining table, side table, corner cupboard, mantel or other creative display platform.
Step 2. Determine placement of houses on the plywood and cut circles.
The holes will vary depending on the number of houses you have. One year our oldest daughter drew out the layout of the houses so there would be no arguments! Only problem was I kept adding more houses!
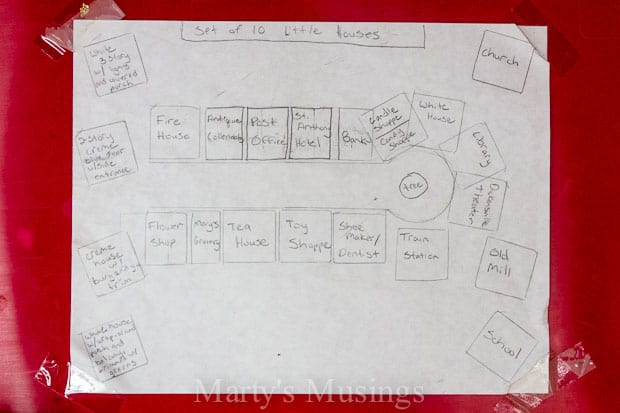
The placement of the houses is up to your personal preference but it’s fun to create a downtown area, a skating rink and homes on the outskirts. The joy having a village is making up stories of the people within enjoying the holiday season.
After so many decades enjoying our village we really didn’t need the instructions anymore, but I love this evidence drawn on the plywood itself!
Step 3. Put paper plates underneath two saw horses.
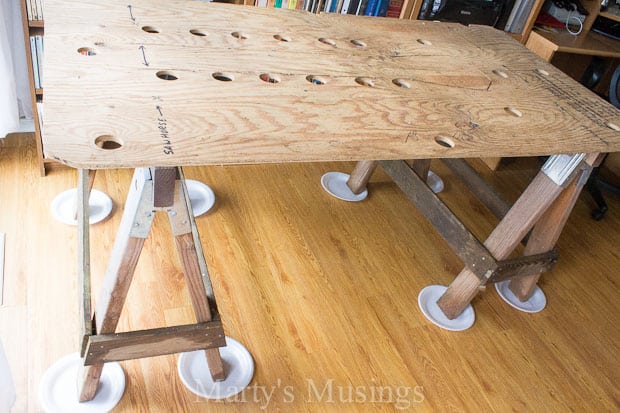
Use saw horses that will fit the height you want and then place paper plates underneath them.
We used to do this when we had carpet to protect it from the muck on the legs, but eventually it was to protect the flooring. It also helps the whole set-up to slide around, kind of like glides.
Step 4. Attach plywood to saw horses.
The plywood is screwed into the saw horses, where marked (of course), which prevents any shift and a catastrophic collapse. At one point we had cats that loved to jump onto our village and terrorize the town folks!
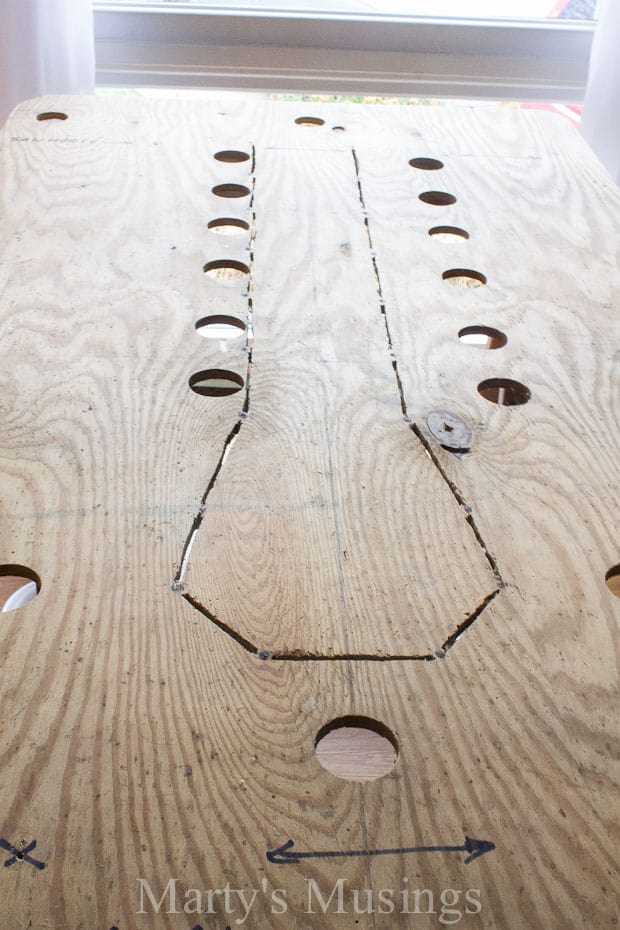
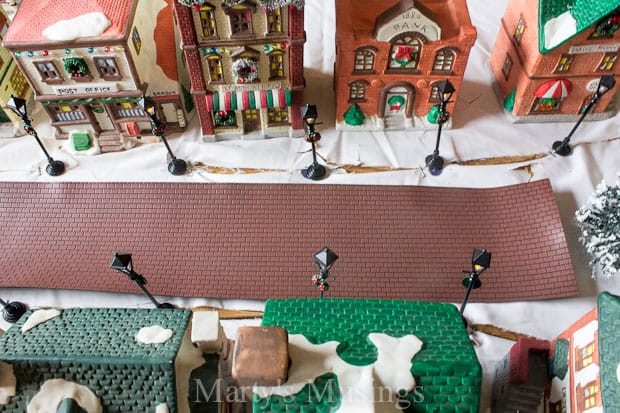
This makes sense when you see the finished product, but this is looking down Main Street, with houses and shops on either side. The road is lined with streetlights that are stapled to the board and the extra wiring is pulled through the slots to the underside of the table.
Each house has a light (actually a night light sized bulb and retaining clip) and that cord is pushed through the holes.
Step 5. Cut holes in a flat white sheet to match the plywood and set in place.
The next step is to place flat white sheets over the plywood that has matching holes cut where they fall in the plywood. Again, this is to allow for all the electrical connections to be made and hidden under the village.
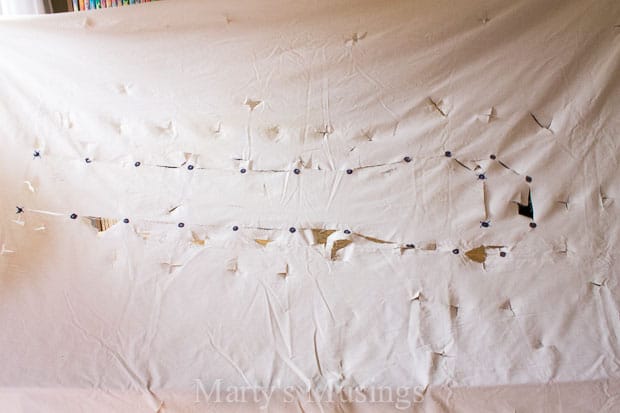
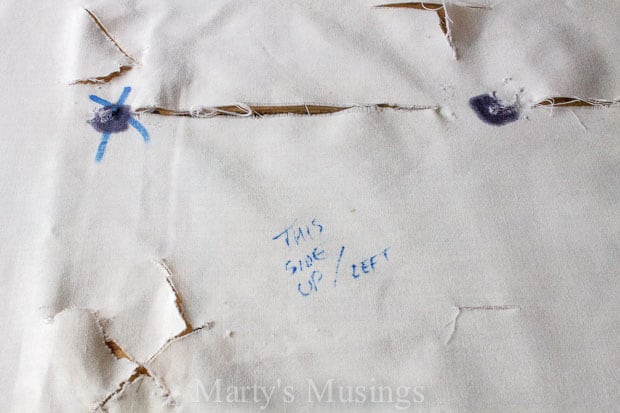
It was important to get the right side up and the left side right. This was certainly quite the process!
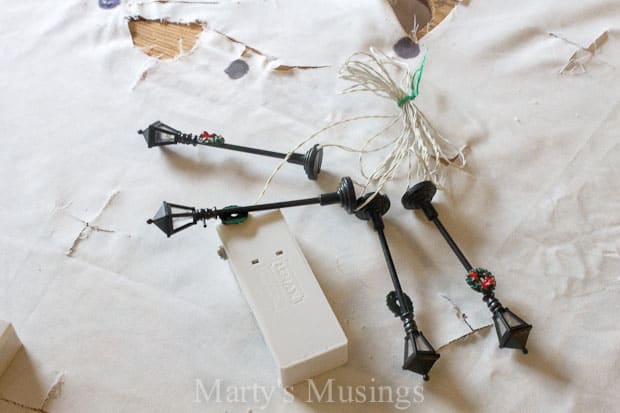
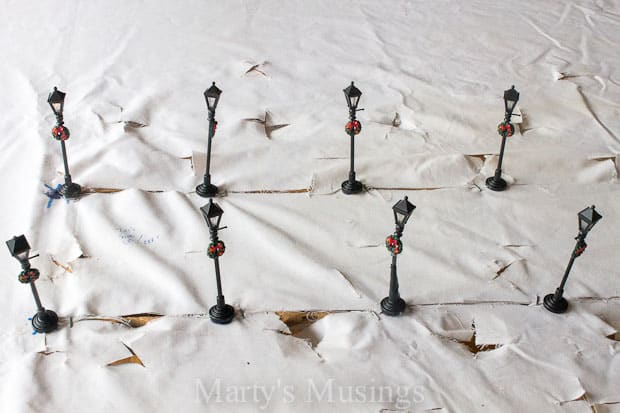
Step 6. Attach street lamps to wood.
The street lamp set was always a magical part of the setup. There have always been 24 in Dickesnville, but they really took a beating year to year.
We used to drive screws through the bottom of the plywood and push the lights onto the screw to hold them in place, but one year they had to be replaced and the set-up changed.

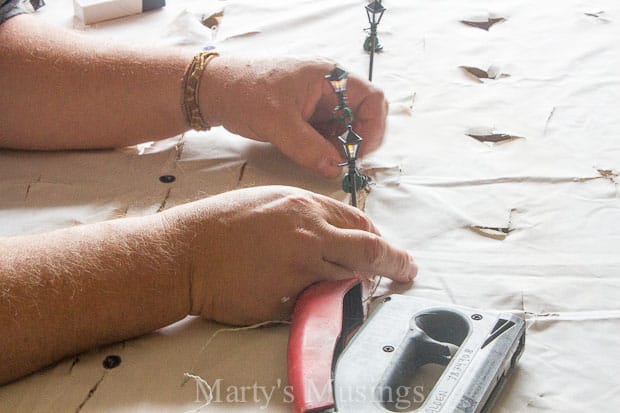
Towards the end we just stapled them to the board on either side with a heavy duty staple gun and prayed they stayed in place.
Unseen here is our son under the board pulling the extra wire between lights through the sheet and those grooves in the plywood. Everything gets hidden!
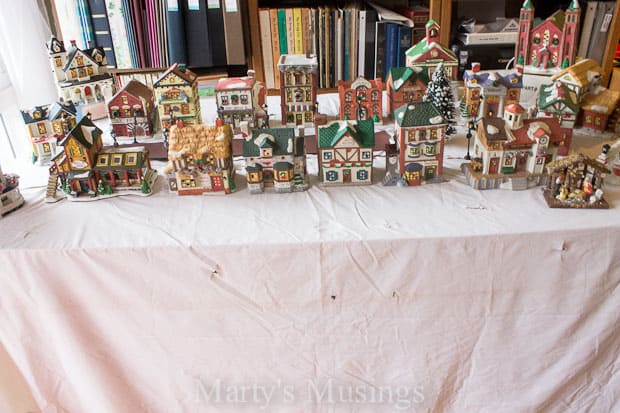
Step 7. Set houses in place and pull all electrical cords to the underside of the plywood.
This is where having a diagram is so important! When you’re making a Christmas village as a family, the less decisions the better!
All the cords are pulled through the sheet and the hole in the plywood to the floor. This requires extension cords and a surge protector power strip as well as someone to lie on the floor and connect it all! Depending on the size of your village this can be quite the task!
Step 8. Add your own special touches.
One of the more clever ideas was using a roll-up street we found at Lowe’s one year. It’s similar to that magnet material and looks just like a brick street when finished.
For sidewalks we use sandpaper cut into strips and placed where appropriate.
Our village went through many different designs and in the early years we had a train that ran around the outside. Eventually we decided it was too much trouble and abandoned the train!
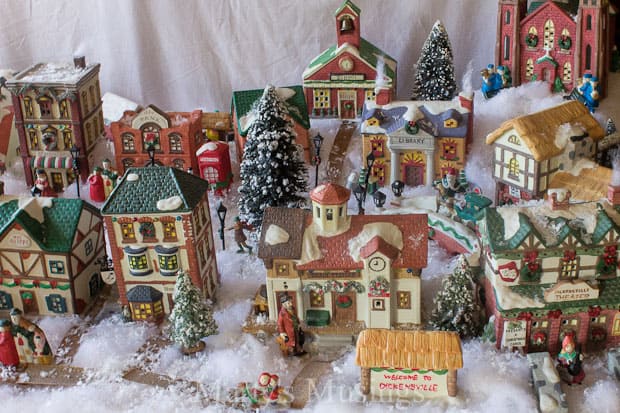
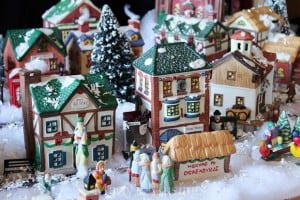
Step 9. Add all the accessories.
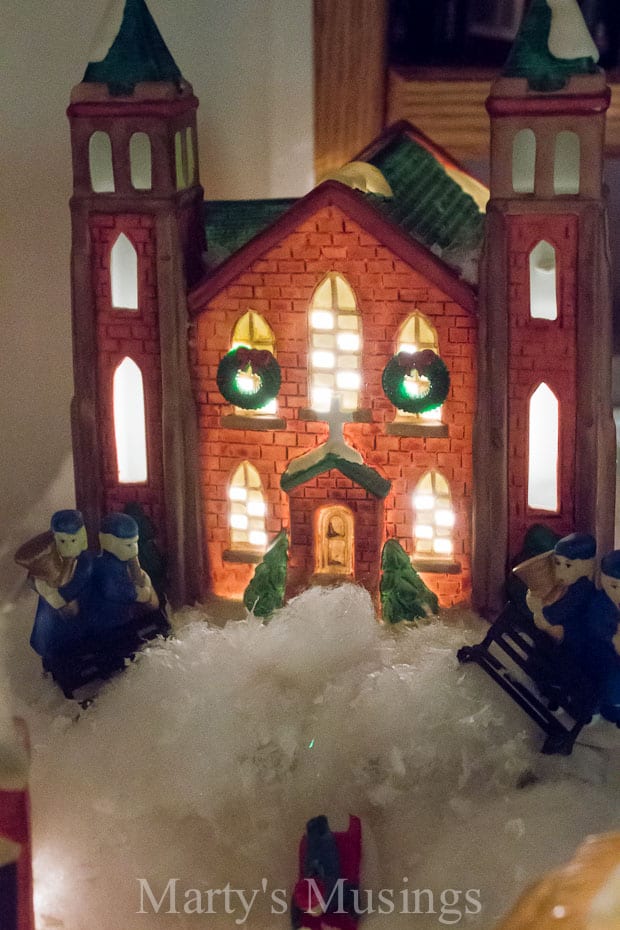
Here the houses and shops have been placed, but the village was far from done! There were Christmas trees, sleighs, carolers and snowmen, ice skaters and sledders, vendors and village pieces soon to follow.
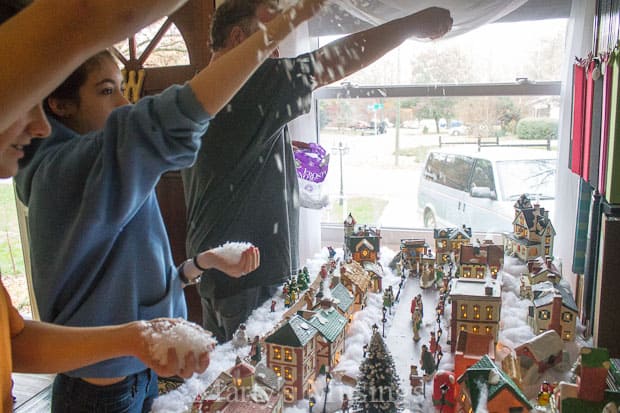
Step 10. Throw on the snowflakes!
This is the moment when everyone is called back in to participate – the throwing of the snowflakes! This was always, always our children’s favorite part. This happened after everything had been placed and the buffalo snow blanket covered the ground.
One year we added smoke coming from chimneys with the idea to use a sticky dot and wispy cotton to achieve the effect. It was very cute!
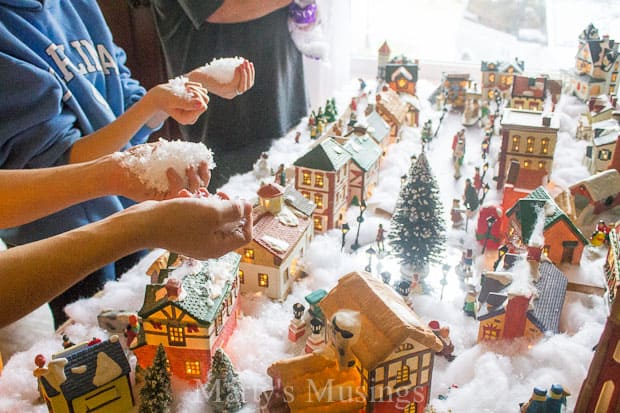
So this is the moment captured! It’s snowing like crazy…the perfect holiday treat!
Step 11. Cover plywood with fabric and create a backdrop if desired.
The final touches were the candy stripe skirt (similar fabric here) stapled to the edge of the board and a very clever use of burlap ribbon.
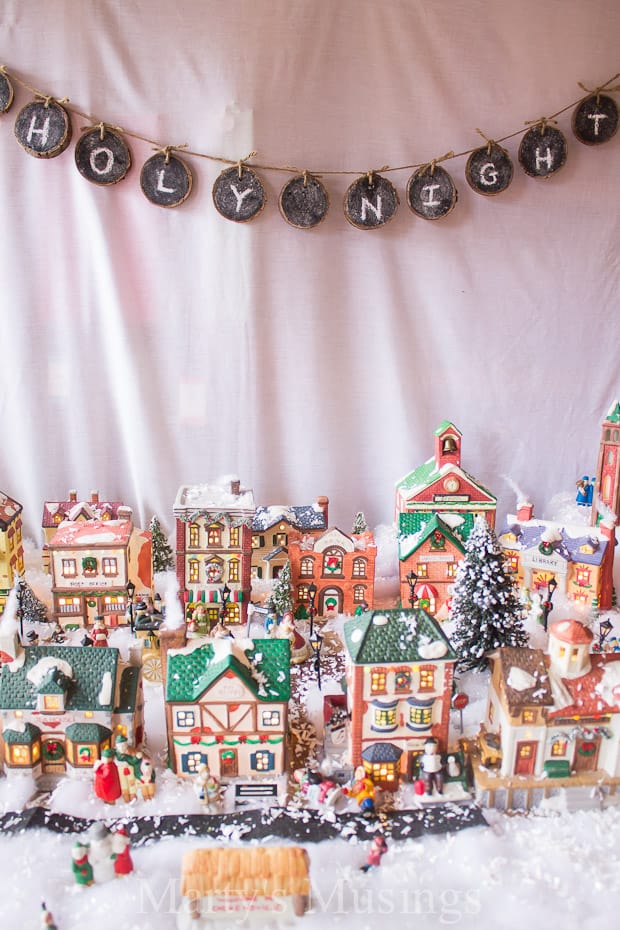
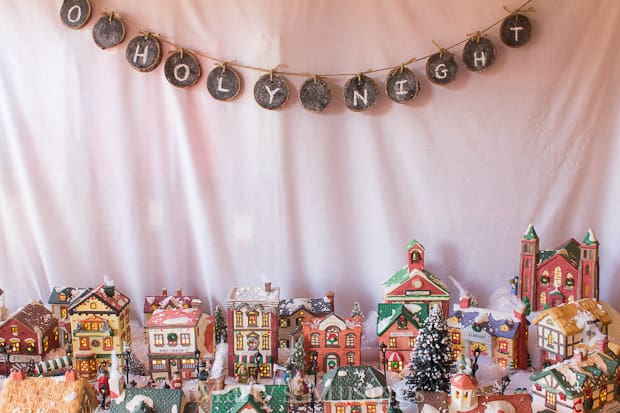
We also decided to hang a sheet behind the village one year to hide the bookshelves. It helped with pictures but also gave all the focus to one of the essentials in our Christmas season…Dickensville!
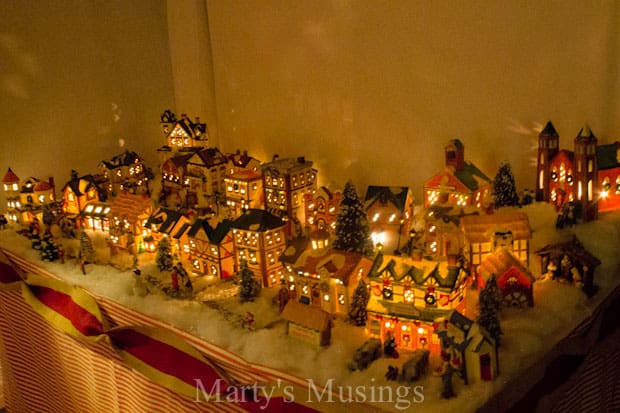
Push everything into place (VERY carefully) and the village is complete

Our Dickensville village greeted Christmas visitors to our home both day and night.
The part I always enjoyed the most was watching the kids bicker discuss the correct placement of all the people and whether some of the houses got too much snow!
This may have been my village, but it was a family tradition and a wonderful way to welcome folks into our home.
Where should a Christmas village be displayed in your home?
Slowly my little Christmas village sets grew and grew until they became this lovely holiday village full of family memories. The little town grew so much we had to use a sheet of plywood as the base!
Our village literally greeted party goers and family each year as we set it up right inside the front door! Just a little bit of beauty and magic!
Over the years we developed a system to all the madness that was our way of greeting visitors and family alike into our home.
You can find all the instructions for making my DIY chalkboard banner with wood slices here. It added a nice touch above the Christmas village display.
Where to store your Christmas village?
We kept the village in large storage tubs marked specifically for this purpose in our storage building outside. The houses remained in their original packaging to help protect from breakage.
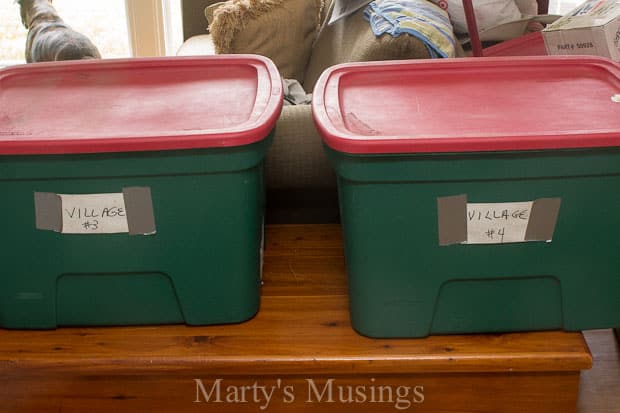
Our tubs were stored outside in a storage building but because the houses were in the original boxes we never had weather related problems.
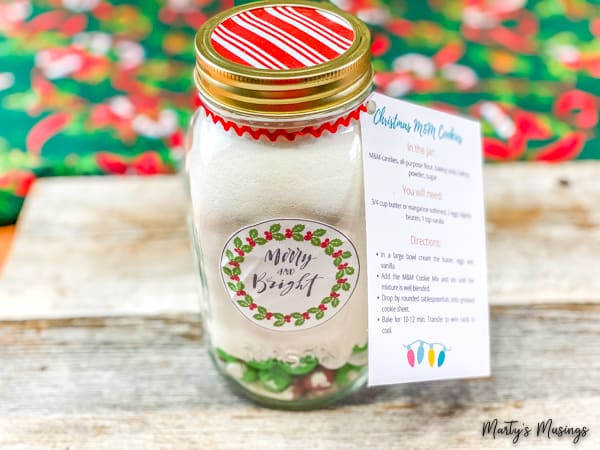
More Christmas Projects
Take your Christmas decorating up a notch with these simple and unique ways to create the perfect holiday home.


Make a DIY Christmas Village Display
Instructions
- Select appropriate size of plywood for your base.
- Determine placement of houses on the plywood and cut circles.
- Put paper plates underneath two saw horses.
- Attach plywood to saw horses.
- Cut holes in a flat white sheet to match the plywood and set in place.
- Attach street lamps to wood.
- Set houses in place and pull all electrical cords to the underside of the plywood.
- Add your own special touches.
- Add all the accessories.
- Throw on the snowflakes!
- Cover plywood with fabric and create a backdrop if desired.
Video
Your village is beautiful. Thank you for all the helpful instructions. When I would put mine up my children would always say that they wished they lived in that village. Thank you so much.
Love your Christmas village tutorial. Very helpful. Music is great also.
Very cheery and holiday sounding. If you don’t mind me asking, what is that soundtrack?
Thanks for sharing your talents.
HI,
I’m collecting Dickens houses and figurines from ebay, and can’t wait to start my own Christmas village. Your photos and ideas have given me even more drive and excitement for the project. Thanks for your info and creativity. Can’t wait till Christmas!!!
That’s so exciting, Kathryn! Hope you create wonderful memories!