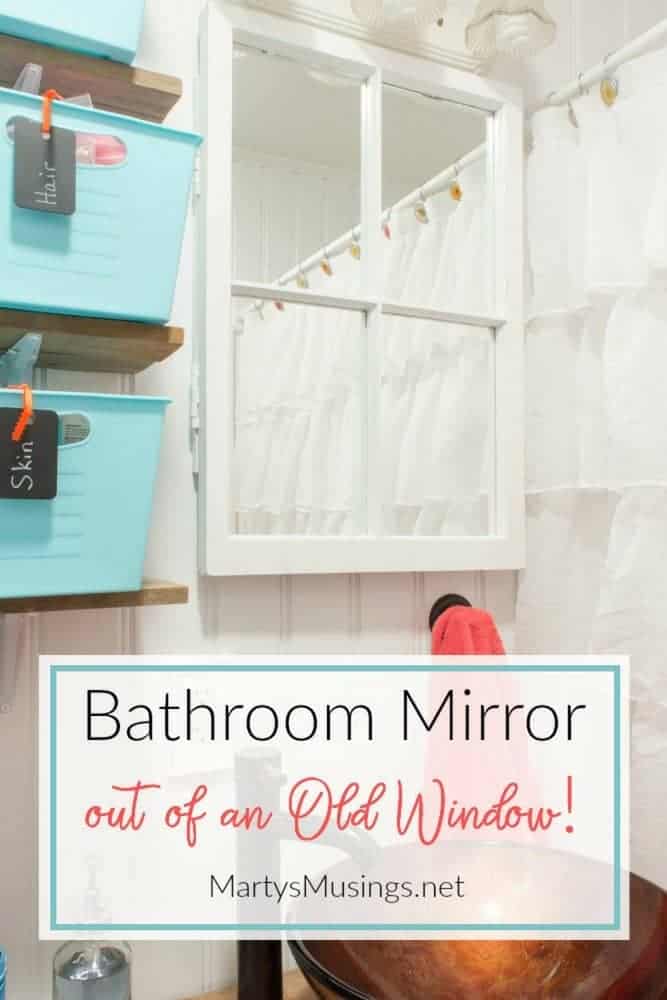
Bathroom Window Mirror and Window Glazing Tutorial
This post may contain affiliate links which won't change your price but will share some commission. Read more here.Easy to understand DIY tutorial with tips for turning an old rustic window into a bathroom window mirror. Also included are details on glazing a window and installing the mirror.
A few weeks before we started on our small bathroom remodel Tim came home with several free windows he found at a job site.
Since we love a good window project (see our old window photo frame here and our window table here) I began plotting and planning for the bathroom. A little bit of thinking outside the box and some DIY skills and we have a one of a kind bathroom window mirror!

Bathroom Window Mirror
From Tim: This is a fun little project that can yield a nice “wow” factor wherever it is used. Old wooden windows can be picked up on the side of the road if you keep a sharp eye, or you can watch Craigslist in your area and get one from a salvage dealer for less than $20. I always go for free first!
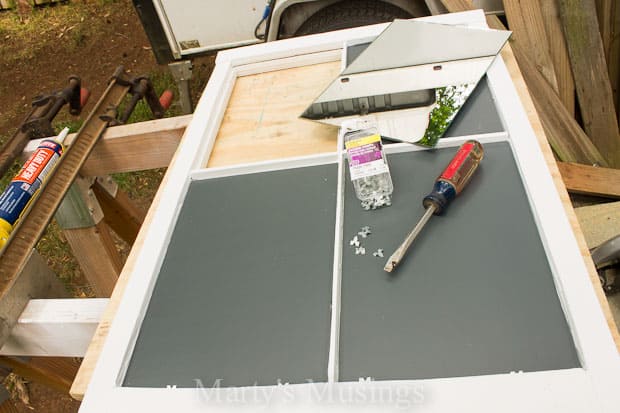
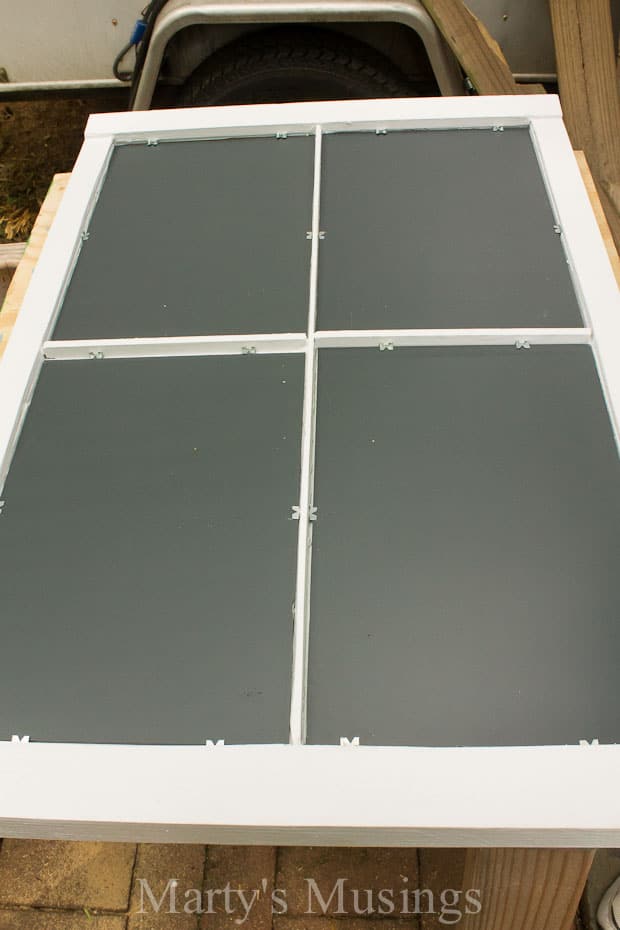
I had already prepared the window below to receive mirrored panes. First the glass was broken out of each section, all putty and nails were removed and the entire window was primed and painted. You want to achieve the cleanest channel all the way around to receive the mirror.
The new mirrored glass is installed from what was the inside of the window. This is where the ledge is located which supports the glass.
I had these four pieces cut at my local Lowe’s store, which is the biggest expense of the project, for less than $20.
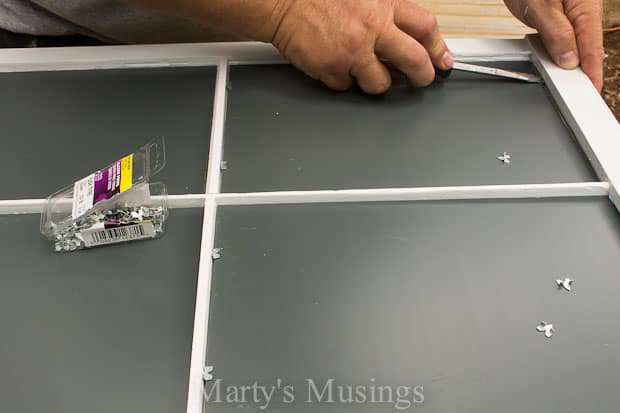
Place the mirror face down onto the ledge and install the triangle-shaped push points around the entire perimeter of each section. This will hold the glass in place for glazing.
You may not be familiar with these little gems, so here’s a tight shot. These also work great for holding the backs of framed pictures in place!
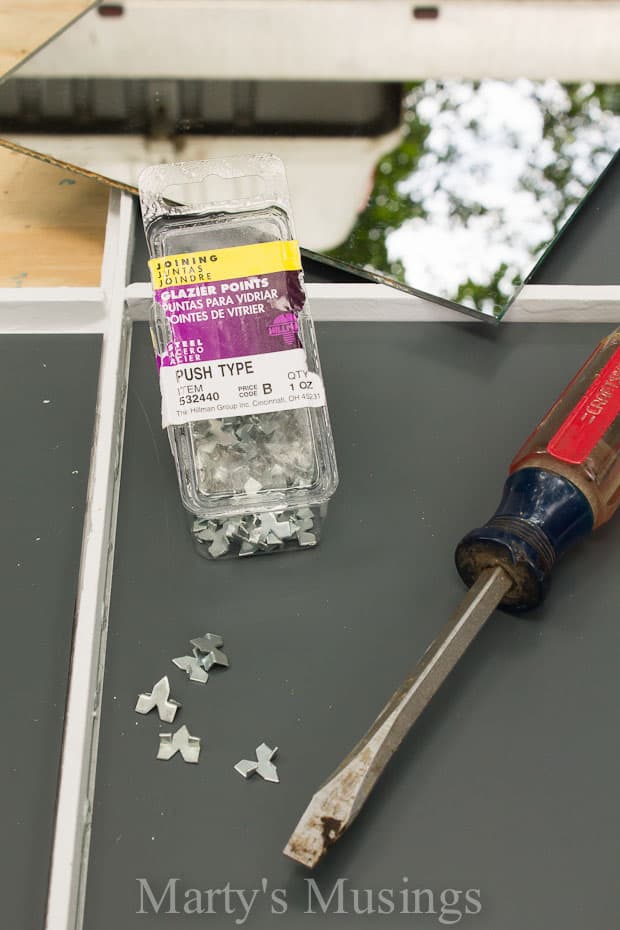
And here is how they are installed. The trick is to not push DOWN on the glass, but to apply pressure HORIZONTALLY into the frame. Get them as tight to the stop point as possible and the glazing will cover them completely.
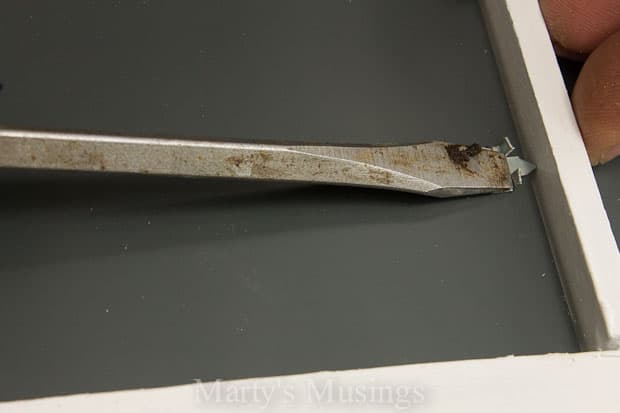
Spacing is totally up to you, but two or three to a side is plenty.
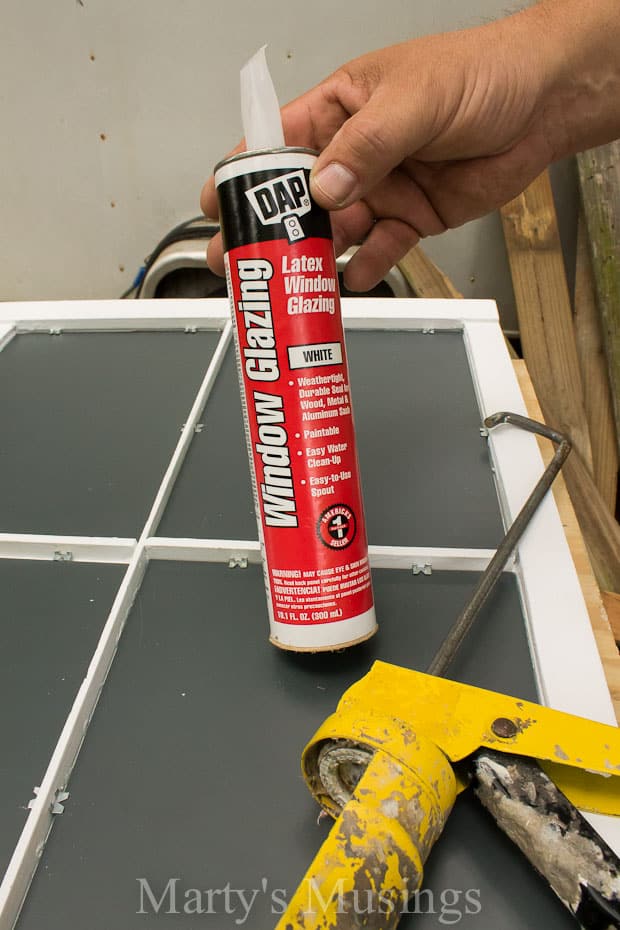
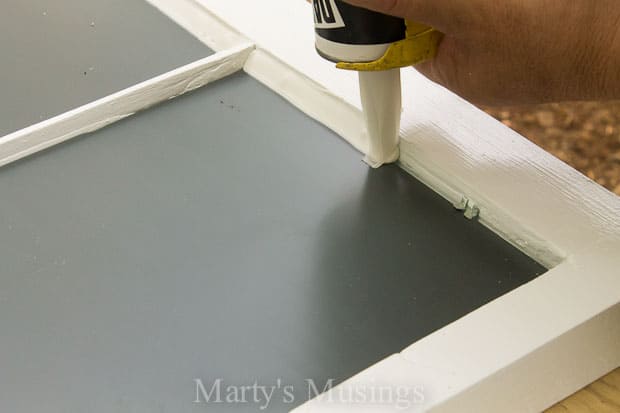
Here we are ready to glaze, the term for applying the putty (glazing) all the way around each piece. This will harden and secure the glass in place for all eternity…

Fun fact: Old-timers would scoop out a glob of glazing, knead it, and roll it into a snake-like shape. Then it would be pressed into place with the fingers and finally shaped with a glazing tool or putty knife.
It really was a craft but took a ridiculous amount of time and was terribly messy. My weapon of choice is this DAP product that comes in a tube with a formed tip. It is the same glazing of old but is excellent for getting this part of the project completed.
Place the tube in a caulking gun, start at a corner, squeeze and go! It may take a few attempts to get the hang of it and you may even want a practice run or two on some scrap material, but it leaves a highly desirable line of glazing in short time. I LOVE this stuff and have used it for years!
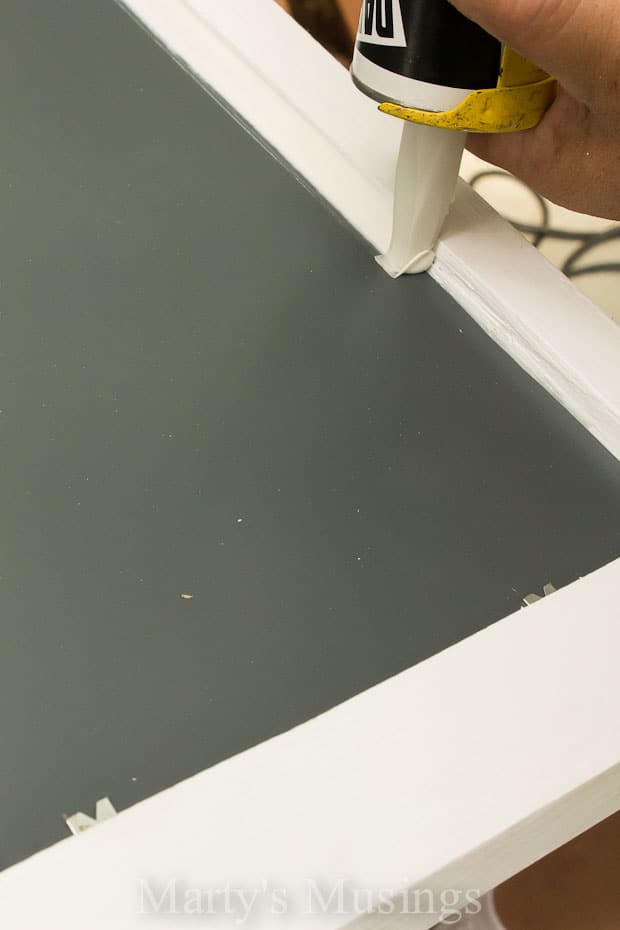
You can go right over those points all the way around each section. The corners may need a little bump with your finger, but this is ready to go.
I chose to paint the glazing, but, depending on your application, this can be omitted. In an exterior setting, the glazing must be painted.
This entire process can be completed in less than an hour, depending on the condition and size of your window, so have at it!
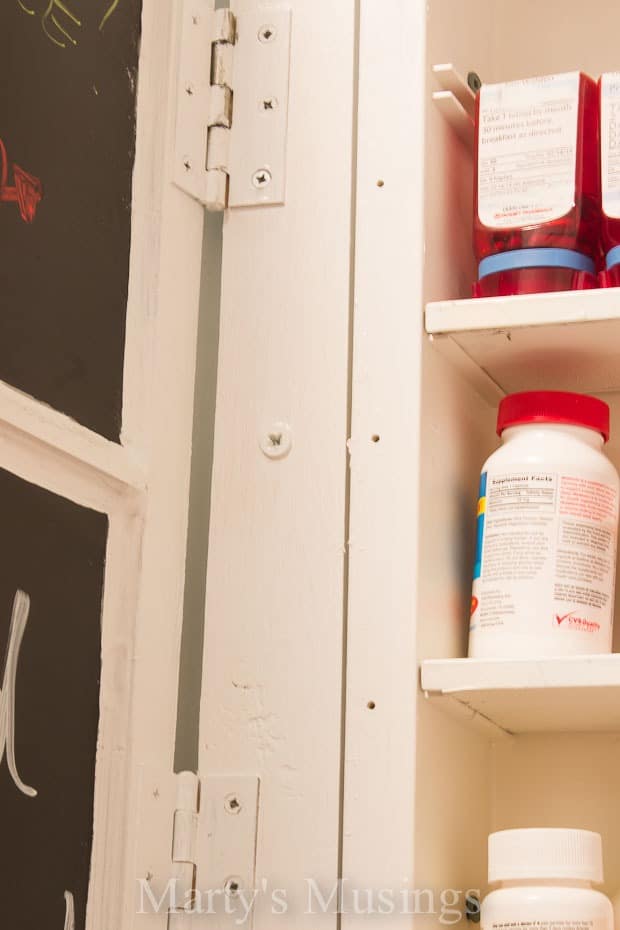
When the window mirror was completed I was ready to bring it into the house and put it in place. The window actually went over the existing boxing for a medicine cabinet; you know, that old plastic case with three glass shelves and a cheap mirrored door?
Our window was slightly larger than the old door, so I installed and painted a 1″x2″ piece of wood that I had in the shop right on the wall to receive the hinges. This also allowed me to keep the mirror centered above the sink.
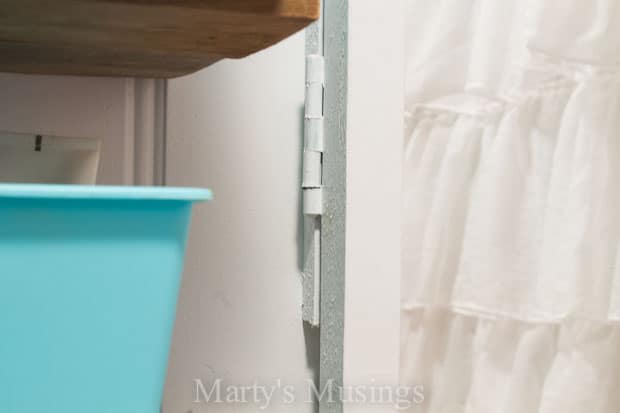
This is the view with the bathroom window mirror open; standard hinge, mounted on the wood, mounted to the wall next to the plastic cabinet. Again, everything here is concealed when the mirror is closed.
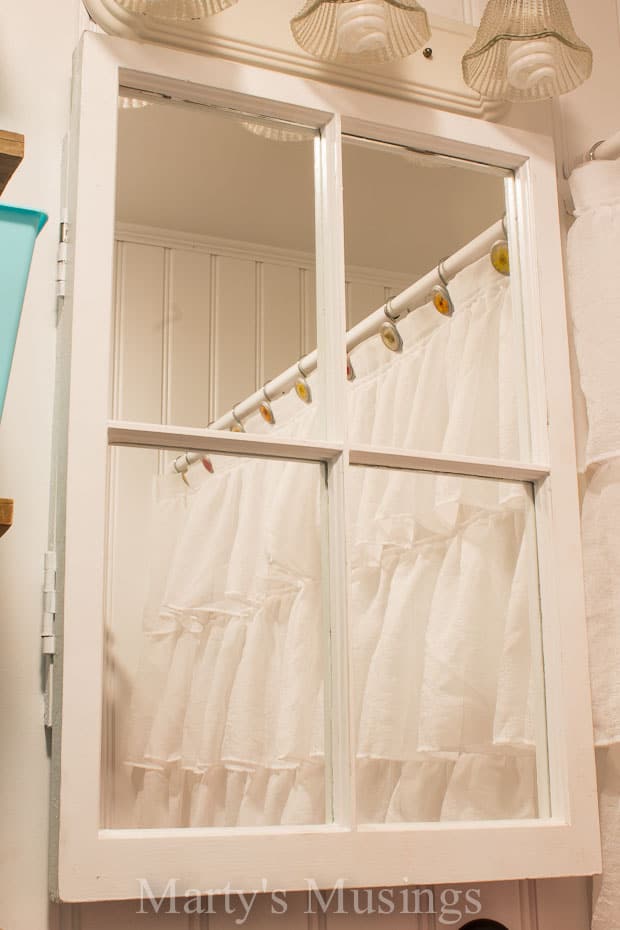
And the finished product. Not too bad for an old free window!
READ ALL THE POSTS IN OUR SMALL BATHROOM REMODEL:
- Rustic Small Bathroom Reveal
- Fence Board Bathroom Cabinet
- Bathroom Old Window Mirror and Glazing Tutorial (you are here)
- Built-in Bathroom Storage
- DIY Shower Tile Part One
- DIY Shower Tile Part Two
- How to Install a Bathroom Exhaust Fan and Electrical Outlets
- How to Install Beadboard Paneling
- How to Install an Interior Door
Love reusing old windows!
Hi, Cyndi. We love old windows, too, and I’m constantly on the lookout for one. They provide such great decor options, and my husband has also found a way to work them in as furniture as well!
It’s a good idea. You wrote this post very well. Your post looks so colorful also for the photos you used in this post. Thanks a lot for this post.
Marty this is a fabulous idea and I just happen to have an old window…….score!