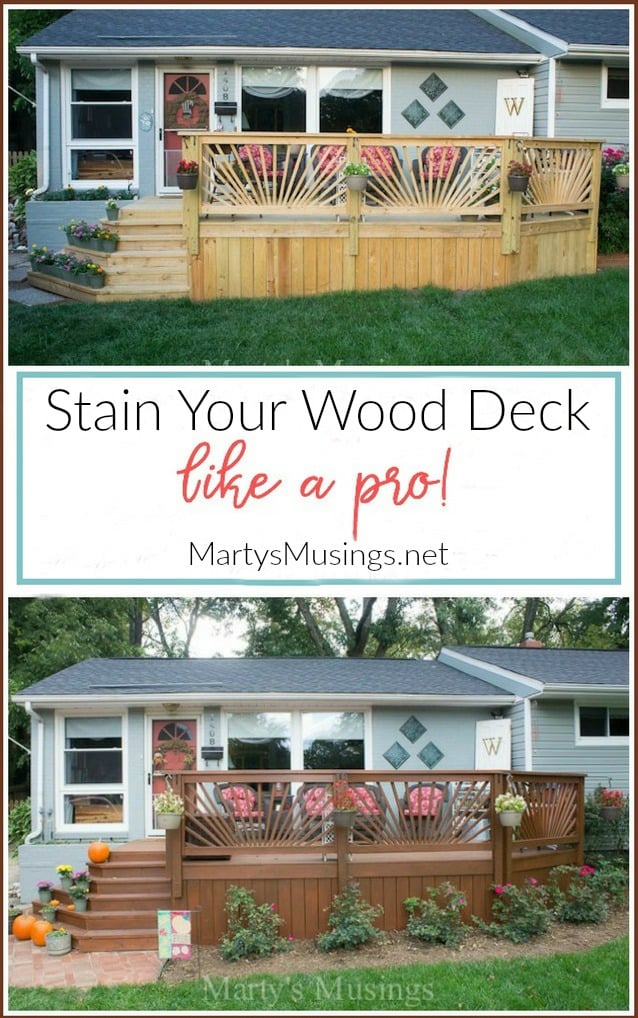
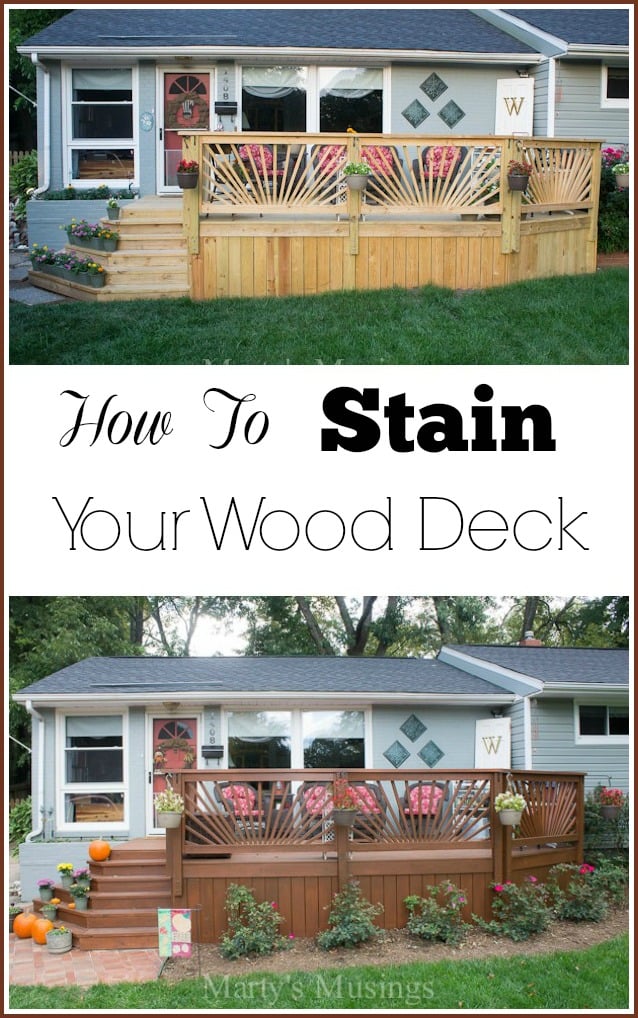
How to Stain Your Wood Deck
This post may contain affiliate links which won't change your price but will share some commission. Read more here.Even an ordinary homeowner can stain your wood deck with these practical tips and product recommendations from a professional painting contractor.
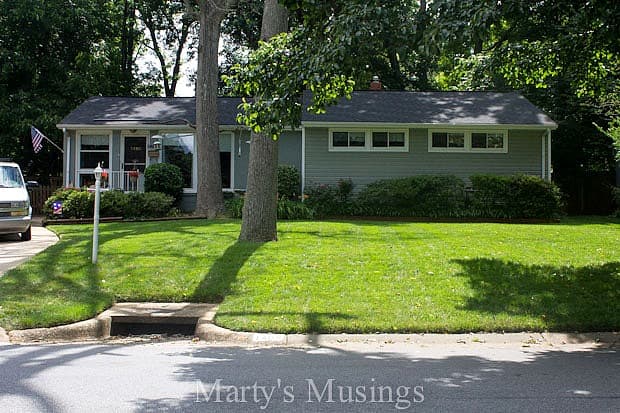
I hope you’ve enjoyed following along on our journey as we’ve updated our 1950’s ranch home with a deck on the front. If you haven’t read the story you can start with Part One, go on to Part Two (where I rock a jackhammer!) and the deck reveal.
Here’s a reminder of where we started.
We don’t have a garage so every time I come home I park the car, come up my deck stairs and see the results of our hard work and dreams.
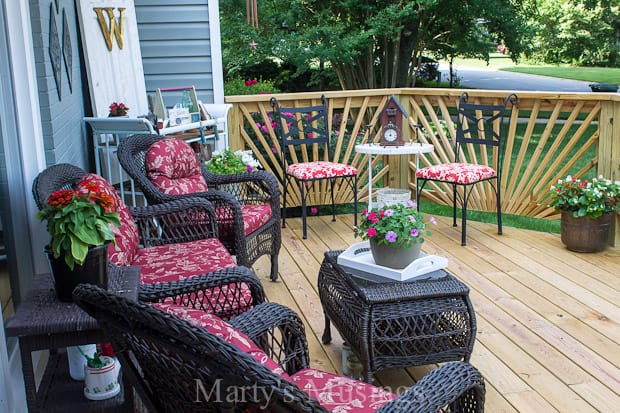
It doesn’t matter that we spent years in the planning stage and months in the building and finishing stage. I love every square inch of it!
I didn’t think it was possible for me to love this outside room more than I do but I was wrong!
Here’s my handy hubby to tell you about our next step with how to stain your wood deck.
From Tim: After all the work is done on your beautiful new living area, there is still one more crucial step to protect your investment…..waterproofing or sealing. I still like to wait 90 days or so before executing this, but there is some debate that you can do it earlier.
How to Stain Your Wood Deck
Materials:
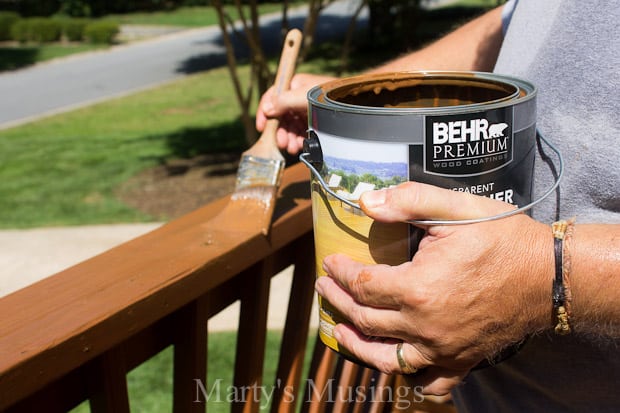
Behr Premium Semi-Transparent Weatherproofing All-in-One Wood Stain and Sealer
roller cover
roller frame
extension pole
paint brush
disposable paint tray
painter’s tool
Painter’s Plastic
Wagner Power Paint Sprayer
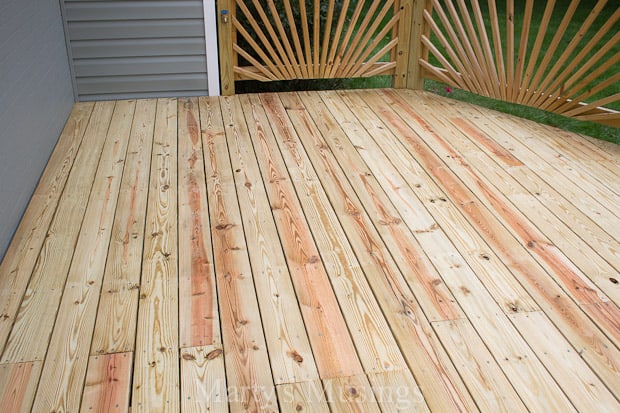
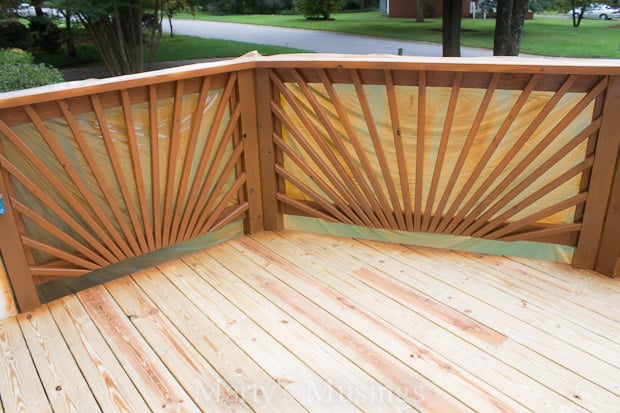
The first and very important step is to clean the deck, even though it is relatively new. I usually pressure wash, but you can also use a deck prep product found at the hardware store. At any rate, it is important that the surfaces be clean. You also want to remove everything off of and away from the deck.
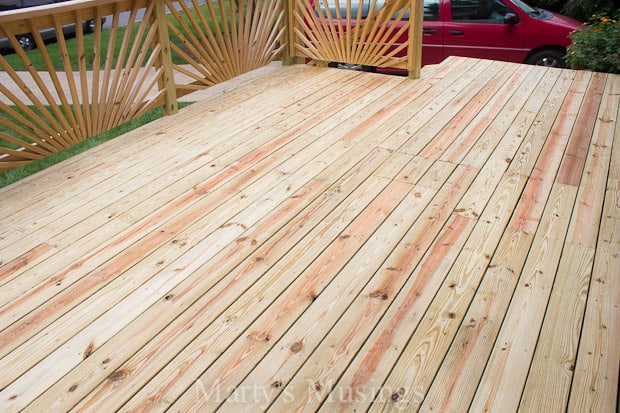
If you pressure wash, you might be surprised at how clean the wood comes. It may not look like new wood, so don’t worry if it doesn’t look brand new.
There are a lot of different surfaces on this deck, so I chose to spray as much as possible. Of course, that means protecting anything you don’t want the sealer on.
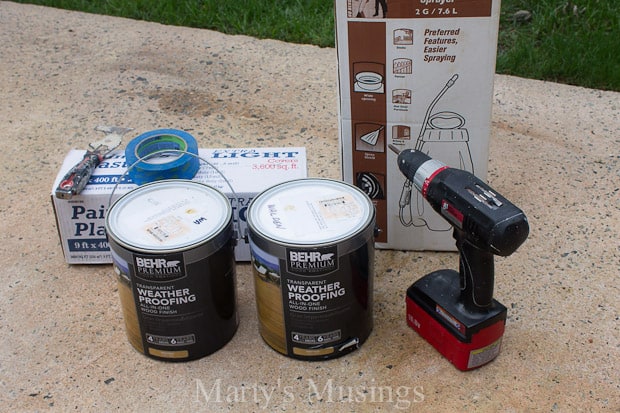
These were my original weapons of choice, but the pump sprayer turned out to be a wrong choice.I originally chose a Behr color called “Baby Diaper Brown” Antique Oak, but it was not at all what I was looking for.
After a re-tint (adding more gold and red), the product was too thick for the pump sprayer and I switched to a Wagner Power Paint Sprayer. This, of course, meant extra protection, since the over-spray would be more significant.
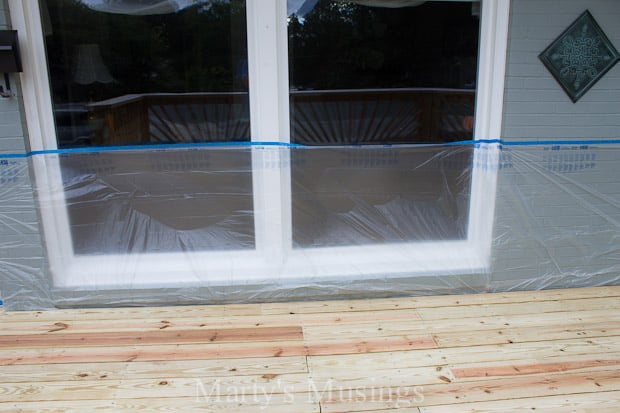
To protect the house, I used Painter’s Plastic with the tape already attached and ran it 3′ or so up the walls. The excess was tucked behind the decking.

And we are spraying! You’ll notice that I also stapled plastic to the outside of the railing. This was to prevent the over-spray from flying everywhere, especially onto the knock-out roses below!
This railing design would have been incredibly tedious to do with a brush, so spraying this part of the project was really a no-brainer. I could have done it the other way, but had the sprayer in my shop and chose to use it.
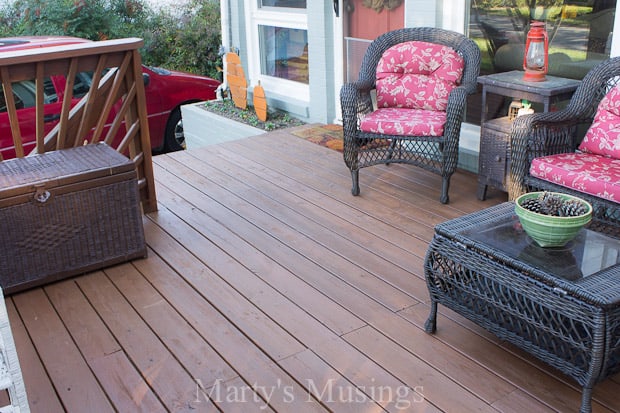
The lighting and time of day makes the stain look quite different in these pictures, but it did darken to a rich golden brown. Perhaps more color than I had originally intended, especially for the first application on a new deck, but it was beautiful against the house.
Usually, you want to hold off on a lot of color until later in the life of a deck; once you start adding color, you can never go backwards. I almost always suggest a clear waterproofer in lieu of a stain for the first several years, then gradually adding color as the deck ages. More color hides more years!

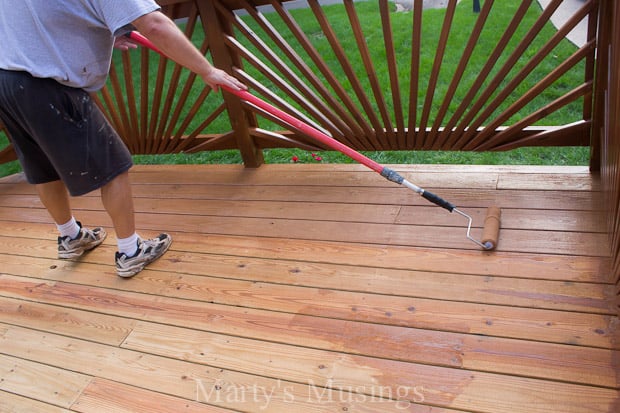
I had to roll the decking because the sprayer does not work on horizontal surfaces without a special (purchased) accessory that allows you to point the spray nozzle down at a 90 degree angle. I also liked going old school again!
I want to make a special note here to use the brush to apply product BETWEEN each board. This is especially true if you are applying a lot of color and your deck boards are spaced more than a nail’s width apart. This not only completes the weatherproofing but makes the final application more uniform and aesthetically pleasing.
I used a brush to “cut-in” where the deck meets the house and some other tight areas, and I couldn’t resist applying a few coats the old school way on the hand rail!
And here is the first coat completed! This Behr product is exceptional and I was very pleased, even at this point. There were very few lap marks and the consistency of the application was good.
You do need to be very careful about drips and runs! This will be true under the vertical surfaces and at the edge of boards, such as the steps. Simply grab that brush and feather the drips out.
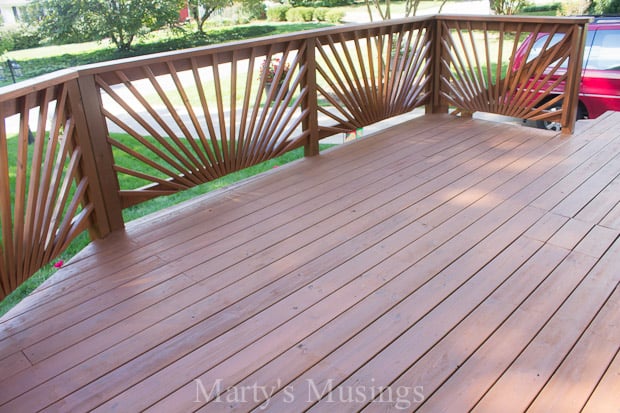
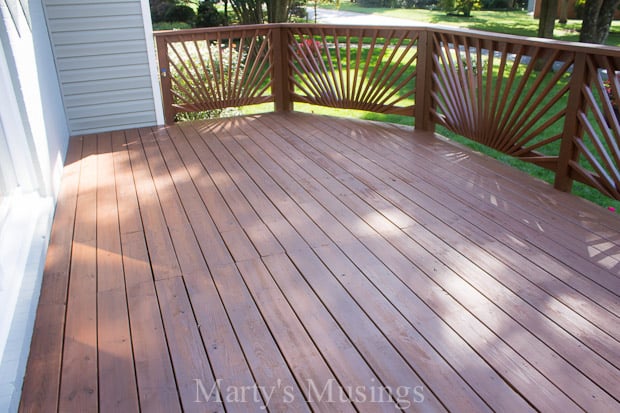
I was so pleased with coverage on these hand rails and the sunburst design. I had considered removing each 6′ panel and spraying them in the back yard, but decided to keep it simple and paint them in place.
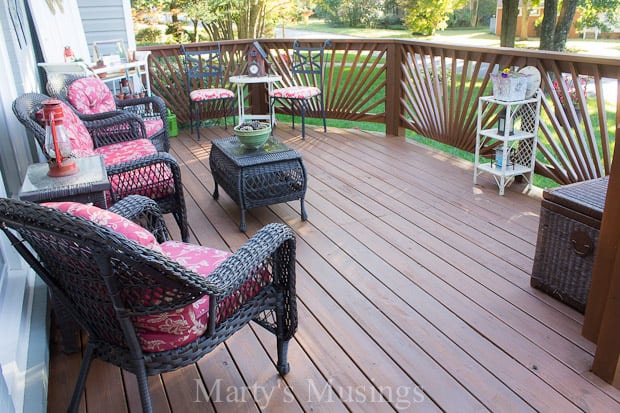
And this is finished…two coats, and everything back in place. We absolutely love this space!
Marty: Don’t you just feel like you’re in the woods now with the darker wood?
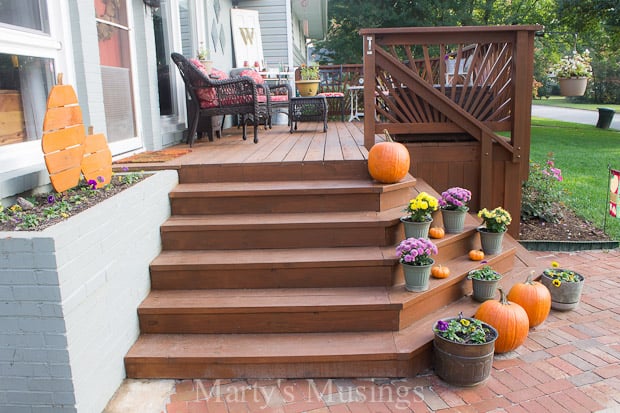
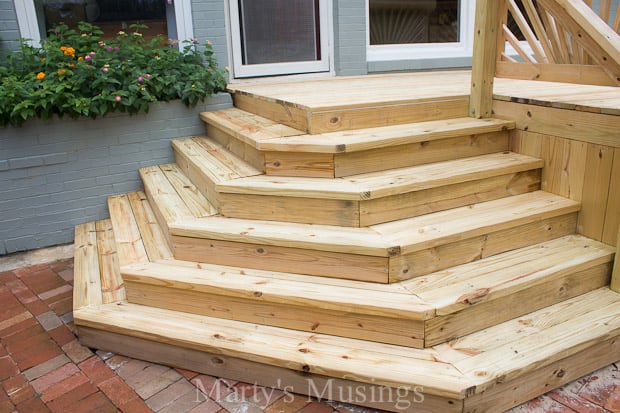
Now I have the steps I’ve always dreamed of all decorated for fall!
***Product is Behr Premium Semi-Transparent Weatherproofing All-in-One Wood Stain and Sealer. The color began as Antique Oak but was tinted with more gold and red.
Here are some of our other Behr projects:
all of the Behr Paint colors in my home

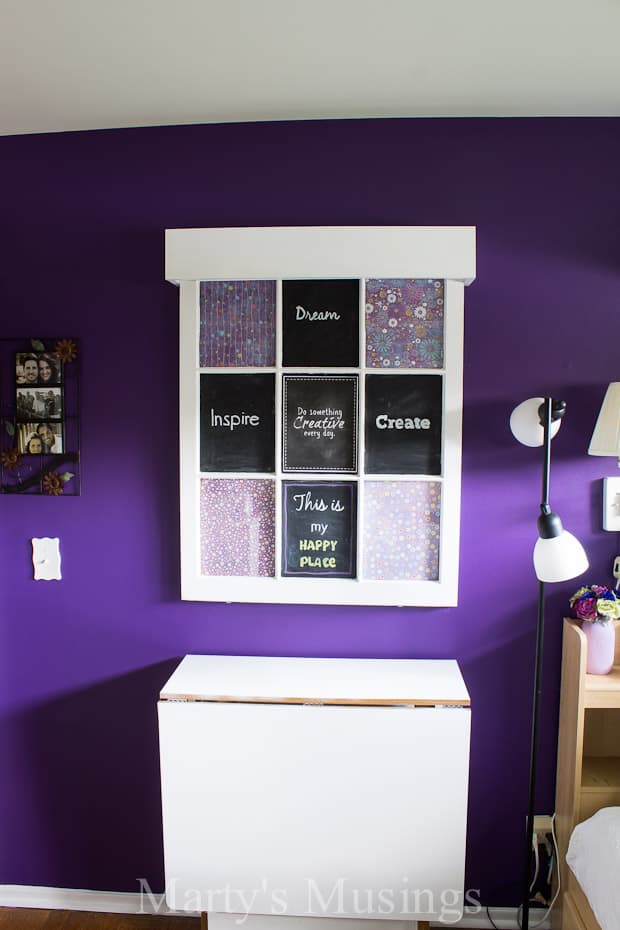
my totally creative and fun purple accent wall in my craft room
another accent wall, this time in my daughter’s home

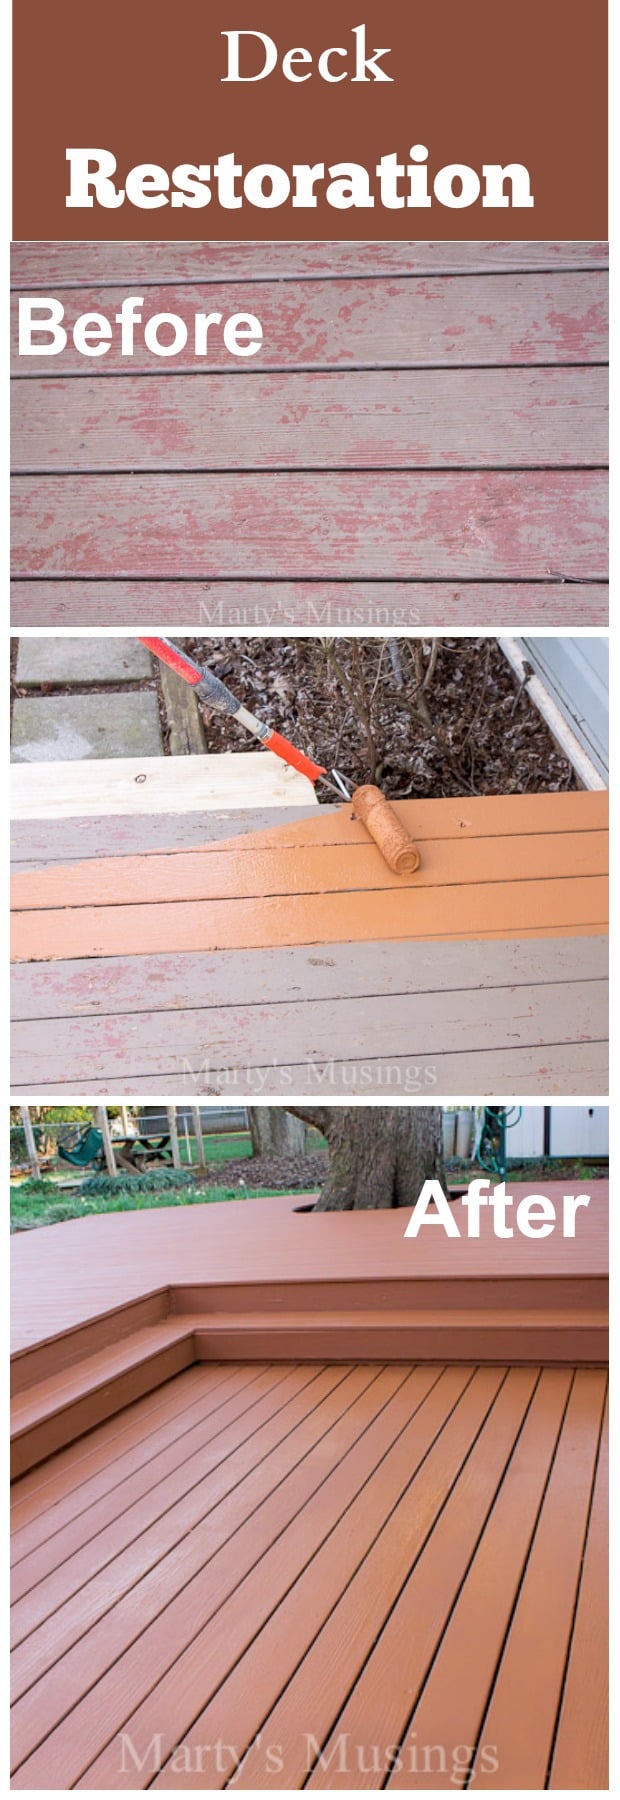
our back deck wood restoration project
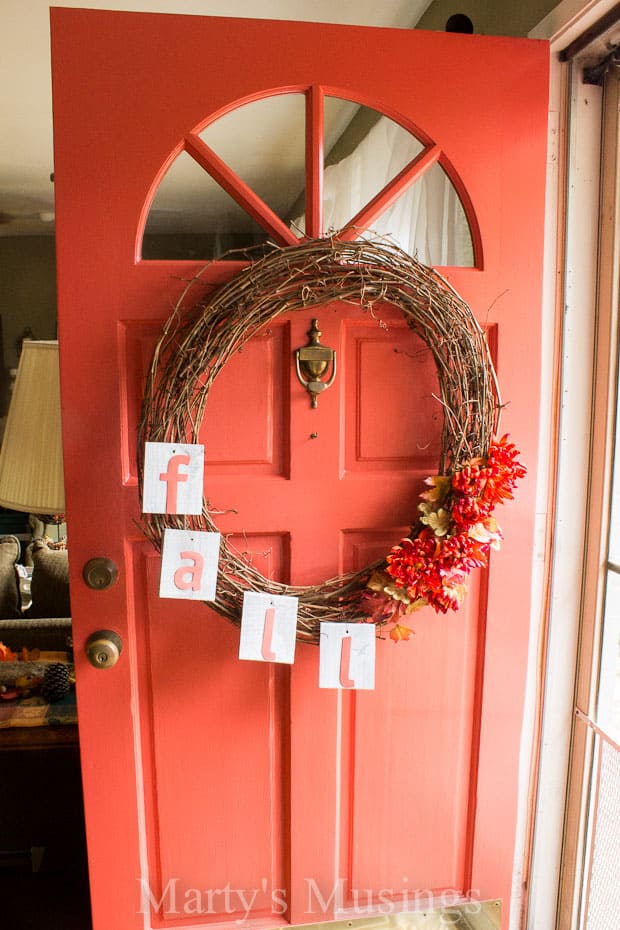
painting our front door with BEHR Exterior house paint
This post contains affiliate links.
More DIY Projects
Whether you’ve “done it yourself” for years or never lifted a single tool, these DIY home projects will inspire you to just try one new thing! You’ll be amazed at how empowered and proud you’ll feel!


I love your deck. I know how much work it took. I wish I had as much success as you. I worked on my old deck for weeks by myself (I’m a senior female) I also used Behr products for cleaning to final staining. Unfortunately stain started wearing off and the railings started peeling. I didn’t even get a full summer out of it. This same thing happened to a friend from church. Behr offered to replace my products. But I didn’t have the energy to do it again.
Hi, Evelyn. I’m so sorry you didn’t have as much luck with your deck. Did you use the Deckover product? We actually restored our back deck with that product and you can read about that here: https://www.martysmusings.net/2015/07/behr-deckover-product-review.html A lot depends on weather, application and many other variables. But I agree it’s a lot of work (or my husband would, since he did all the work!) Kudos to you for undertaking it yourself. Thanks for visiting my blog!
Wow! I love your deck, and the stain job is beautiful! Thanks for sharing at the #HomeMattersParty – we hope to see you again next week. 🙂
~Lorelai
Life With Lorelai
I recently bought a home that has stained steps to the front door. They were built five years ago and the finish is probably the original one, so it’s in desperate need of refinishing, it’s back to bare wood on the treads and landing. The current finish appears to be a semi transparent one, but I have no idea on the brand or color. We will power wash to prep it, but I’m wondering, do you think I can use semitransparent stain, as long as it’s not lighter than the original finish or would I be better off going with the Deck Over product. I really don’t want it to look darker in the areas where there still may be old product. Thanks for your advice!
Hi, Cindy. Here’s my husband’s response: This is a question made a bit more difficult by not being able to actually see what your area looks like, but I’d be happy to offer some general observations and help. Your prep work, in this situation, is going to be every bit as important as your product selection. I would, indeed, pressure wash with a mixture of Jomax and exterior bleach. These can both be found at the big box stores and will not harm foliage. It will be important that you get the surface in the same, consistent condition, especially where there is varied degrees of old product failure. Pressure washing should do it (at least 3000 PSI machine), but you may need to facilitate with sanding as well.
As for product, I would hold off on the DeckOver product as long as possible. This is a restoration product and has significant build up, regardless the color you choose. As you suggest, I would go with another semi-transparent product that, at the very least, matches the existing color. Purchase the absolute smallest amount you can and test it. Semi-transparents have very little hide and, depending on how deep your cleaning went, will really soak into the surface. Just tweak your product until you get to the desired color.
One final option is to replace the stair treads and even the deck boards on the landing. This gets you back to fresh, clean surfaces and gives you the benefit of knowing what’s out there. Remember to let the new wood cure before applying any product. You could also use an artificial product, like Trex, and never have to worry about it again. However, you would have to re-stain everything else to match that product.
Hope that helps, and good luck!
Looks nice but I work in a paint dept and unfortunately saw some errors in the tutorial. First if you pressure wash you are driving moisture into the wood and should wait 5-7 days after cleaning before staining. Keeping off the deck of course to keep it clean. You NEVER use a roller. Always use a stain brush that is 4″ or 6″ (depending on the width of the boards). You mentioned putting the furniture back on (by the sounds of it) right away. If you want this to last after all your hard work then wait 7 days to allow for it get a cure and gain resistance to damage. Also one last thing it must be at least 50F over night when doing outdoor staining (the same goes with outdoor painting). I hear people coming in all the time saying they have seen online how to do it and then finding out they have not followed the proper way they say there is something wrong with the product sold to them. When they should have actually done as I said previously. I like the end look but if you’re going to post a tutorial that people are going to go by you should be accurate.
Hi, Susan. My husband has some things to share from his years of experience as a painting contractor and DIYer: First, thank you for taking the time to read our tutorial. In the interest of accuracy let me correct some items that are wrong information. I have been employing these techniques in the field for over 23 years without a single incident of error or problem. Pressure washing a deck is the proven method of preparing a surface to receive product. When used in combination with proper chemicals, and allowing proper dry time, this is the only way to get old or new surfaces ready to seal. Using a roller is a widely recommended method of applying stain.As for traffic and furniture, the required time for this product is 3 days. Products widely available on the market now are formulated to be applied down to 35 degrees. While some stains do fall in the range of your premise, paints do not.
Hi Marty….I just want to say this about your deck..personally I think it is fantastic! I first saw it on your Facebook post and I could not believe some of the mean comments! I love the idea of a deck in the front of the house and you did a wonderful job on it! And I really like the sunbursts too! Some people are just so unhappy they can’t say anything nice about anything! Good job!
Sue, you are so sweet to leave an encouraging comment! Yes, there are some very negative Nelly’s out there, but I’m learning to go with what I love and not listen to the naysayers. We are enjoying it every single day! Have a blessed weekend and thanks again!
Wow – what a huge difference. It looks great!
Thanks, Suzy. We’re so pleased with the way it turns out and it’s such a nice place for us to relax.