Old Window Photo Frame DIY Tutorial
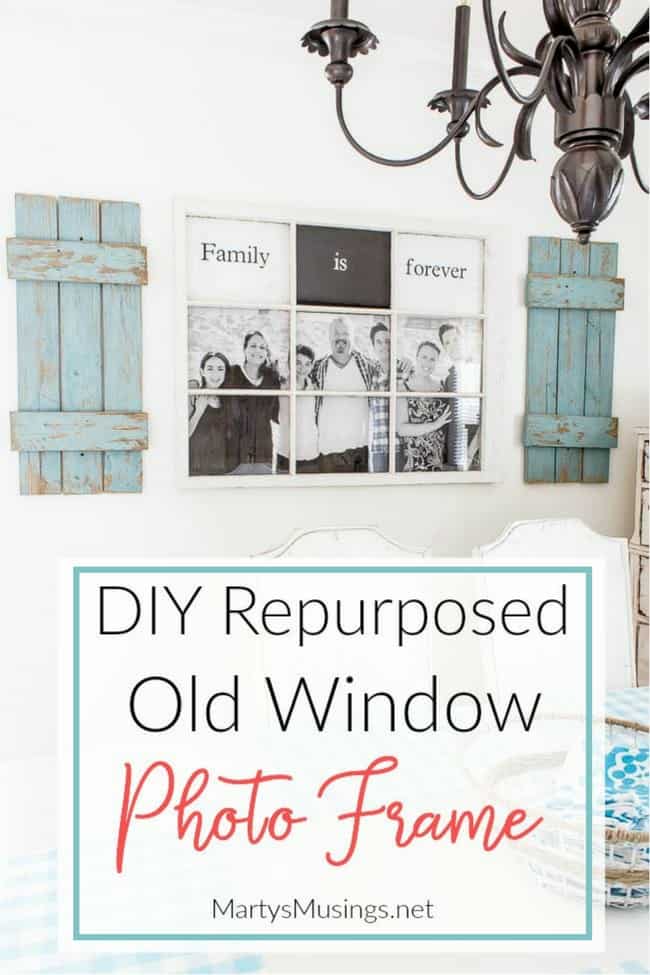
This post may contain affiliate links which won't change your price but will share some commission. Read more here.This DIY tutorial turns a cast off window and an engineering print sized family picture into a repurposed, rustic old window photo frame.
As my decorating style has evolved my hubby and I love to repurpose things we find on the side of the road or at yard sales into thrifty new home decor!
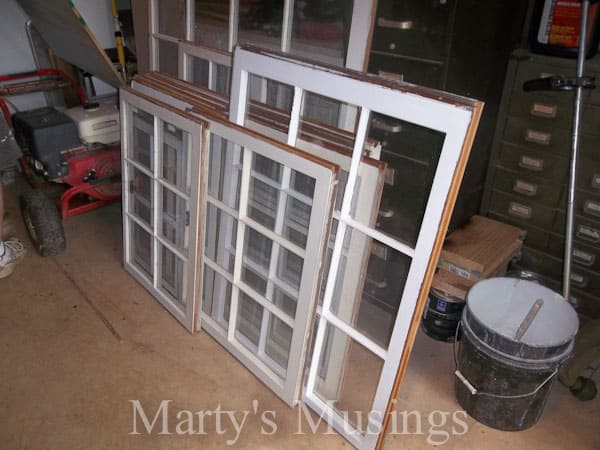
When Tim came home with all these free windows recently I knew I could turn one into a fabulous (and cheap!) accent wall in our kitchen.
How to Create an Old Window Photo Frame
Materials
(I’ve included some affiliate links for your convenience. Click here to read my full disclosure policy.)
Old window (can be found at thrift stores yard sales or the side of the road!)
Photo printed as engineering print
Foam board
ZipSnip Cutting Tool
Black cardstock
Cricut die-cutting machine
Black vinyl (the only brand I like)
White vinyl
Staple gun
Step 1. Decide on photo, edit as needed and print.
The first step is deciding on which photo to use, how to have it printed inexpensively and then making it fit in whatever sized window you use.
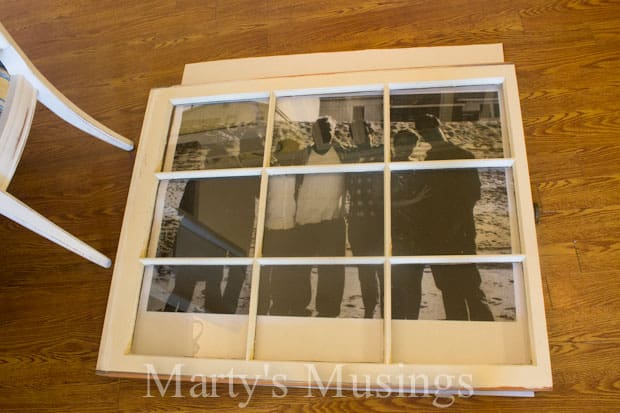
Believe it or not, the first picture I picked worked fine as a 24×36 engineering print. I ordered the print from Staples (cost $3.50). Online ordering says photos shouldn’t be printed as an engineering print but I did it anyway. I figured for less than $4 it was worth a try.
The first time I didn’t lighten the photo sufficiently in lightroom, but I could tell that the photo would work size wise in the window frame. With seven people in the photo I was trying not to cut someone’s head off! You know how siblings are……I didn’t want any hurt feelings!
I edited the photo, printed a second time and it worked perfectly.
Step 2. Paint and/or finish window
My husband took the window and scratched up the surface with a grinding bit. He then used a heat gun to further distress the surface.
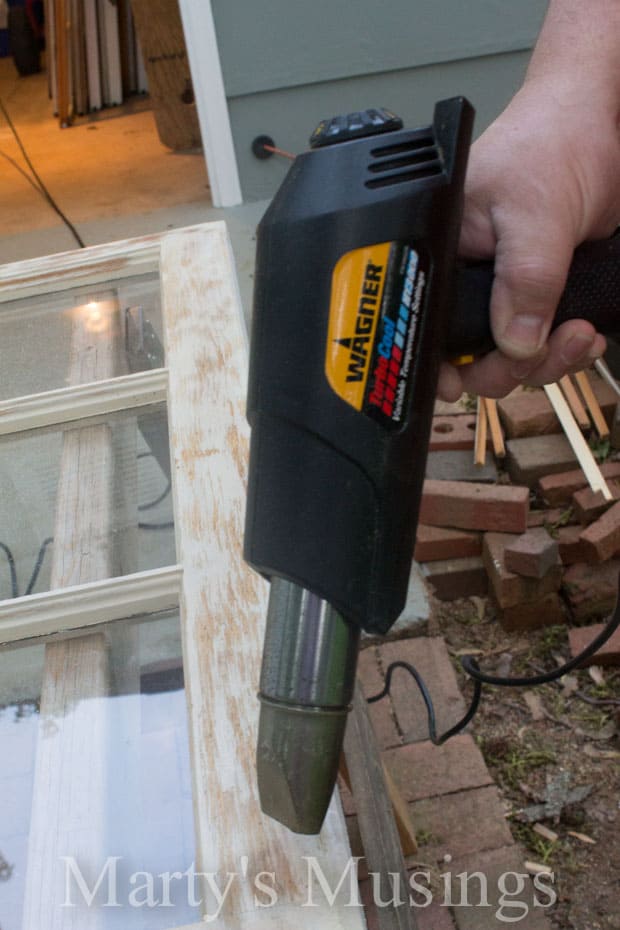
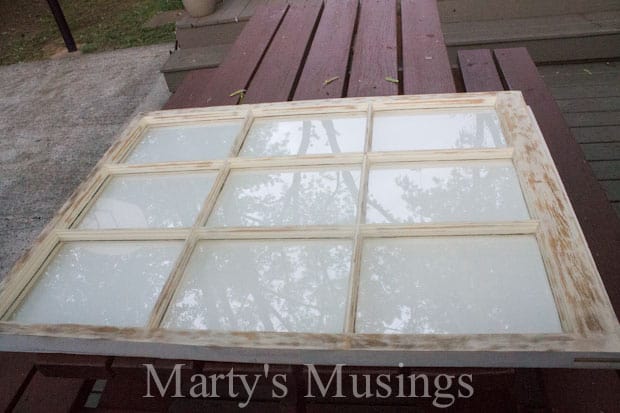
At this point the whites of the window didn’t match the white in our kitchen so Tim went back and repainted it with white aerosol primer and distressed it one more time.
Second printing of the picture was perfect and the frame looks great.
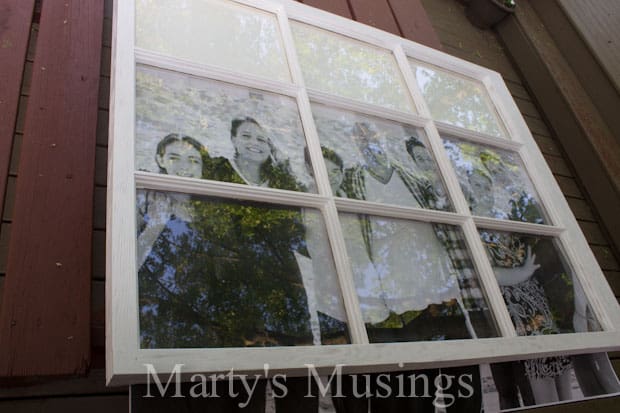
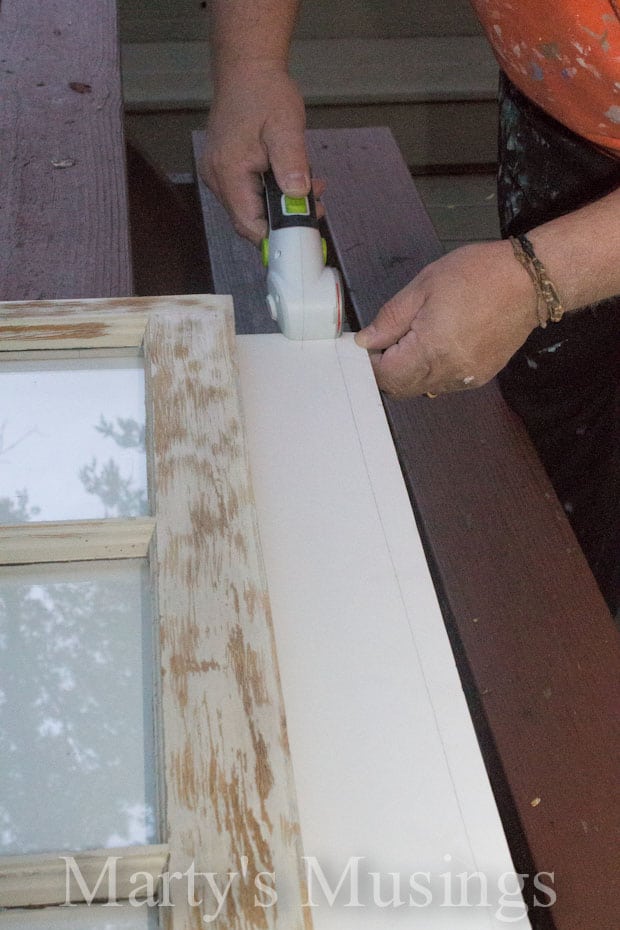
Step 3. Measure and cut foam board to fit frame
Using a rechargeable ZipSnip cutting tool (one of our favorite tools ever!) my husband cut the foam board to fit the frame.
4. Add black and white cardstock to window panes.
Since the print didn’t fit perfectly inside the window I had to think outside the box! I used the print for the lower two-thirds and then added black and white cardstock to the top three window panes.
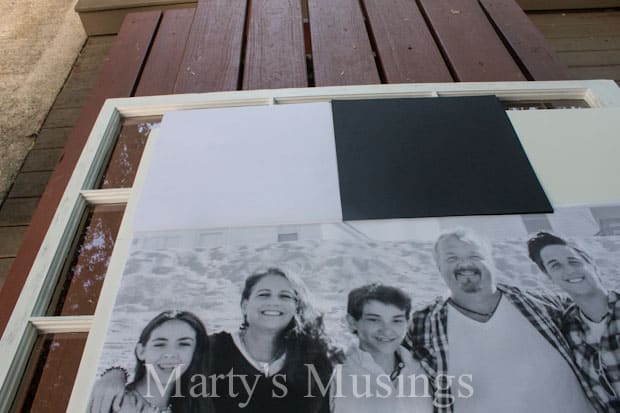
Step 5. Cut out family saying
I then used my trusty Cricut and printed the words “Family is forever” on black and white vinyl, adding the saying to the cardstock.
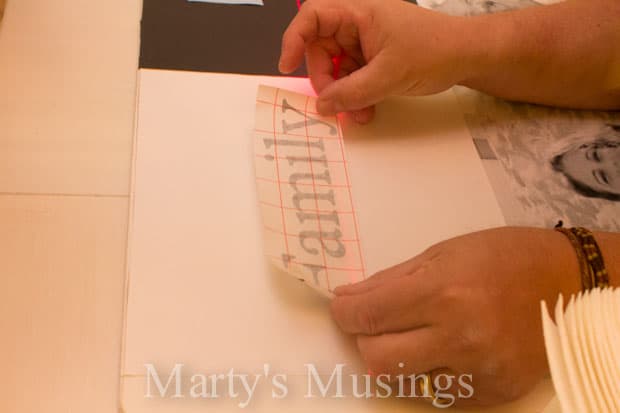
Step 6. Attach foam board to window
Once everything was secured to the foam board it was then attached to the window itself with brad nails and a staple gun.
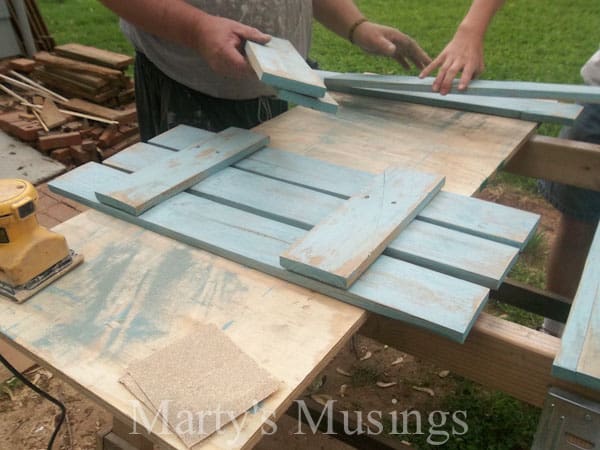
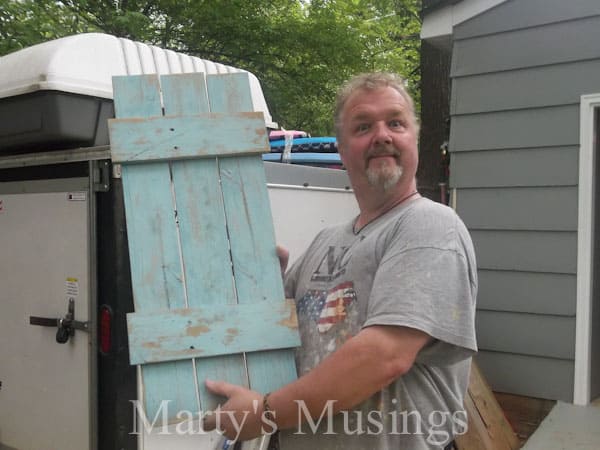
Step 7. Cut, sand, clean and paint old fence boards
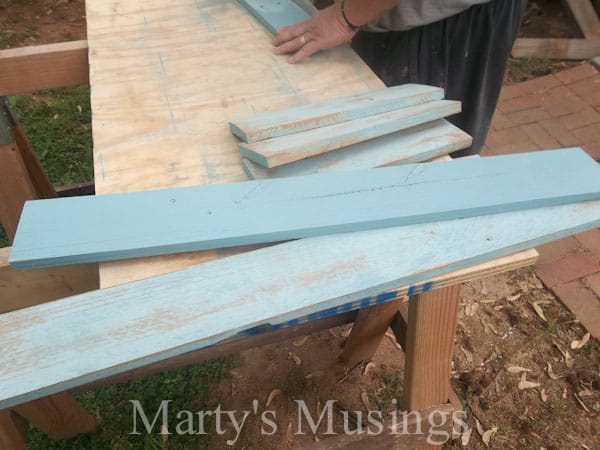
The next part of the project was cutting, lightly sanding, cleaning and painting old fence boards to create a farmhouse shutter affect. (You can read all about our DIY Plank Accent Wall and 7 Chalk Painting Tips for Beginners for more details on this type of process.)
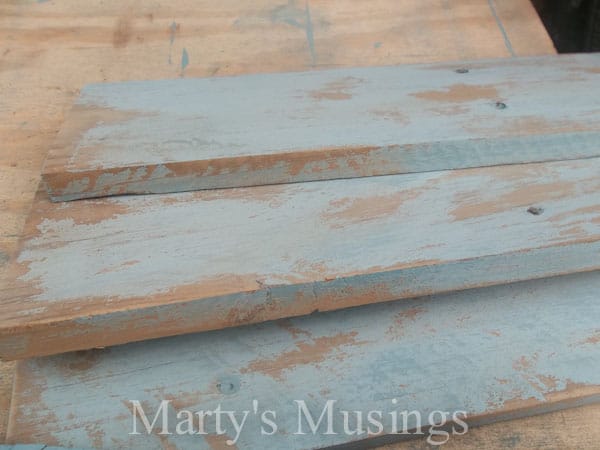
The boards were then sanded again with a palm sander, heavily distressing the boards.
Step 8. Assemble wood
The wood was nailed together with finish nails and was then ready to hang in our kitchen.
My husband should definitely be proud of his ingenuity!
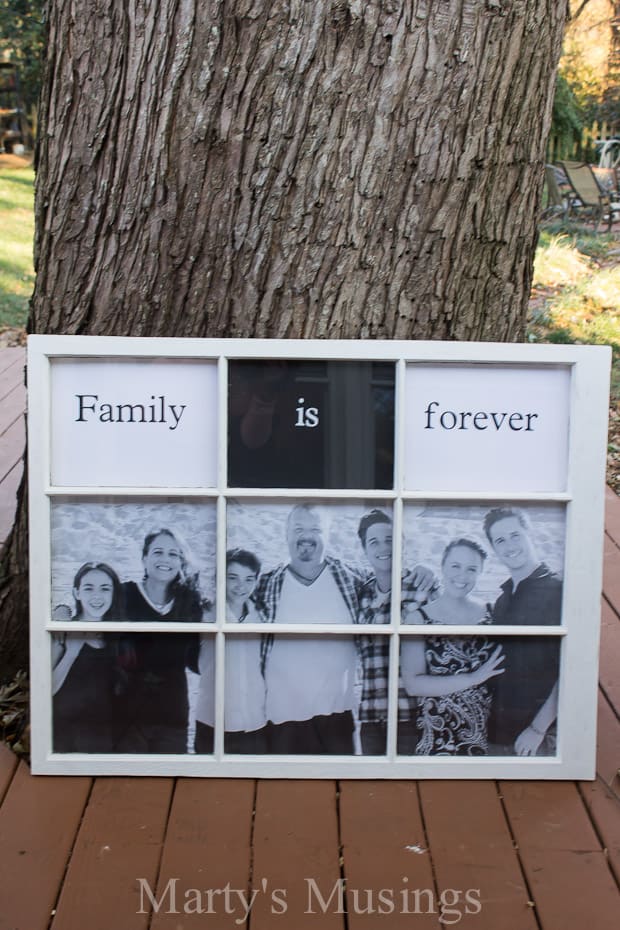
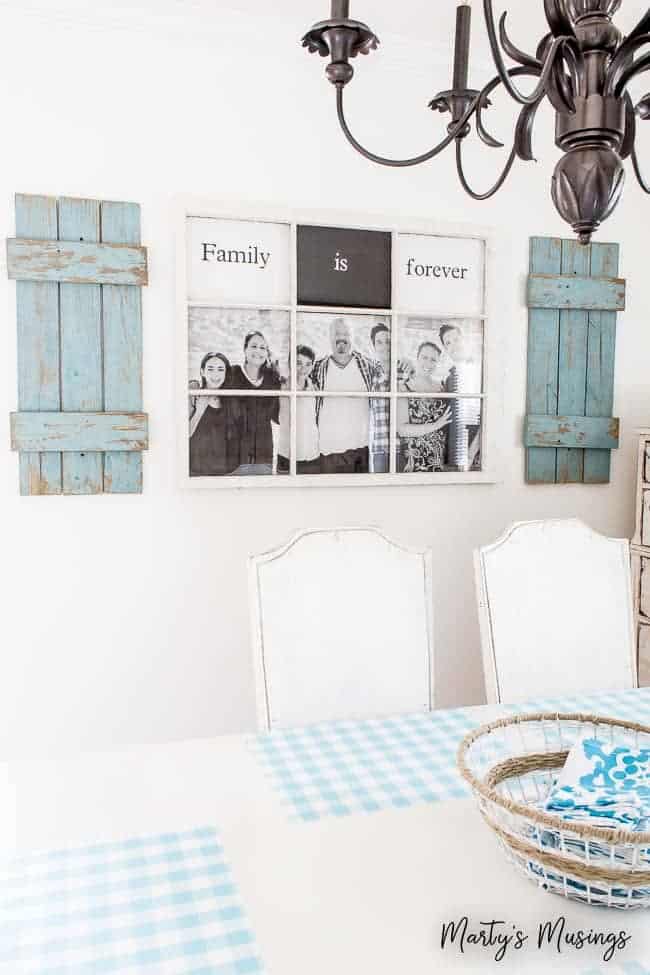
Here’s our completed old window photo frame.
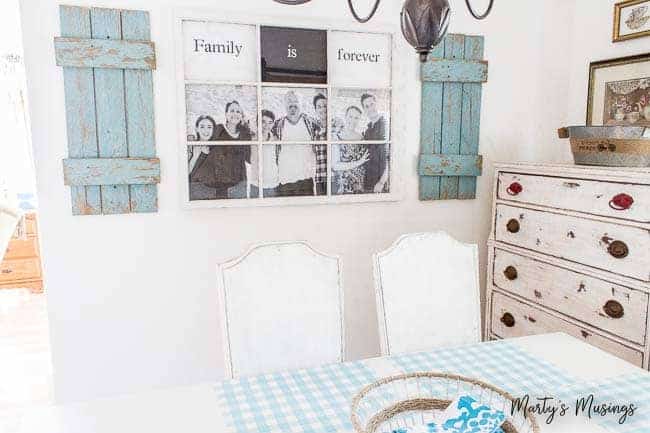
Our family photo is encapsulated in black and white for us to see every time we sit down at the dinner table (or play games or homeschool or any of the other myriad of activities we share at the kitchen table.)
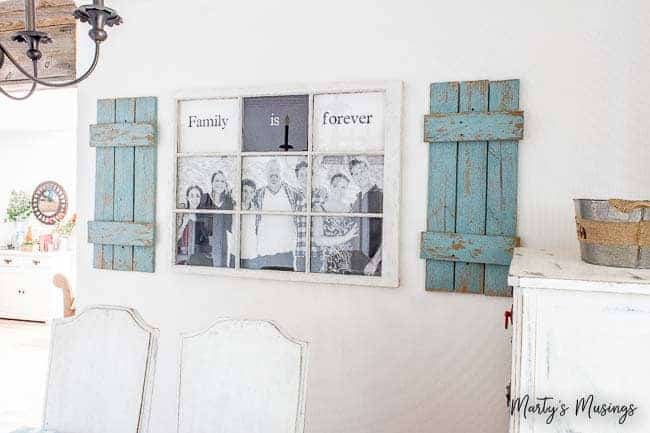
I couldn’t be more pleased with the way this turned out. It takes up an entire wall in the kitchen and is the perfect addition to our makeover.
Cost of this old window turned into photo frame:
24×36 black and white engineering print: $7.00 (I didn’t get it right the first time so I had to pay for two)
30×40 foamboard : $7
window: free!
Ever since my husband made a fabulous coffee table out of an old window we’ve been on the lookout for old windows. Check out my post on our bathroom window mirror!
More Chalk Paint Ideas
Practical painting tips for the home that anyone can use, including chalk painting, accent walls and choosing the right colors.




Love this! Very pretty!
Thanks so much, Lauren!
Did you cut the picture for each pane or did it just happen to fit that way?
Hi, Linda. You can read the instructions for the tutorial and see that I sized the picture for the specific window I was using. Just check out the tutorial one more time! Good luck!
Hi There! I love this project and am contemplating doing something similar. Quick question, how did you hang the window once it was complete? Thanks!
From my husband: The window was hung on four 2″ L-brackets, two on the bottom and two on top in mirrored locations. I placed the window on the wall where we wanted it mounted and marked (with assistance) the bottom bracket locations, then removed the window. The bottom two brackets were screwed into the wall as you would typical use them – they look just like an “L”. The top two brackets were hung upside down to hide them. So, after the bottom brackets were installed, I placed the window on them and slipped the top two brackets behind the top of the window and marked where the TOP of the upside down bracket met the wall. The window was removed again and the top brackets were installed on the marks. The window was then placed between all four brackets and screws were driven into the window at all four bracket holes – one screw on the window and two screws on the wall at each bracket. This way the brackets are virtually invisible since they are hidden behind the window!