DIY Rustic Wood Chargers
This post may contain affiliate links which won't change your price but will share some commission. Read more here.These one of a kind DIY Rustic Wood Chargers are made from imperfect fence boards. This project is SO easy to make and creates the perfect table!
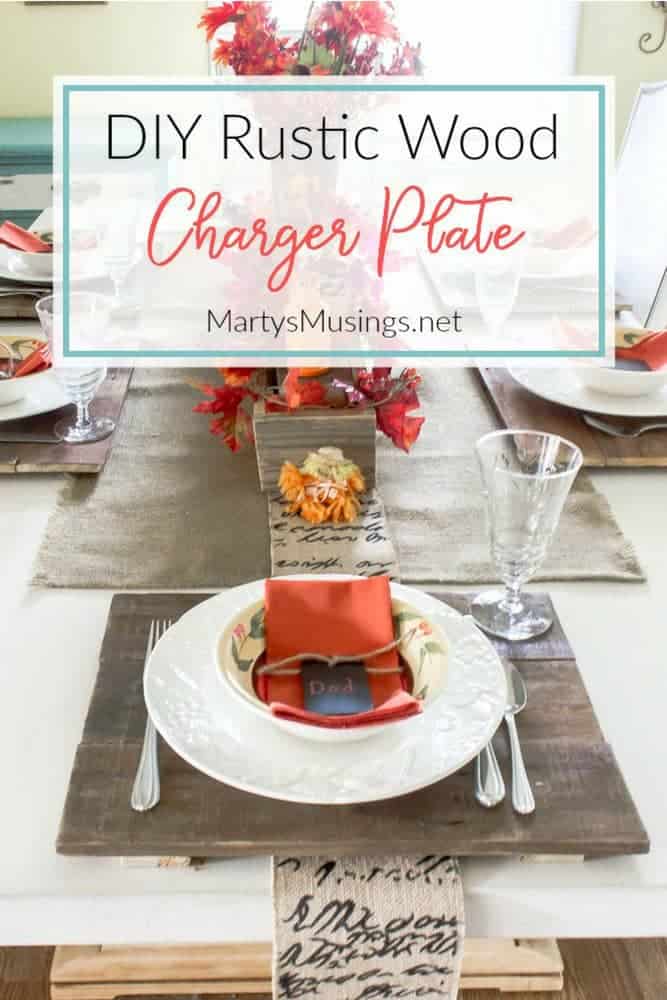
I was recently inspired to nudge my DIY hubby into action by these pallet wood chargers from Cherished Bliss.
I knew I wanted something rustic for my fall tablescape and these DIY Rustic Wood Chargers will be perfect for my Thanksgiving table.
DIY Rustic Wood Chargers
From Tim: OK, my friends! If you’ve been down in the dumps or simply uninspired to go create, this is the project for you! It is SO easy and lends great results; just measure, cut, glue and screw and you can make these fence board chargers.
The width of the charger is up to you and will probably be determined by the size of the plates you have. Each of my fence slats was 4″ wide, so three put together gave me (all together…) 12″! That would be from belly to water glass. I made these 16″ wide…ummm, salad fork to soup spoon. So the total dimension is 16″ x 12″.
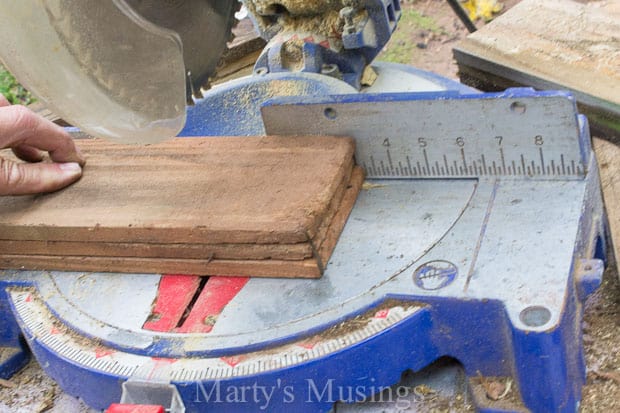
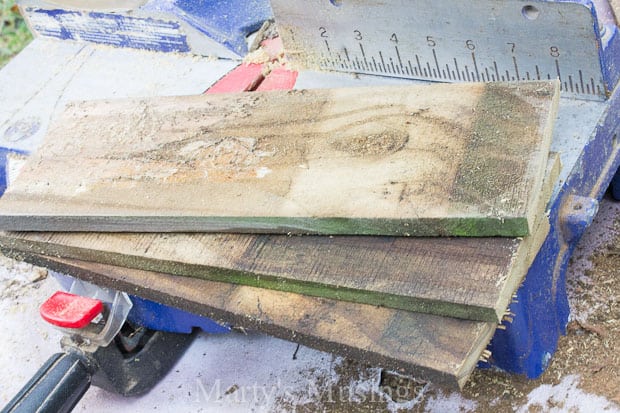
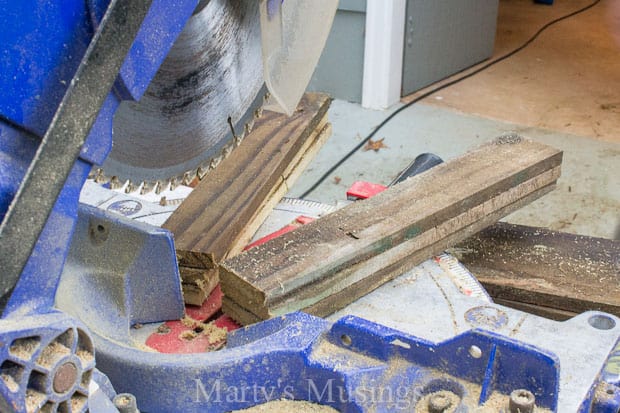
I decided to cut three slats together to be certain that they would all be the same length, but that isn’t totally necessary if you’re good with the chop saw. It’s also quicker that way.
Because these chargers would literally be next to food and utensils, I wanted to get them clean, free of splinters, and soft edges.
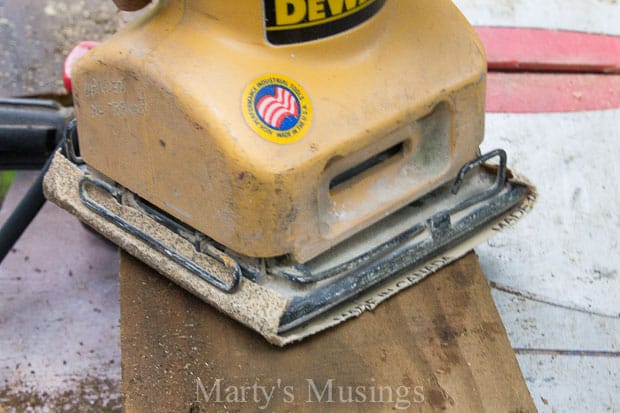
This was nice and quick with my handy Dewalt hand sander with 60-grit 3M sandpaper. A few passes all the way around and they’re good.
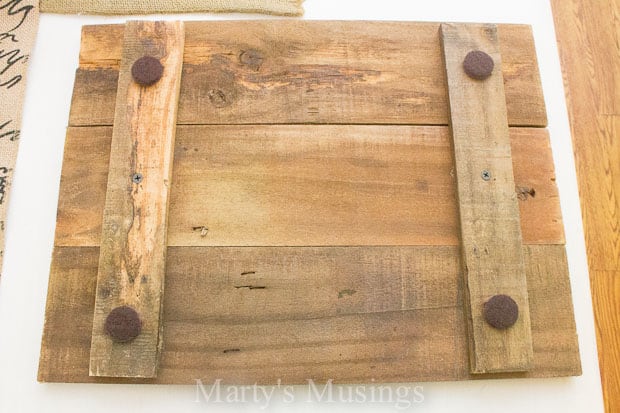
These are the 12″ supports that go on the bottom side. It probably would have been better to do these on a table saw, but I just didn’t feel like dragging it out. So I cut a little bit one way, turned them around and finished the cut.
The sander would even out any bad transitions. Again, three at a time for speed and accuracy.
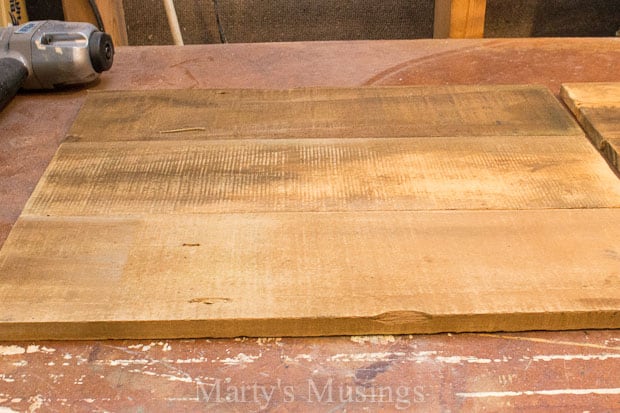
Here is a rough viewing of the full charger just to determine the look and address a spacing issue. We had a brief discussion about a slight space between in slat but determined that doing so would allow for food and spills to gather between…EWWW! Tight together was the winner.
Like all my other fence board projects, showing the beauty and imperfections in the wood is key, so once I determined the best side, everything was flipped over to expose the bottom and get ready to attach the support slats.
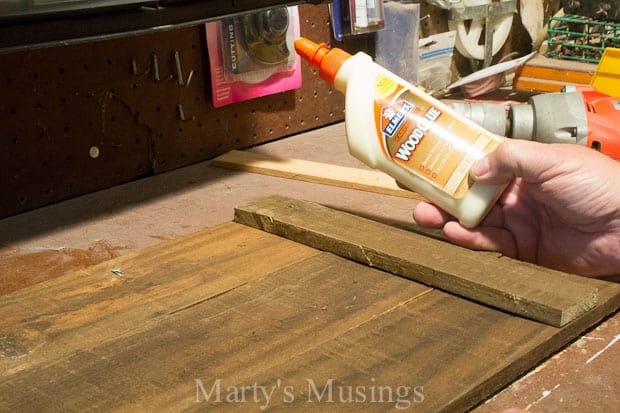
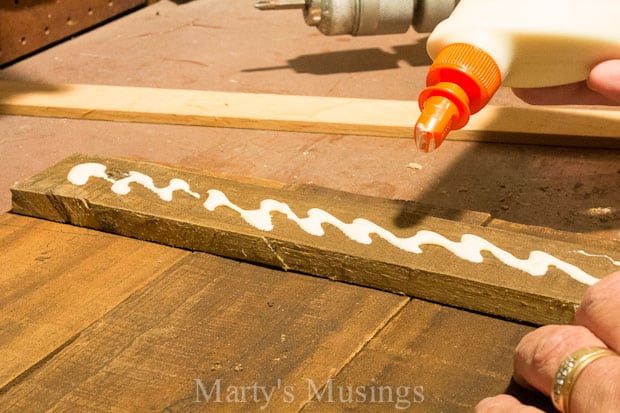
A friendly reminder about working with fence board is that it is not perfect and it will warp and twist a bit. Sometimes that’s not an issue, but I really didn’t want the plates dancing across a roller coaster surface. I decided to reinforce the screws with a bit of wood glue where the boards meet.
So, squeeze it out on the bottom side and flip it over!
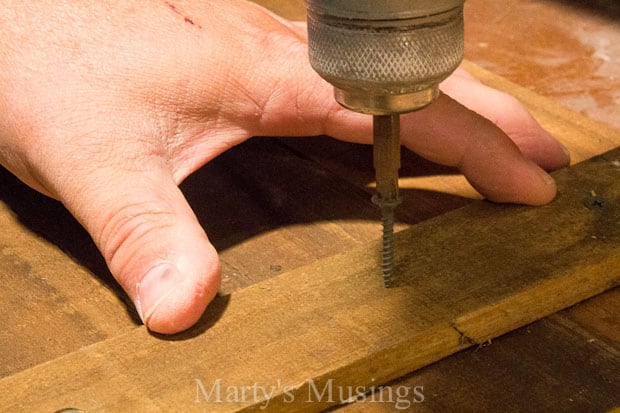
Attach some wood screws and you’re almost home. I used an extra support piece as a template so that each charger looked almost the same, with the bottom supports in almost the same location on every one.
You do need one screw in the center of every slat, so that was 6 screws for every charger, three on each side in each slat.
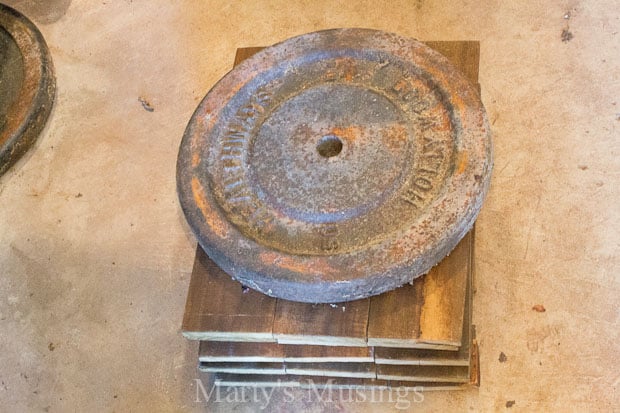
Once I had all the chargers assembled, I wanted to make sure the glue would dry tight to the slats. The answer was a 50 lb. weight that wasn’t busy at the time…or at any time! I placed it on top of the stack and left everything overnight.
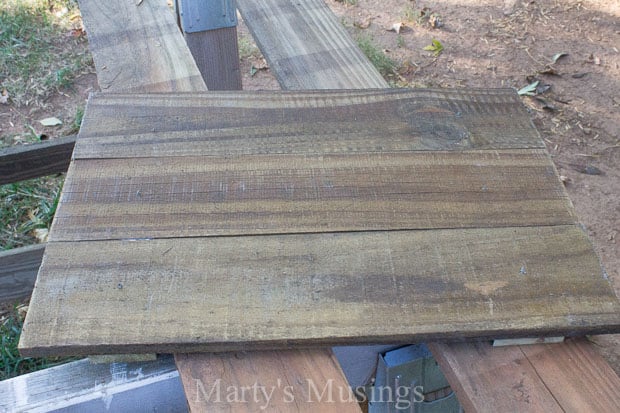
And here is the ALMOST finished charger! Remember the part about these being right next to utensils? Well, the last step was several coats of Helmsman Spar Urethane Aerosol, semi-gloss, to seal all the surfaces.
I sprayed several coats on over the course of the day, but I must have been too impatient to retrieve the photographer my bride. Oops – and she hates it when I do that…
After I brought these inside and put them on my recently re-worked kitchen table, I realized that a bit of protection might be prudent.
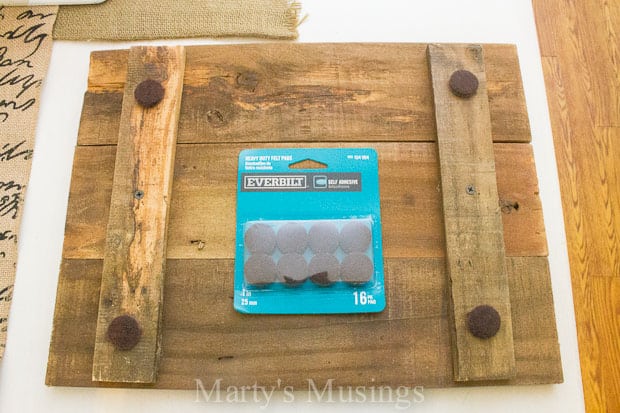
The answer was 1″ self-adhesive felt circles on the bottom. They were dirt cheap at Lowe’s, so I picked up a couple packs and pressed them onto the support slats.
And another shot without the product promo.
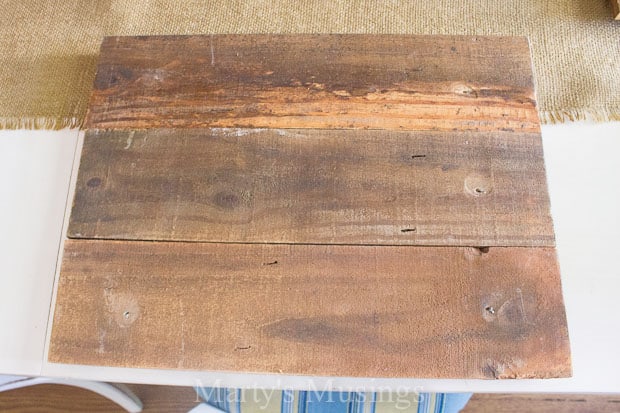
And here you see the top side, cleaned and sealed and ready to use! The polyurethane darkened the wood just a bit and really draws out the grain and knots.
I honestly think it took me longer to write my part of this post than it did to make all the chargers! Well, it was pretty close.
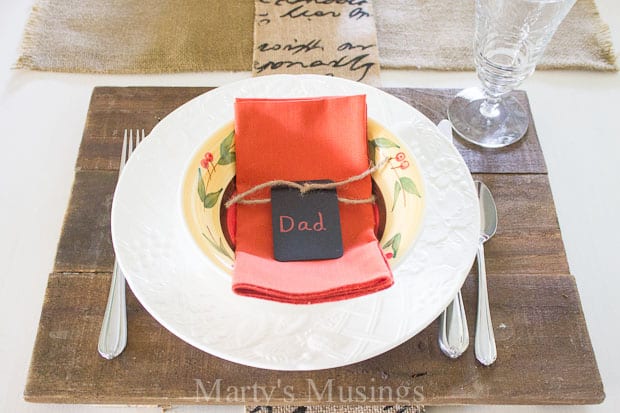
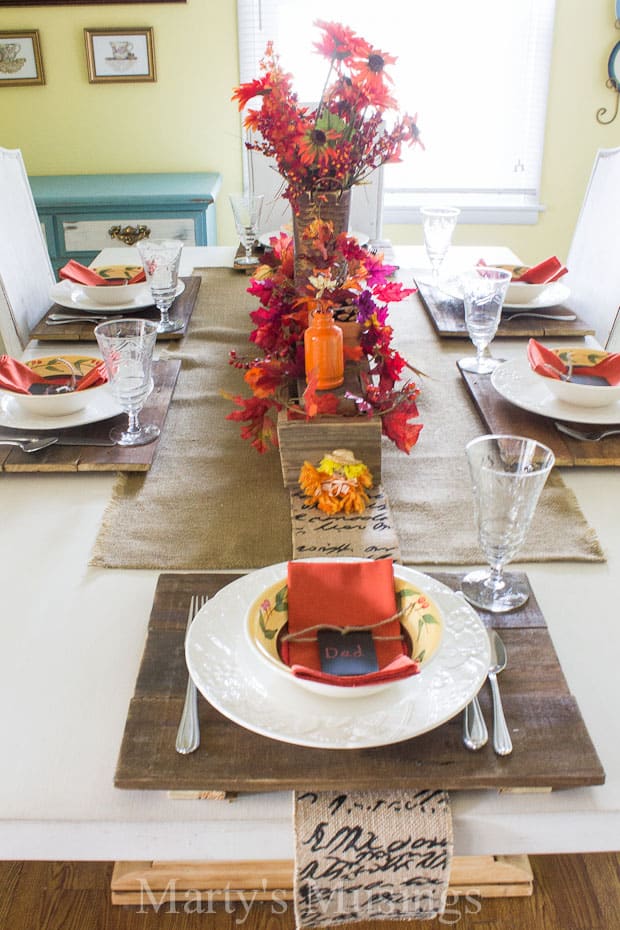
From Marty: Here’s what the finished product looks like. I love the mixture of rustic with a casual plate, dollar store bowl and heirloom crystal.
I am so excited to share Thanksgiving with my family around this table filled with memories and meals shared.
What are your Thanksgiving plans?
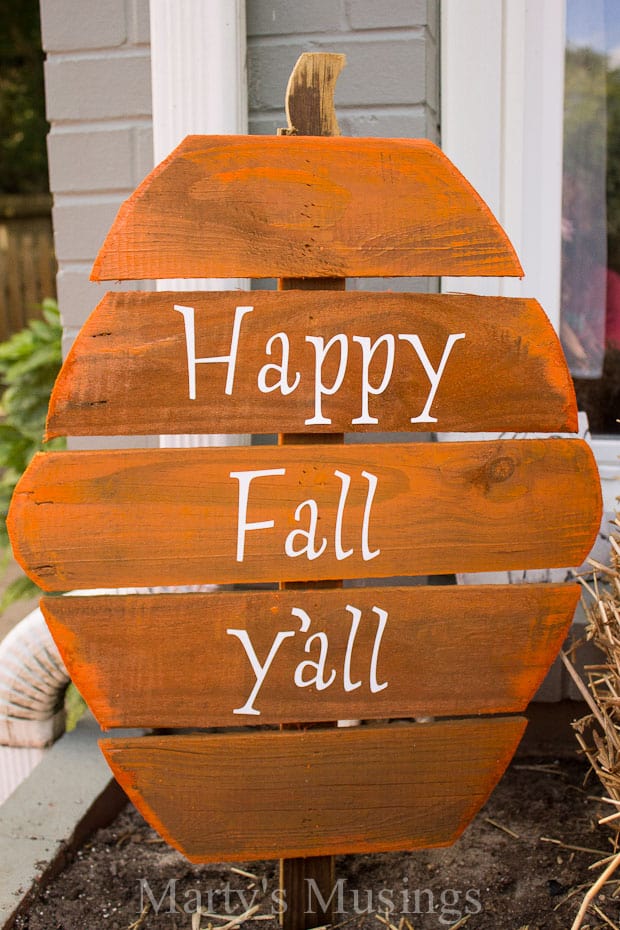
Did you miss any of my DIY projects this fall?
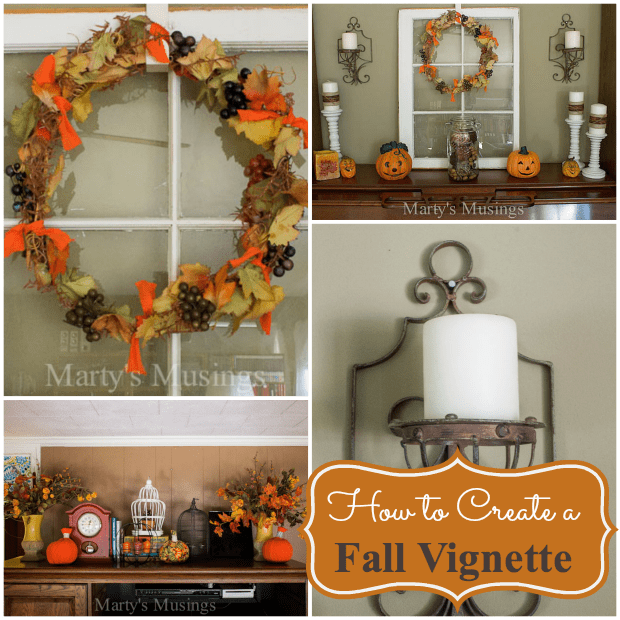
I shared how to create a fall vignette,
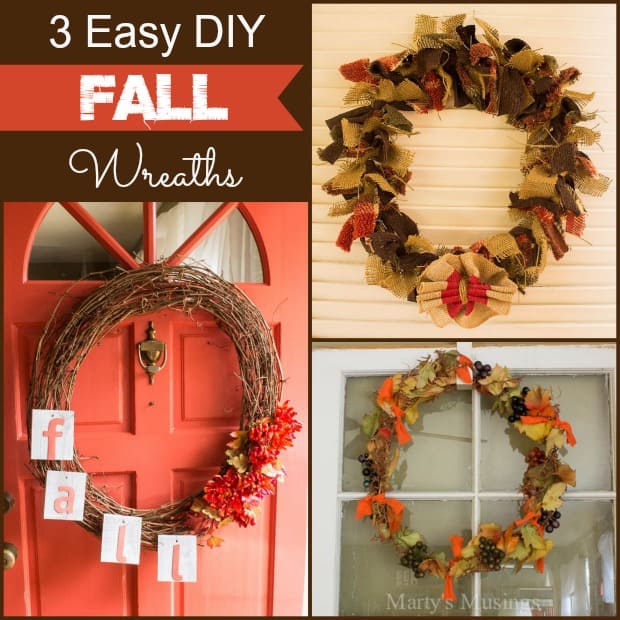
3 easy DIY fall wreaths,
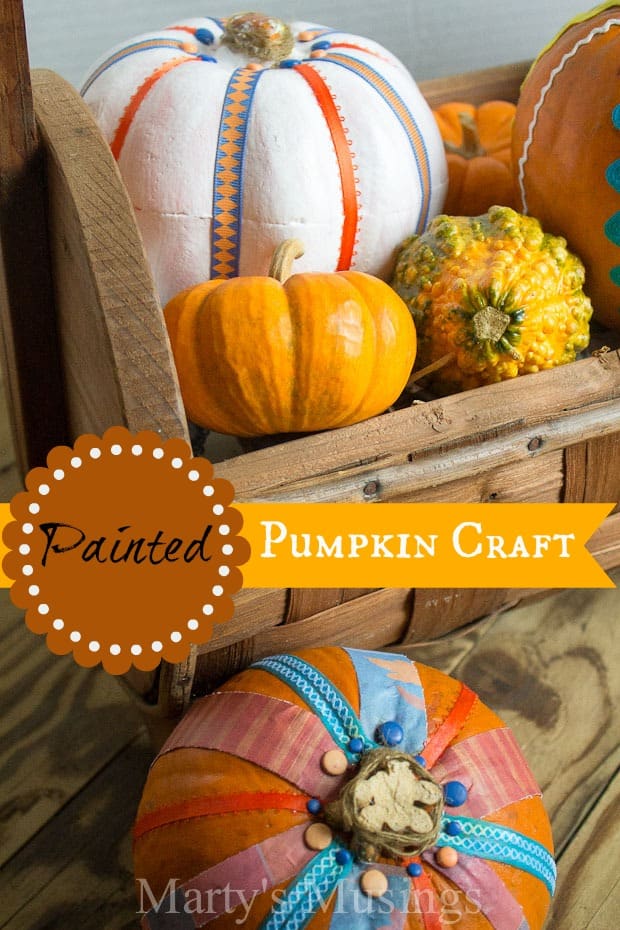
and a painted pumpkin craft project.


wow, you are so handy, this is a lovely project! then maybe you could paint them in a pastel color for a spring table? thanks for sharing on craft schooling Sunday!
Hi, Sara. We’ve actually chalk painted and distressed some of these chargers to use as backdrops for photos and they look very unique so I’m sure painting them would be a neat effect.
Thanks for finally writing about >DIY Rustic Wood Chargers <Liked it!
Love these, Marty. How clever and inexpensive but they really give the table a nice, rustic theme. Good idea! And I imagine they could be used a number of ways to display, serve, or decorate.
Hey, Gail! I actually am using one of the chargers as a centerpiece foundation for spring! My husband did a great job on them and I use them on everything from casual to formal. Have a great day!
do you buy fence slats at a hardware store? or where they something you had?
if you need to purchase them are they just called fence slats?
I love how easy these are! I can easily get my husband to make these! lol! Thanks for the tutorial!
These look great!
Thank you so much, Kirby. I’m a little late on the comments but I appreciate you reading my blog!
This is a great idea, Marty! I really love the look of the rustic wood underneath your lovely dishes. Such a great look.
Hi, Sonya. I’m so glad you like our rustic wood chargers. I actually have my hubby out making a couple more today so I will have enough for the main table at Thanksgiving. Have a great holiday season!