Painted Lamp Shade Makeover with Textured Surface FrogTape®
This post may contain affiliate links which won't change your price but will share some commission. Read more here.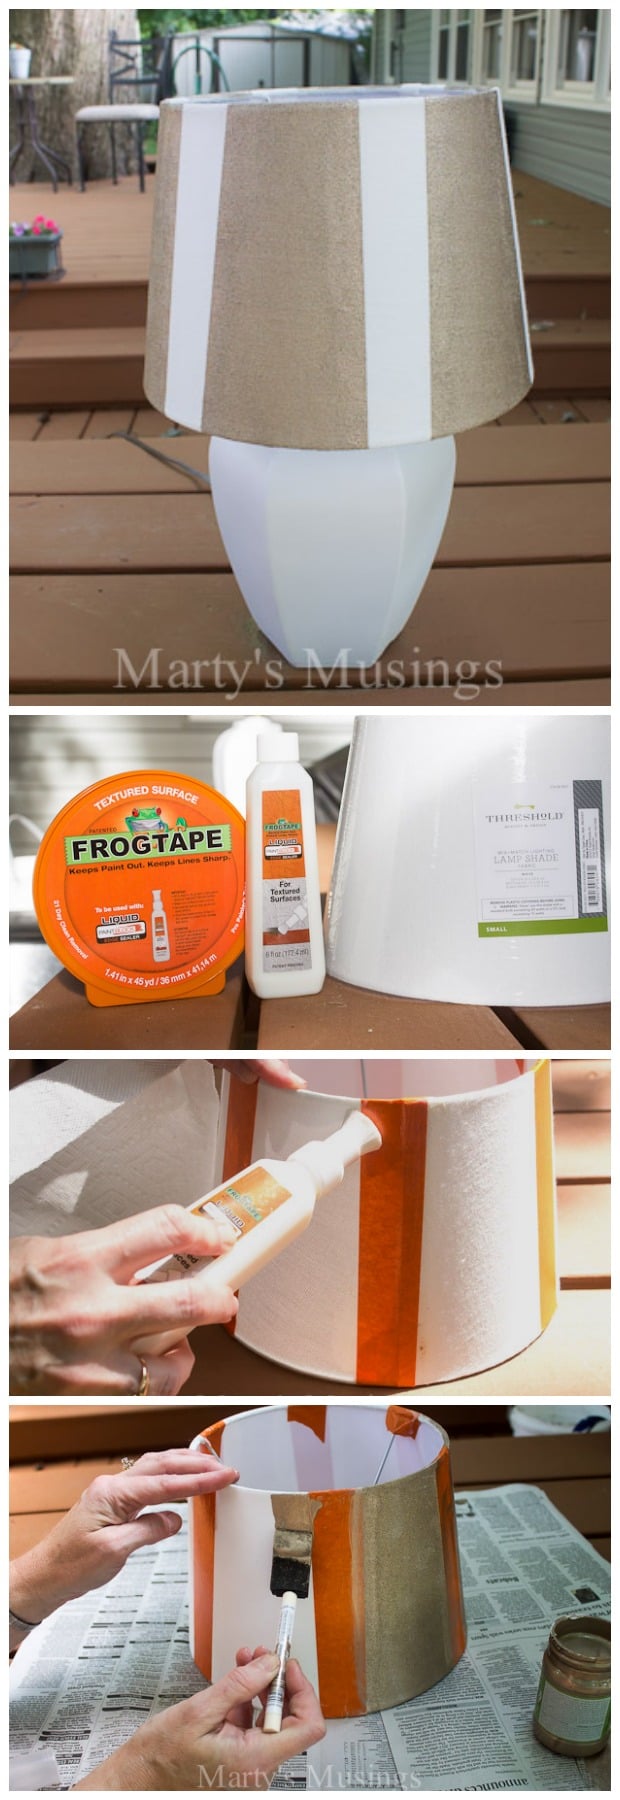
I was challenged by FrogTape® to come up with a project using their Textured Surface tape for their new FrogTape how-to gallery. I decided to put this product to the test without any help from my husband!
FrogTape® is the only painter’s tape treated with PaintBlock® Technology, a super-absorbent polymer which reacts with latex paint and instantly gels to form a micro-barrier that seals the edges of the tape, preventing paint bleed.
What does all this technical information really mean? It simply means that FrogTape® is the perfect product for a non professional like me who wants to create beautiful home decor projects without making a mess! I do not have a perfect technique like my husband. I tend to just slap on the paint or product. FrogTape® forms a barrier that keeps my paint from penetrating through to the exact point where I DON’T want paint!
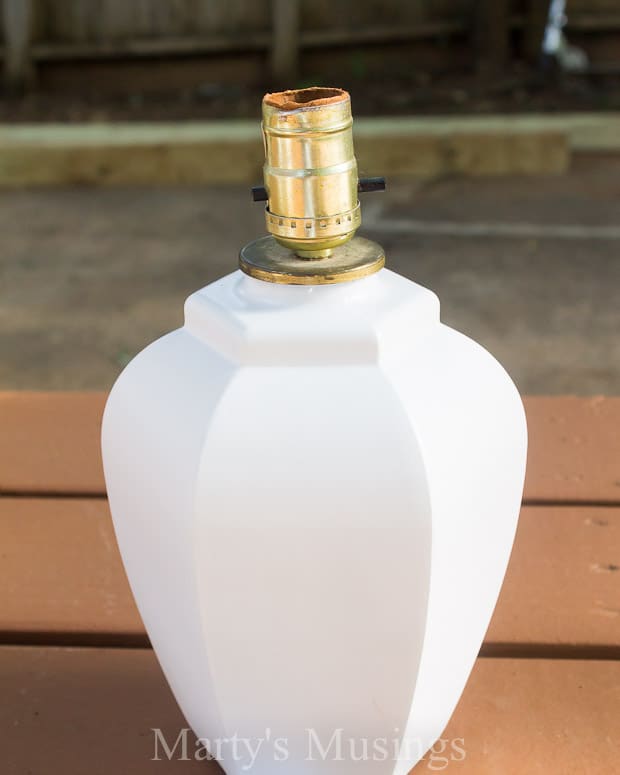
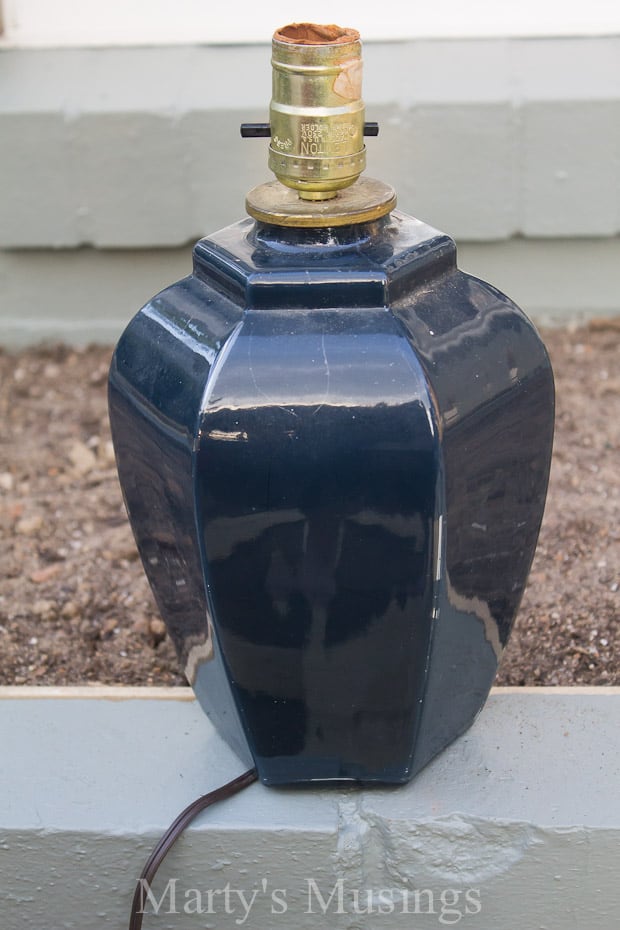
Since I like to repurpose and reuse I had my hubby spray paint an old lamp base white for me.
Now on to the testing! For my project I used a newly purchased fabric lamp shade and Textured Surface FrogTape® with Liquid PaintBlock Edge Sealer. I wanted to see how stripes would look and if the FrogTape® would give me clean lines. 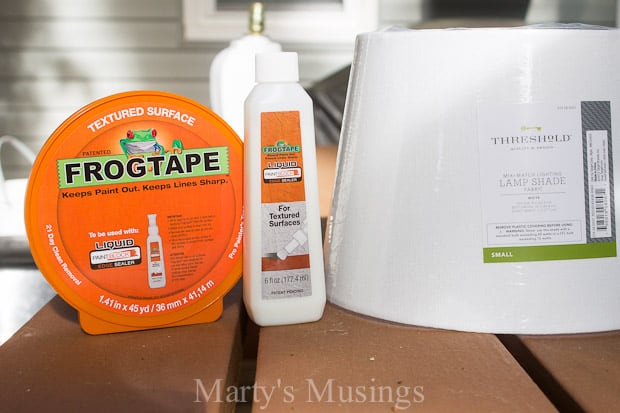
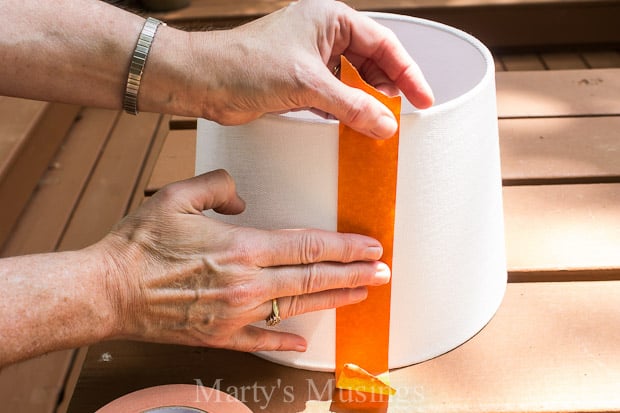
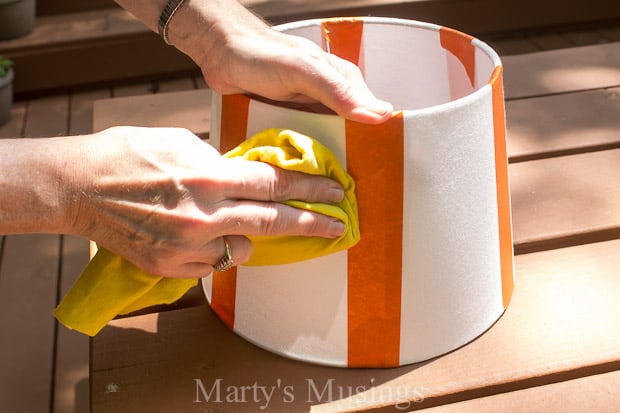
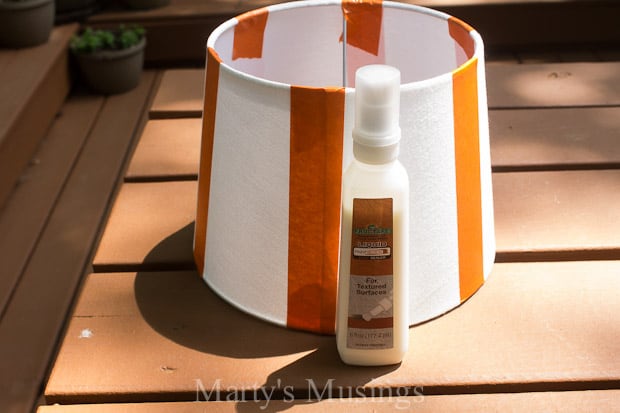
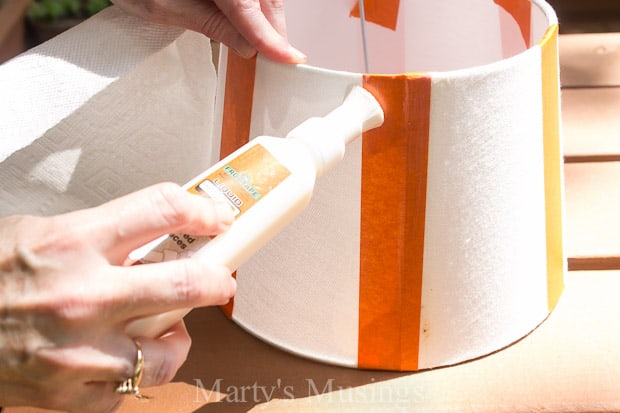
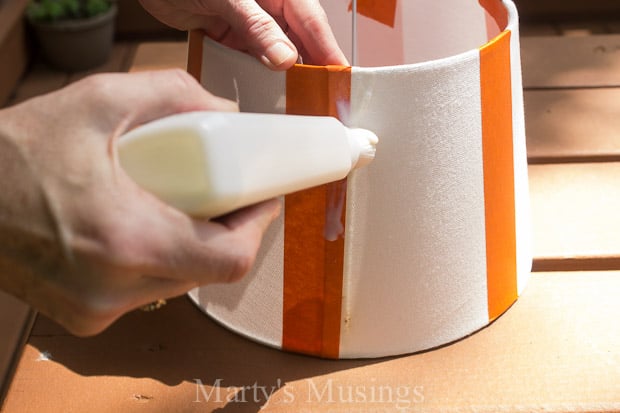
Allow edge sealer to dry for 15 minutes before painting. 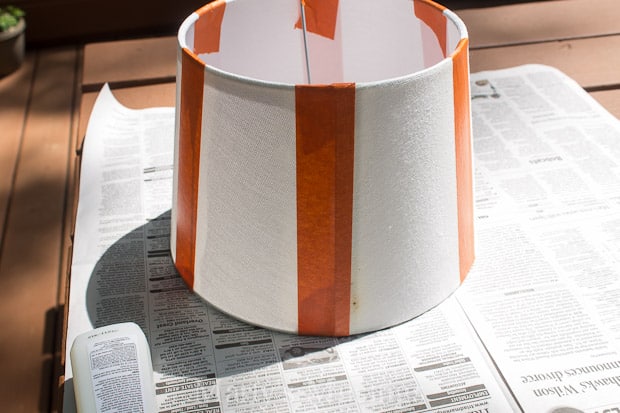
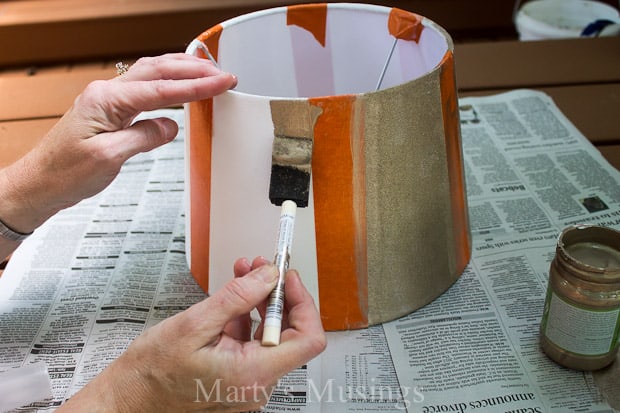

Layer your choice of paint evenly to textured surface. 
Allow edge sealer to dry for 15 minutes before painting. 
Layer your choice of paint evenly to textured surface. 
Let paint dry as specified in paint instructions. Apply a second coat if necessary. Remove tape when final coat of paint is dry to the touch and you’ll see a clean , crisp line! 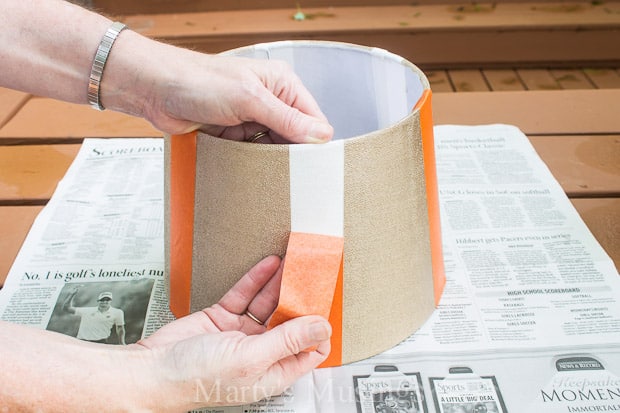
Let paint dry as specified in paint instructions. Apply a second coat if necessary. Remove tape when final coat of paint is dry to the touch and you’ll see a clean , crisp line! 
My one helpful tip is not to remove the tape before you’re completely finished painting in case you need an extra coat. Once you break that seal you risk paint sliding under the edge. 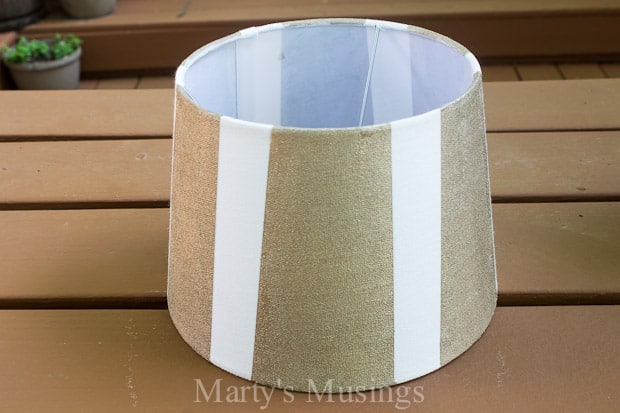
Here’s the finished project!
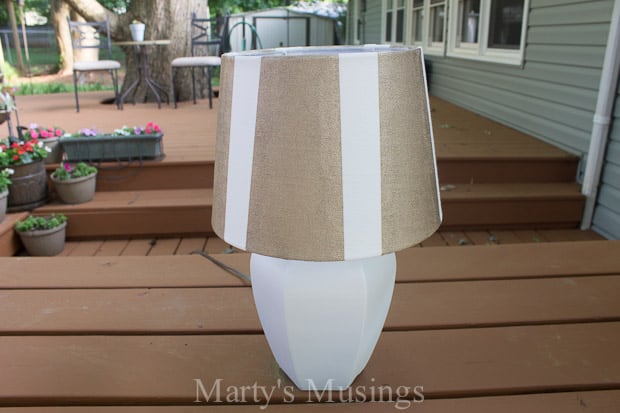
What do you think? Do you already have ideas swirling around in your head with projects that will be so much easier, especially if you’re an average painter like me?
More Painting Tips
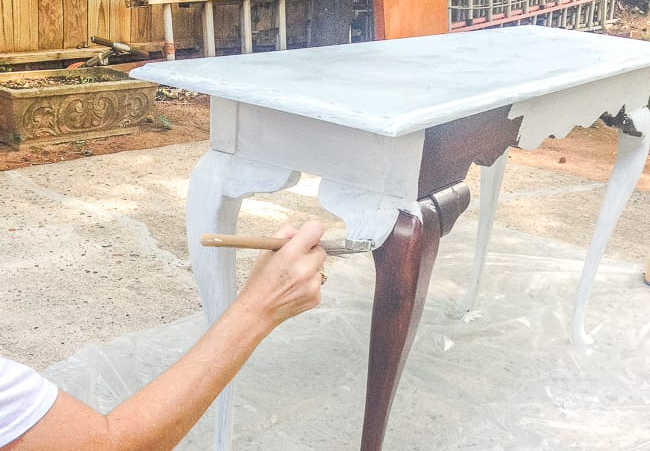
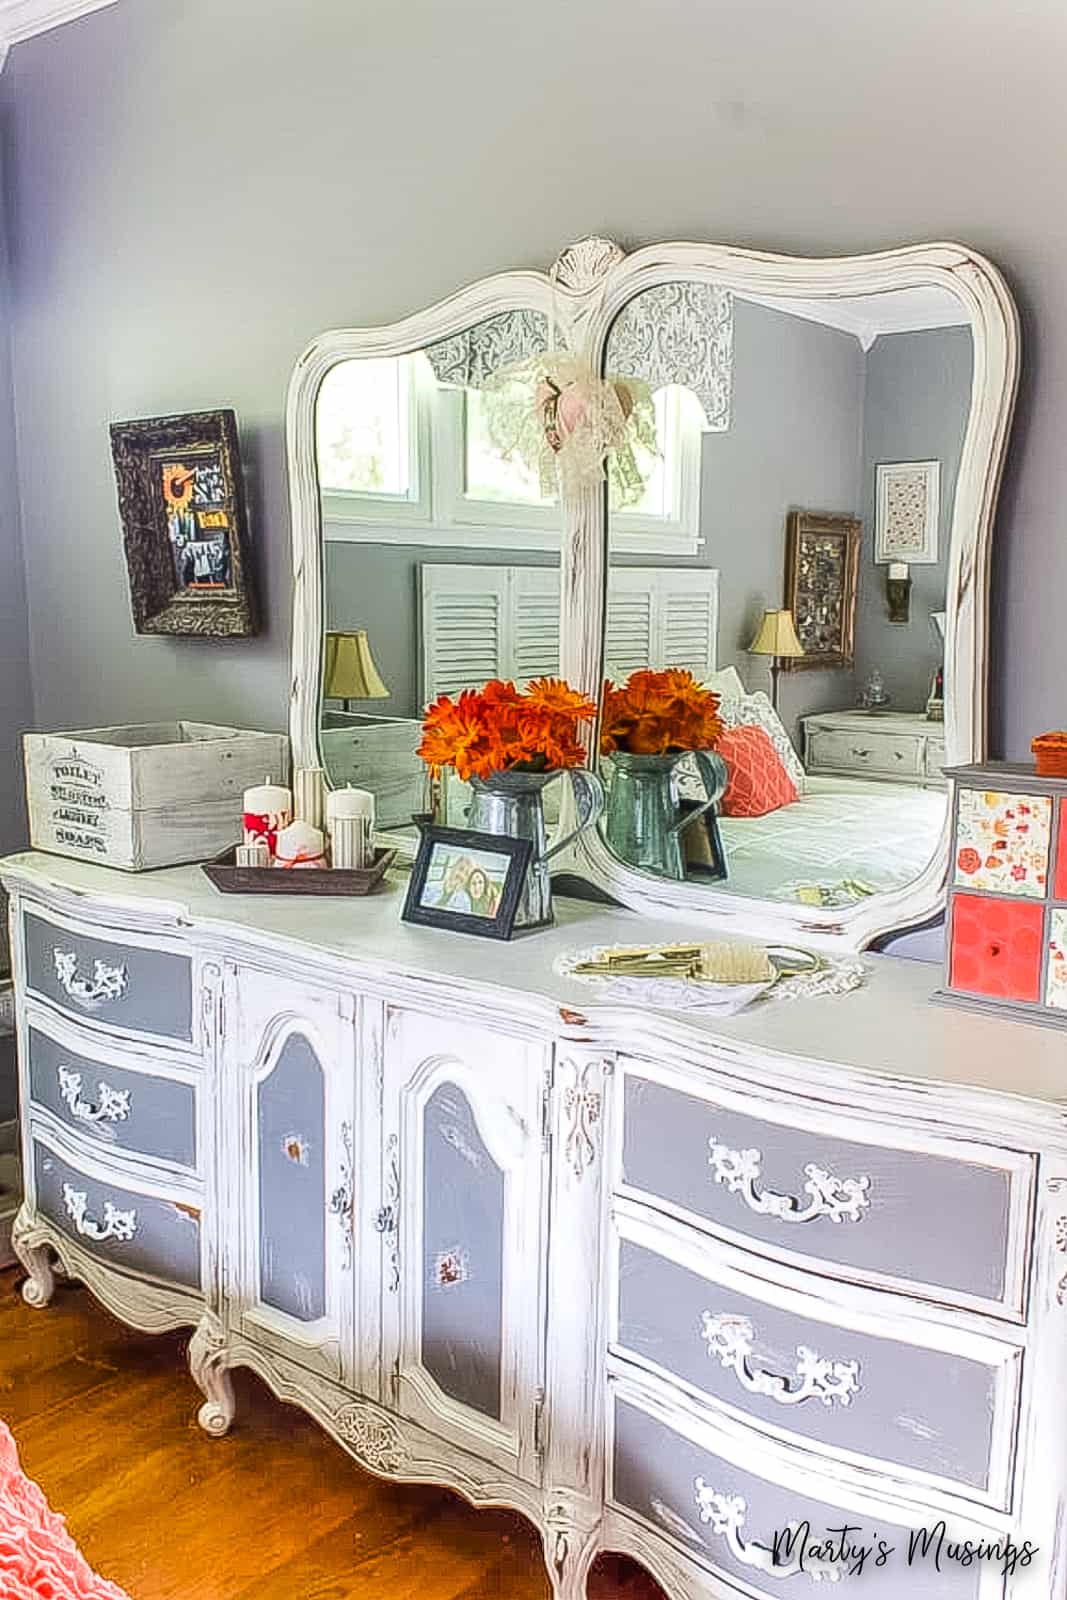
Practical painting tips for the home that anyone can use, including chalk painting, accent walls and choosing the right colors.


One Comment