No Sew DIY Window Valance
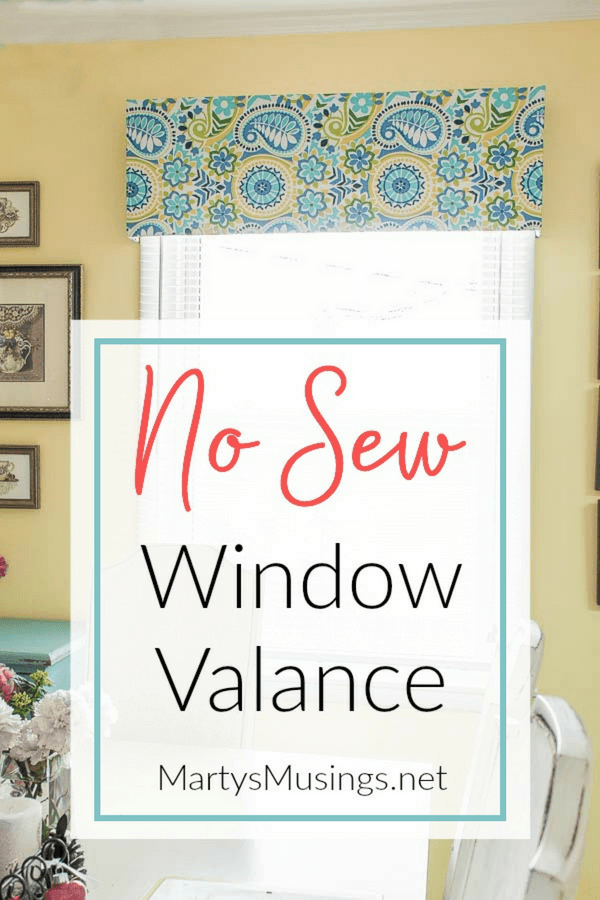
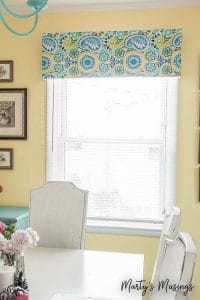
This post may contain affiliate links which won't change your price but will share some commission. Read more here.Step by step tutorial for making a no sew DIY window valance using fabric, plywood, a dowel and staples. No sewing machine required!
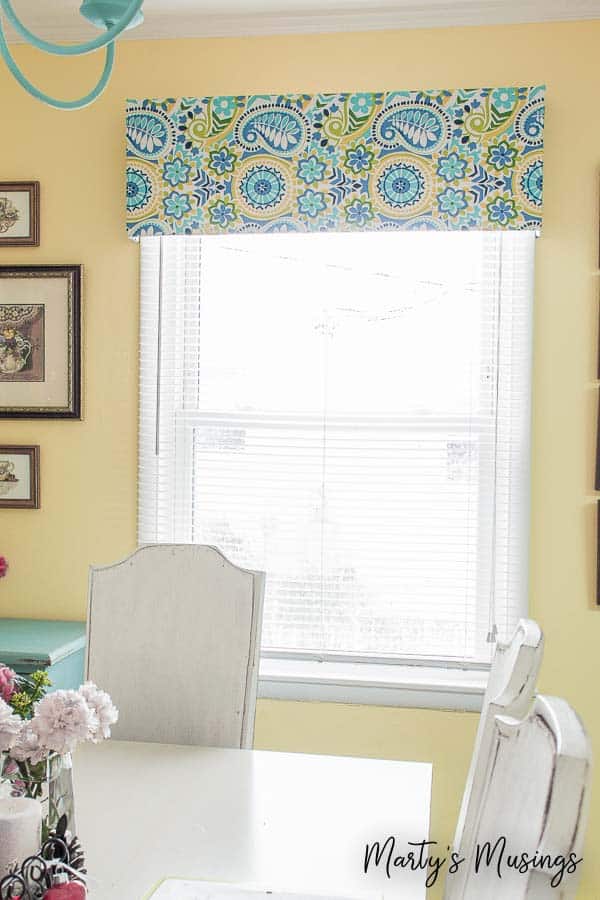
Sometimes it’s a great thing to look back in your home to see how far you’ve come. In this instance, this no sew DIY window valance project was in my previous ranch home and pre-kitchen makeover. (Read how to remodel a ranch style kitchen here.) Put it this way: a lot changed in this home!
But the decision on whether to use curtains or valances can be a tough one!
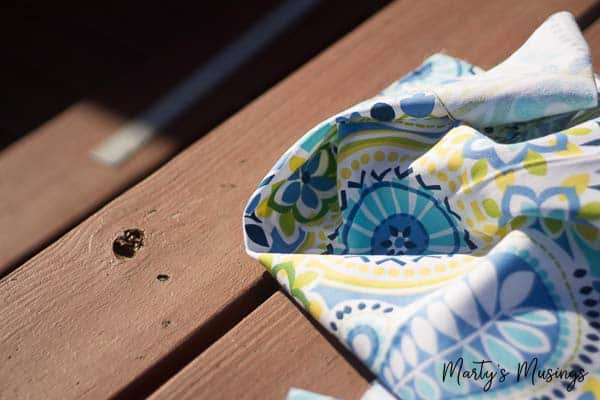
If you don’t want to use hem tape, a curtain rod or hot glue this tutorial is for you! DIY curtains are possible with a few easy instructions
This project is an easy DIY and requires a minimum of both material and tools. In fact, everything we used to build the valence was scrap…no fabric scraps, of course!
Instructions
Measure and cut plywood.
The width of the valence is determined by the width of the window frame. The depth (distance from the wall) and height (top of valence to bottom) is purely your preference.
In our case, the window was a standard 40″ width, outside casing to outside casing. We’re going outside the entire window system for a wall-mount application. The depth was 4″ and the height 13-1/2″.
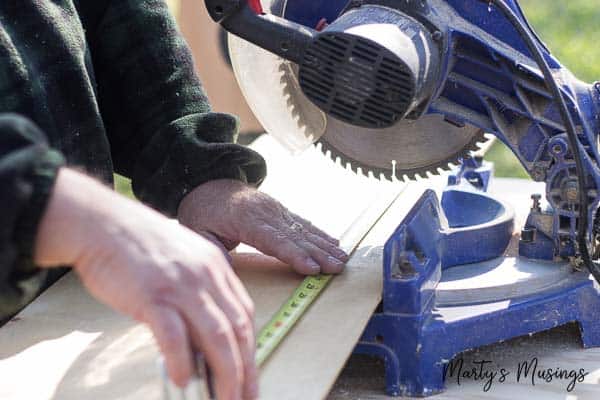
We just measured and marked all those dimensions and cut with the chop saw.
Screw into square dowel.
Basically all we’re going for is half of a box, with no top or bottom, so there are only two corners to deal with. We used some scrap pieces of square dowel we had and cut them roughly an inch short on each end. This would allow for the fabric to be wrapped and attached to the plywood without interfering with the dowel.
The plywood was screwed into the dowel from both directions at the top and bottom of the dowel, at both ends of that 40″ piece of plywood. This would complete the construction of the framing for the fabric.
Measure and cut fabric.
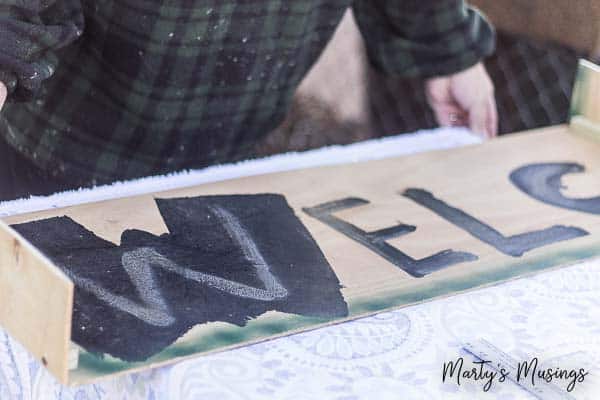
Next we measured, cut and attached the cotton fabric. One entire piece for the whole valence was perfect. Always make sure to use the right side of fabric! We allowed some overhang to wrap it around to the backside of the plywood. An inch extra raw edge all the way around was the appropriate amount.
The Zip Snip has a rotating blade instead of vibrating cutters. Again, just mark and cut.
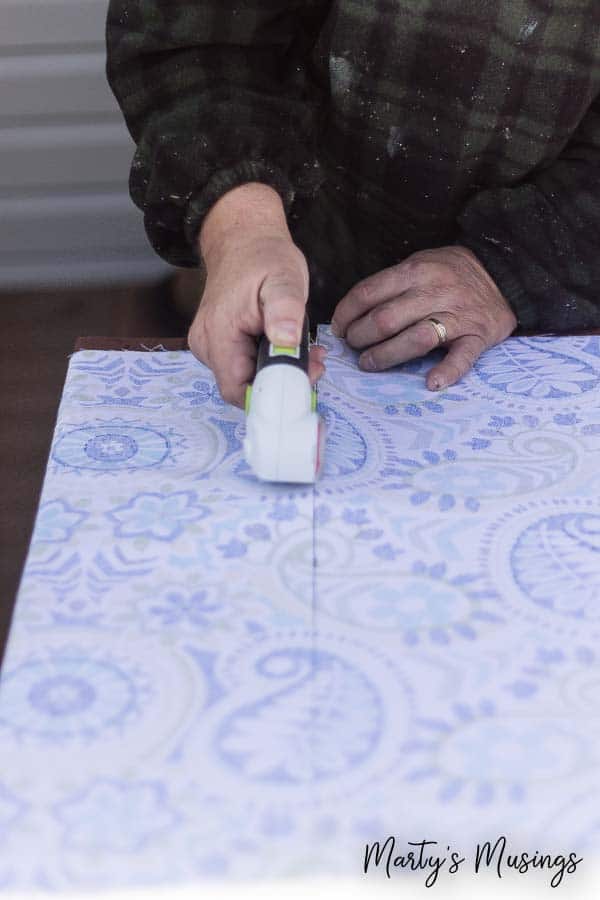
Make sure before attaching the fabric that any repeats in the pattern happen where you want them. A stable, flat work surface is helpful, but we chose to do this outside on a picnic table.
Attach fabric.
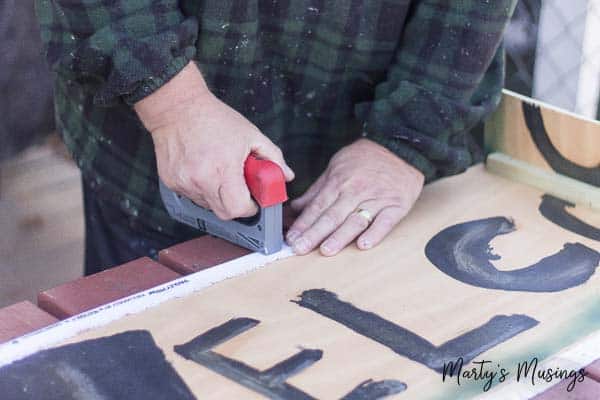
We didn’t use any adhesive on our no sew window valence. Simply roll the fabric over the plywood and staple.
Now, I will confess to a bit of a design flaw here because I used staples that were just a bit too long for the 1/4″ plywood. Not only did I have to pry the valence off the picnic table (oops!) I also had to pound the staples flat on the front of the valance (double oops!). No big problem, though, they were totally invisible.
Be aware that this might be an issue to address a possible problem with the staples. You DO need to staple on the INSIDE of the valance so that the staple heads show there and not on the front.
The folds at the corner can be a bit tricky, but nothing shows on the inside. Just make it work for the front.
Screw into window casing.
This was the easiest part, but you’ll need a helper. Just hold the valance in place and drive two short screws right through the fabric and plywood into the side of the window casing. No brackets!
You might find with a thicker fabric that it will spin and bunch with the twisting screw. You can either opt for nailing it to the casing or cutting a very small “x” in the fabric where the screw will go and not letting the fabric twist up in the wood screw threads. Attach both ends and your DIY window valance is done!
This is the perfect project for your kitchen or dining room or even a kid’s room.


FAQs about DIY Window Valances
More No Sew Projects
Sewing not your favorite thing to do? Try these easy no sew projects that don’t require sewing.
No Sew DIY Window Valance
Equipment
- 1 Chop saw
- 1 ZipSnip or Scissors
- 1 Staple gun
- 1 Square dowel
Ingredients
- 1 piece Fabric
Instructions
- Measure and cut plywood.
- Screw into square dowel.
- Measure and cut fabric.
- Attach fabric.
- Screw into window casing



Can you do this on a wider window
Sure. You’ll just have to change the specifications to fit your window size.
I thought about making this valance also. It’s very simple. I thought about using a square dowel rod and some stiff cardboard along with lightweight fabric. It would make the valance lighter when putting it over the window.
I’m happy to hear that someone else can’t give up sugar (I’m an addict). At least you only paid $10 for your machine…I bought one of the very expensive embroidery machines. I really do need to give up sugar!!!!
This is easy enough for me to try, now just finding the right fabric. Good job!
Hi, Julia. The right fabric totally makes a room, doesn’t it? One of these days I’ll learn to pick that first. Well, maybe not, but I can hope! Send me a pic of your project if you try the tutorial. I’d love to see it!
i love this idea! so simple! im a diy-er too! i live in a rental apartment where my bedroom window and living room balcony sliding glass doors have no casements at all!! and there s a big rod with vertical blinds over the sliding glass doors. i can picture a valance like yours would hide that rod and i would love ideas how to hang a light plywood valance like yours up there! thanks! i also have very similiar striped fabric like on your chairs!!! i covered some pilows with that fabric for my living room sofa!
I hope you’re able to use this idea, Nancy. I’m sure your striped fabric is beautiful! Thanks for visiting my blog!
came out great- and that fabric is awesome! what a happy room 🙂
Thanks so much, Stephanie! My kitchen is the room I call my happy place for sure!
Marty, thank you for being our guest this month and an honorary no-sew girl! I had to laugh when I read you stapled the valance to the picnic table! So funny! The valance works so well with the blue and white in your kitchen! I love the cheeriness of yellow! It’s my favorite color! I’m holding on to this post, I have an upstairs bathroom that needs a pretty valance!
I love it, Marty! And your fabric is gorgeous! Thanks so much for joining our little no-sew group this month!…hugs…Debbie
Thank you for letting me crash the party, Debbie! I’ve always loved y’all’s projects each month!
What a bright and happy place your kitchen is, Marty. I just love this fabric and it looks perfect with the rest of your kitchen! You’d never know that you didn’t choose the fabric before all of the other colors in the kitchen because it all goes together perfectly.
I seem to be the queen of doing things backward in our house, but you’ve been here, Suzy, and I hope you felt welcome! I am definitely falling in love with picking out fabric as opposed to trying to find something at a yard sale. It’s a whole lot easier, too!
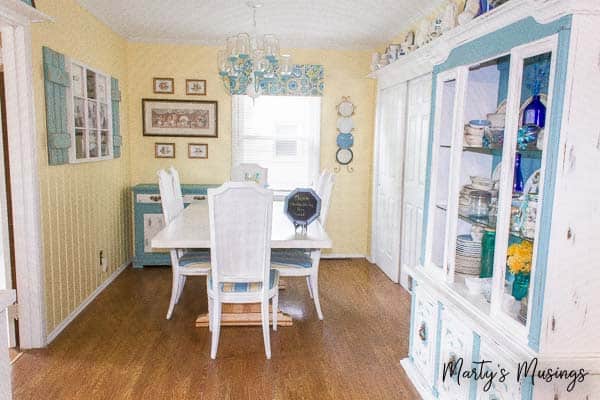
Oh my goodness I love the fabric and the coordinating chair fabric too. It is bright and happy – just like you. I love the new look of your Dining Room. Did I miss it but did you recently paint your chairs? I dont remember them being so pretty and white but maybe its the new wall color which makes them stand out now. So happy you joined us this month. I always love having a friend at a party. xxoo, Barb
Thank you for thinking I’m bright and happy, my friend! It’s certainly not always so. Tim did paint the chairs back last year and I love them because you can’t really mess them up (except for maybe the fabric 🙂 We’re hoping to get the rest of the room done in a couple of months, but I think it will be ongoing forever sometimes! Thanks for letting me join your party!