DIY Chalkboard Banner Wood Slices
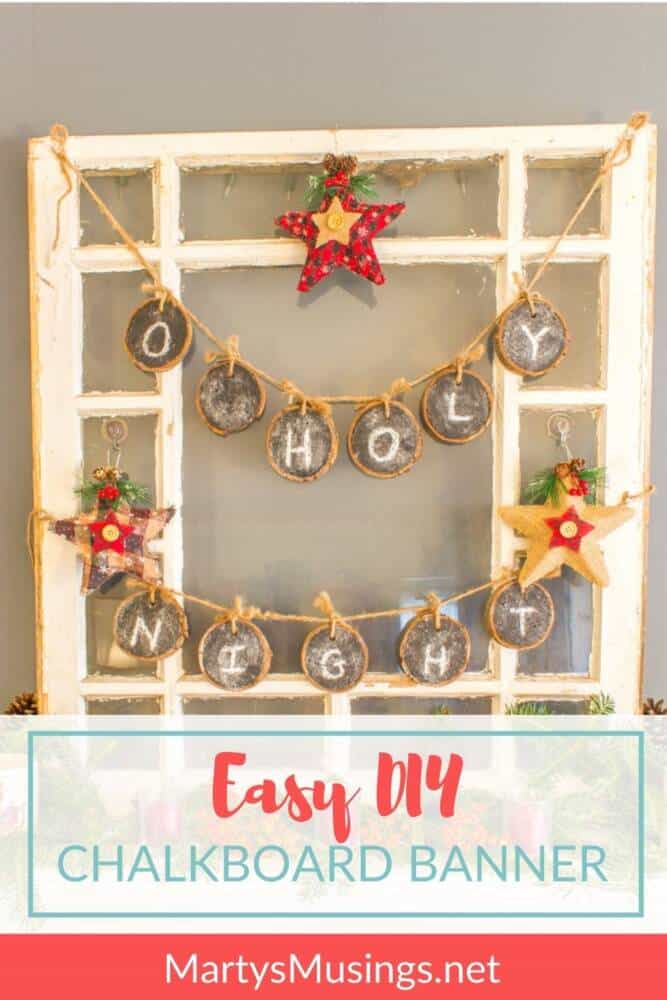
This post may contain affiliate links which won't change your price but will share some commission. Read more here.Join the chalkboard craze with these easy handmade wood slices used as a chalkboard banner. Simply erase and use for any season, celebration or party.
*** For more inspiration from some amazing blogging friends, check out the ideas at the end of this post!
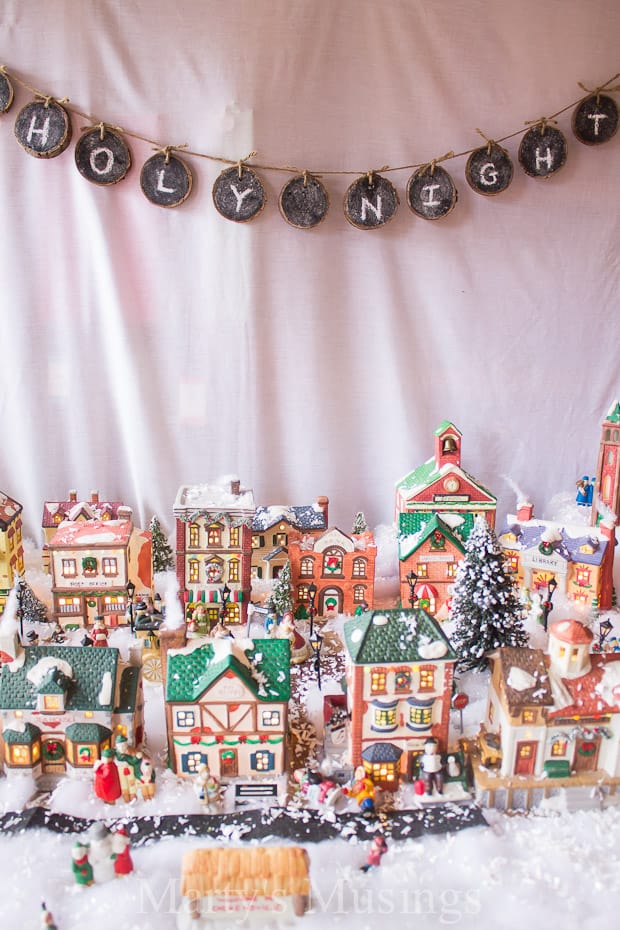
My Christmas village is one of of my favorite elements of our Christmas decorating. You can read all about the details of how we set it up.
I say “we” lightly because in the past I totally delegated it to the kids. It was always interesting to see who became the chief and who became the Indian. Know what I mean?
(And every parent nods their head at how crazy their kids are this time of the year!)
I enjoy the tradition of it all more than the challenge of making sure every house and person is in their designated place. Pretty is most important!
This year I wanted to add a little variety so I snagged my husband to help me add a cute chalkboard banner with wood slices to my little village.
Chalkboard Banner from Wood Slices
From Tim: This is not rocket science nor labor intensive, so don’t be afraid to have some fun with it.
Materials:
(I’ve included some affiliate links for your convenience. Click here to read my full disclosure policy.)
Chalkboard Paint
Artist Brush
Jute
Chalkboard Markers
Step 1. Debug wood BEFORE bringing inside or go any further with the project!
This step is self explanatory but very important!
Step 2. Choose type of wood.
In a previous post/project with natural wood candle holders, I shared about thick bark versus thin and how dramatically the wood choice could affect the project. This is especially true for these slices, especially if you choose to chalkboard paint the inside.
I made pieces from both thick and thin barked wood, walnut and pine, and would recommend that you keep the slices reasonably thick…at least an inch.
I noticed that cutting any thinner makes the bark peel away from the inner core and is not as aesthetically pleasing.
You will also need to determine the piece of wood to use (the original branch or limb) based on how you will use the slice.
For example, a limb with a 6″ diameter might make a nice coaster but would be very heavy when used with several other slices for a banner.
Step 3. Drill hole in wood slice.
Drill a 1/4″ hole for your banner. Placement of the hole is completely random, but visualize how each slice will hang and drill accordingly.
Your slices will likely be imperfect circles, so plan first. For other uses, you might omit this step.
Step 4. Let wood slices cure for a few hours.
This can be done inside or outside, protected from moisture.
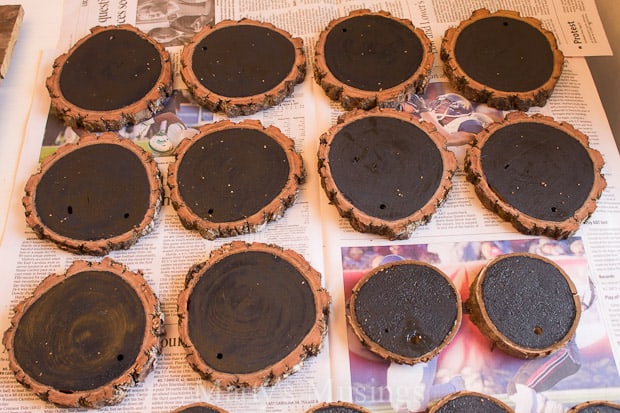
Step 5. Apply chalkboard paint.
Add two coats of chalkboard paint on the inside core of several slices.
Just use a cheap artist brush or a chip brush that can be discarded.
Step 6. Lightly sand if necessary.
You may need to lightly sand before and between coats, depending on your wood. The paint will raise the grain just a bit.
No need to prime – just two coats right on the wood. Let dry between coats and after the second coat (or third, if you prefer).
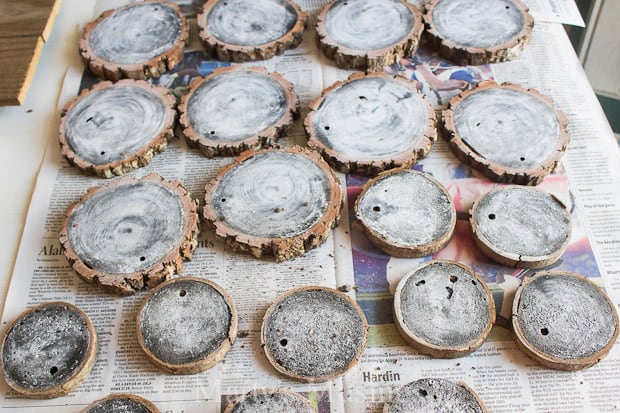
Step 7. Season wood slices.
Use a piece of chalk to season the chalkboard paint and then use a wet paper towel to wipe off excess.
SUPER easy project! You could also spray these with polyurethane to use for coasters or to prepare the wood for appliques or decoupage. Go crazy!
From Marty: one more step and done!
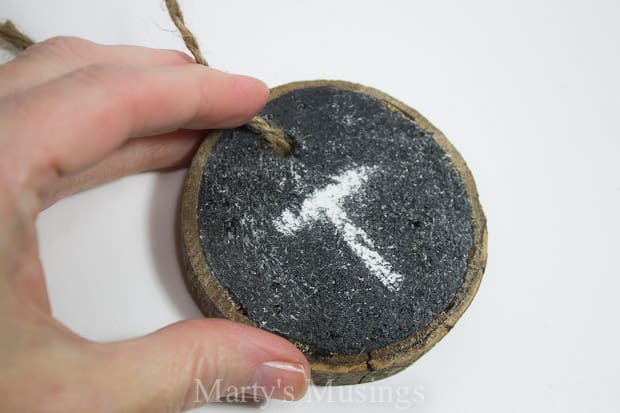
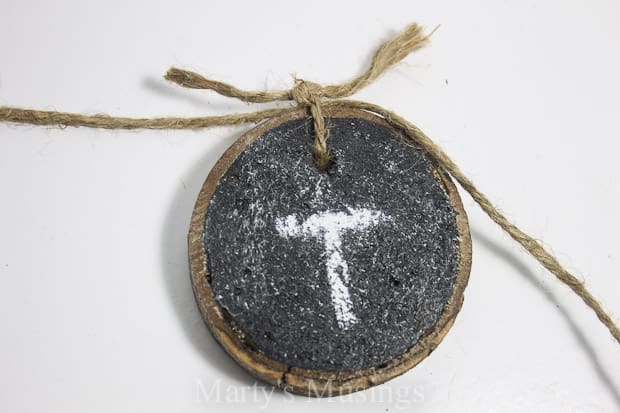
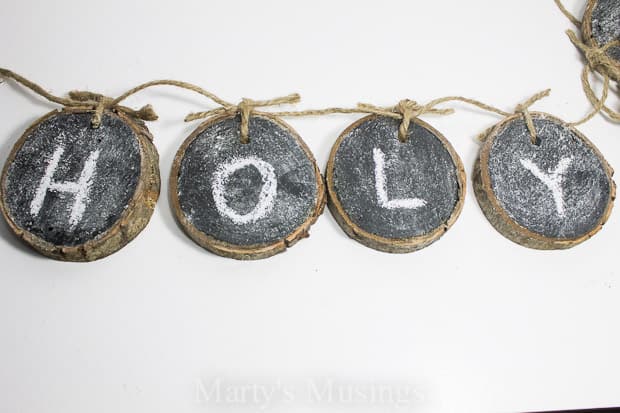
Step 8. Draw letters and hang with jute.
I then used a short piece of jute to attach each circle to the longer strand of jute.
This way I could slide the letters up and down according to whatever length I need.
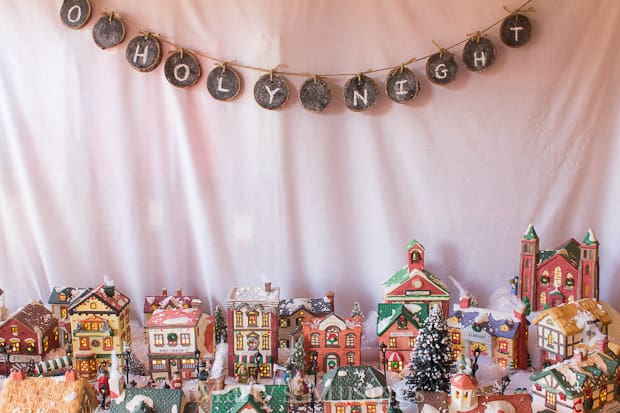
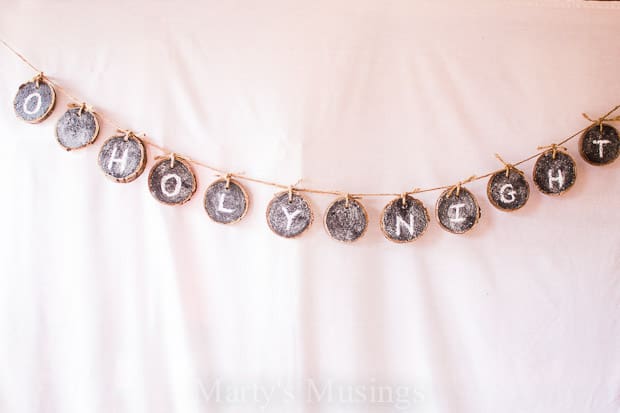
The last couple of years we’ve covered the bookcase behind the village with a sheet to help disguise it so I simply attached the finished banner with thumb tacks to the bookcase.
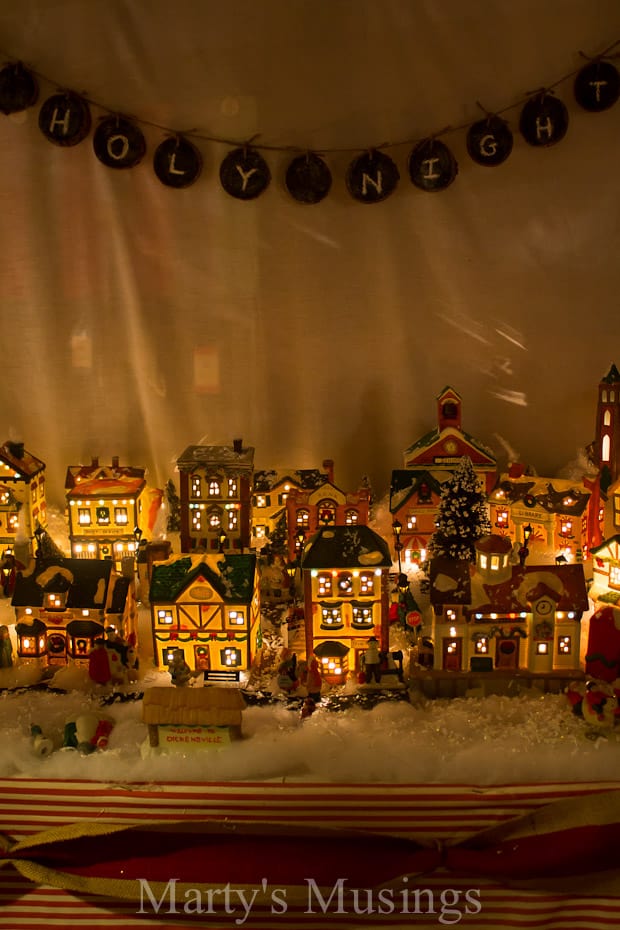
My village greets visitors and sets the tone for our Christmas home.
At night the perfect little village of families and homes reminds us of the holy night when we celebrate Jesus’ birth.
The great thing about this banner is I can just erase the letters and use it for birthdays, parties or a seasonal accent. Love it!
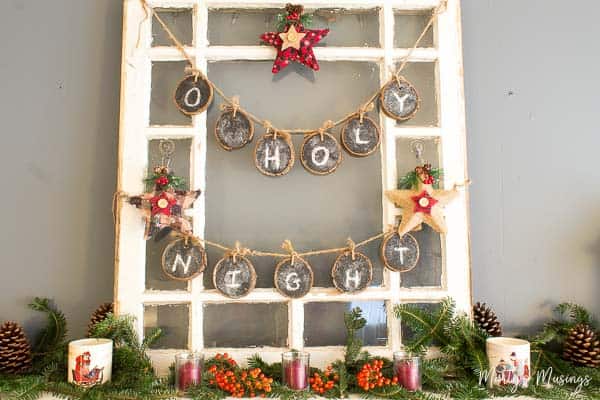
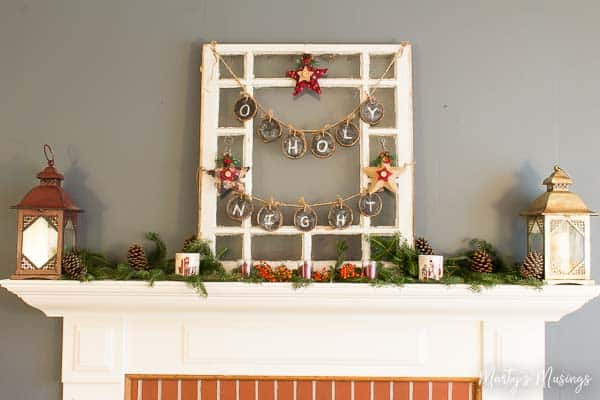
If you need a shorter project cut the chalkboard banner wood slices in half and use with a Christmas mantel. I love the way it turned out!
So many options and ways to use these wood slices!
If you want more inspiration check out my rustic wood candle holders, 5 minute simple Christmas craft or no mess Handmade Glitter Ornaments.
It’s time to be inspired by these amazing Christmas decorating ideas from fellow bloggers. Go show them some love!
Christmas Kitchen Tour from Design Dazzle
String Art Christmas Tree from Domestically Speaking
Christmas Front Porch from Hoosier Homemade
Easy Farmhouse Christmas Mantel from Sondra Lyn at Home
Elegant Christmas Mantel from My Uncommon Slice of Suburbia
Farmhouse Christmas Decor from Design Dazzle



Very cute idea! Simple to do!
What a clever DIY Christmas banner made with wood slices!
I think this is a great way to create banners for holidays and celebrations!
Definitely going to pin this!
Thanks so much, Robin! I appreciate you sharing!
Very cute banner and wow what collection you have! I am ready to get mine out now.
Kim
Love your chalkboard banner!
Thanks, Maryann!
What a fun way to decorate for Christmas, and so many other holidays. You have some great tutorials on your blog, Marty. Thanks for sharing.
You’re always so sweet and encouraging, Meegan. Thank you!
this is adorable and so creative!
Thank you, Kristin!
So fun! I love it with the village!
Thanks for joining the Homemade Holiday Inspiration!
Thanks so much, Liz. It’s been so much fun seeing all the great projects!
This is absolutely beautiful! I love how rustic you made this. Villages have been on my bucket list to make one or find one.
My village was definitely collected over the years. It’s beautiful but can be a lot of work!
Such a cool idea Marty, and I love how rustic it looks and how super functional the little banner is too.
It’s a fun little project and can give you all sorts of other ideas! Thanks, Michelle!
Brilliant – I LOVE this idea Marty!
You’re so sweet and encouraging. Thank you, Sara!
What a clever idea, love the idea that you can use it for all the different holidays too. I have to give your village a mention because it is just amazing. They cost a bomb over here so you don’t see big villages like that.
I love our Christmas village but it’s gotten overwhelming without the kids to help. I do a miniature version but will probably pass it down to the kids!
Love this idea, Marty! Your village is precious!
Thanks, girl! Have a wonderful Christmas!