How to Paint a Room [Secrets from a Pro!]
This post may contain affiliate links which won't change your price but will share some commission. Read more here.A professional painter shares his secrets on how to paint a room, with great tips for the beginner wanting to save time and money!
I love to create something beautiful out of other people’s roadside castoffs or yard sale bargains.
But paint an entire room? Not so much!
When we moved into our home 28 years ago I was assigned the closets. Those lovely hidden places that no one will ever see.
Kind of like Siberia for those that glop paint all over everything.
Yep, that’s me!
I have learned to chalk paint furniture but that’s about as far as I’ve gotten.
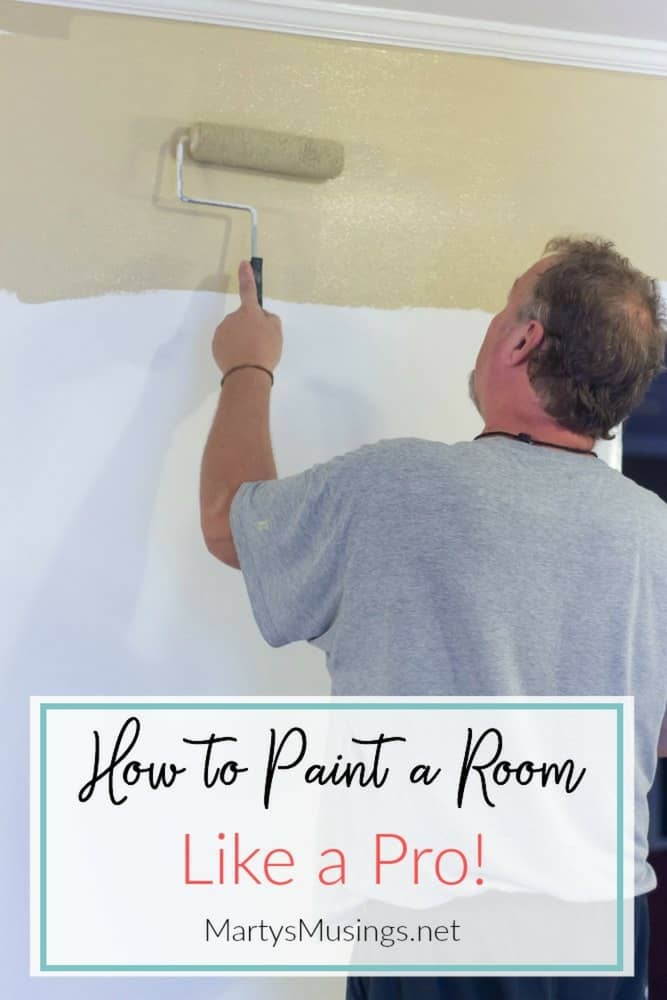
My husband? A total professional. He’s the guy that doesn’t even use drop cloths because he’s so good. I totally bow to him in painting expertise.
True story: I am inclined to forget where Tim is painting in our home and inevitably will brush against wet paint. Want to make your painter/husband crazy? This is it!
I thought it would be helpful if he shared his best tips on how to paint a room. Take it away, honey!
From Tim: As a professional self-employed Painting Contractor for over 25 years, I have done a lot of things the wrong way and even more things the right way!
There is no greater teacher than experience, and, for the DIY painter, that experience often only comes as a weekend warrior – squeezing those projects into far too short a Saturday afternoon.
So, for all of you, here are ten tips (in no order of importance) on how to paint a room and make your painting experience more pleasurable, productive, and maybe even profitable!
(Also included are links to a bunch of other great tips!)
Everything You Need to Know on How to Paint a Room
Our Must Have Paint Products:
(I’ve included some affiliate links for your convenience. Click here to read my full disclosure policy.)
Paint and Primer in One
Paint Brushes
Purdy Roller Covers
Roller frame
Plastic tray liners
Painter’s Tape
Painter’s Plastic
Painter’s Multi Tool
Extension Pole
Warner Paint Brush and Roller Cleaner Spinner Tool
Wagner Power Paint Sprayer
1. Don’t buy good paint – BUY GREAT PAINT!
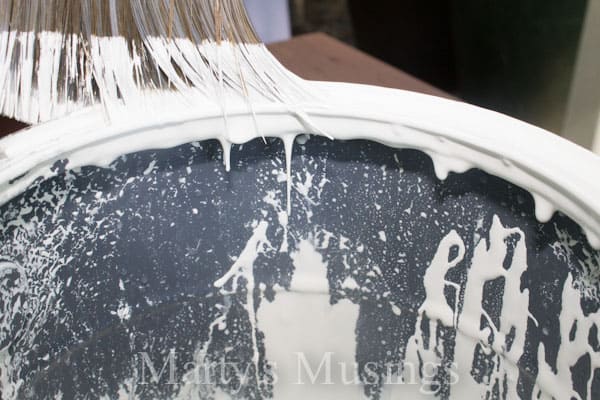
Part of the benefit of a DIY project is using savings in one area and applying it to another. Generally, a latex primer/paint combination is your best bet and almost everyone has them now. Spend the money; it will make your project easier.
We love Behr Paint and have used it in every room in the house. (You can see all our paint colors here.)
2. USE GOOD TOOLS
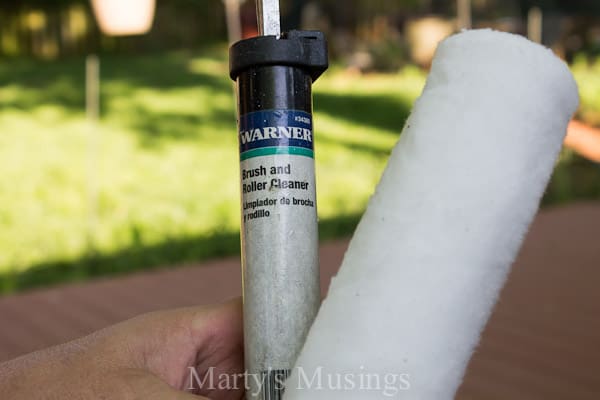
Buy a good quality brush specific to your project and keep it clean. For almost every surface, use a lint-free (also called shed-resistant) 3/8” or ½” roller cover. These will keep the lint and trash off the surface. I always use a plastic disposable tray liner in a metal roller pan and throw the liner away after 6 or 7 uses.
3. PREP WORK IS THE KEY
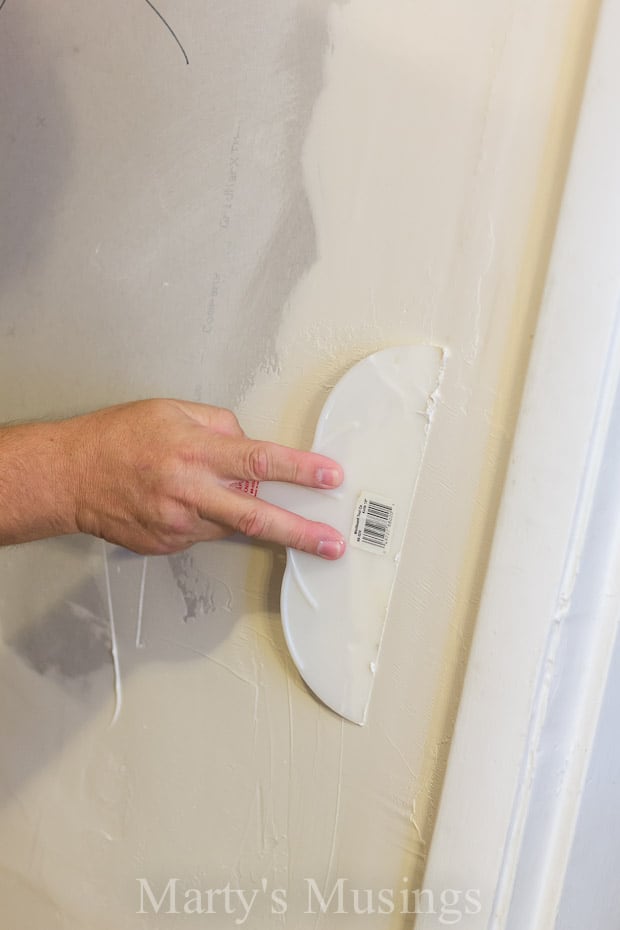
How to patch and repair drywall
This will often take the most time and, if you do it right, should look like you never did it!
Spackle, caulk, sand, smooth, address cracks and nail pops first thing. If you can’t paint a straight line to save your life use painter’s tape. (Anyone think he’s talking to me? ~Marty)
Forget those gadgets that are supposed to make edging easy – spend that money on tape.
4. USE BIG SAMPLES
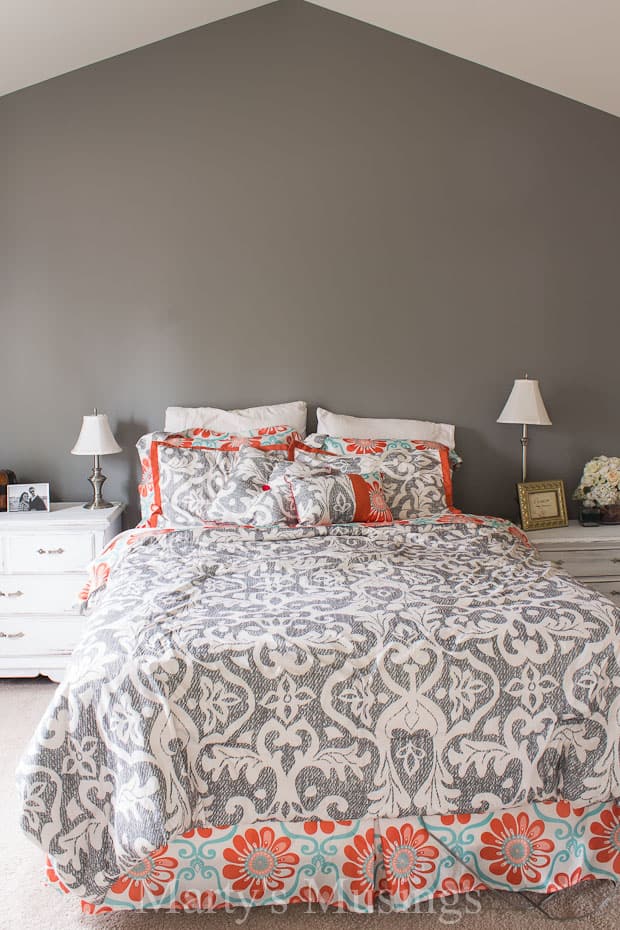
Don’t be afraid to paint a good section on the wall to get an idea of how the color works in that space. You’re going to cover it anyway so have fun!
Almost all the suppliers have sample size cans now and you can even look at miss-tints that can help. Poster board can also be painted and taped to the wall, which allows you to move it around in different light. Unless you’re fearless, those microscopic tidbits in the color charts won’t cut it.
5. WORK FROM THE TOP DOWN

When painting a room, here is the sequence after all that prep work is done: ceiling, crown molding, door and window casings, chair railing, doors and windows, walls, and baseboards last. If one of these doesn’t apply to your project just skip it and move to the next step.
If you work a project like this and watch your dry times, you can do a 12’ x 14’ room in one day! You just keep moving and let one part dry while working another. If you have to use tape, this will probably not work in a day – you’ll pull paint that hasn’t sufficiently cured off the surface. The same process holds true for exterior jobs.
6. PRIME IF YOU MUST

Most people shudder at this step because it can seem like such a waste of time and money. Unless you are radically changing colors, the only mandate to prime comes when changing from a water-based paint to an oil-based paint, or vice versa. In that case, you must prime with an oil-based primer and then topcoat with your preference.
If you are painting over wallpaper (*gasp*), you also must use an oil-based primer. A water-based product will re-activate the paste (also water-based) and cause all kinds of problems. Some people also like to spot-prime over patched areas (cracks, hole repairs). Water damage must also be covered with an oil-based primer, always.
7. STAY CLOSE TO THE SURFACE.

This sounds more like a snorkeling tip, but it can really help your results. There are more and more gadgets available that can push you away from the painting surface; sprayers, poles, poles that hold paint, edging tools and funky corner rollers. They will work for you if you make them work for you.
I have found that the closer I am to the surface – the actual physical orientation – the better results I get; you see better, the angle of attack is better, leverage is maximized, fatigue is reduced, “holidays” are eliminated (those spots you somehow missed), and your work space is cleaner. This could be my personal quirkiness, but give it a try.
8. DON’T BE AFRAID TO FAIL.
One of the biggest falsehoods of the DIY world is that everybody gets it right all the time. Why? Because most of us don’t post our flops on Pinterest!
If something is just not working, engage the parking brake and re-think the dealio. One of my favorite things to say to a client when a choice is way off base, especially if they’re using a designer, is, “There is nothing wrong with this color that your wallet can’t fix!”
Hey, it’s only paint and elbow grease – not like you’re paying a professional or anything!
9. KEEP YOUR WORK SPACE CLEAN

This covers everything from de-cluttering the room to catching those drips, even if they land on the drop cloth. I usually only have exactly what I’m using in the area; everything else is tucked in a closet, hallway, or back in the work van. You’ll be safer and much less prone to disaster.
10. WHAT ABOUT OIL VS. LATEX?
Oil versus latex? Latex! All daylong! The cost of paint is unbelievable and anything connected with petroleum will continue to rise. Latex is less expensive, easier to work with, better on tools, and dries in a fraction of the time with far less odor.
Back to Marty: My husband is a wealth of information and I’m so glad he takes care of all the painting!
Can you think of any tips he missed on how to paint a room? Do you have any questions?
More Painting Tips
Practical painting tips for the home that anyone can use, including chalk painting, accent walls and choosing the right colors.



Thanks for these tips. I did like the one about being closer to the surface you are painting. I’m a avid painter and like to know how others do things. I’m going to ponder questions I usually don’t think about issues until I’m confronting them. Smile…..
I didn’t know you were an avid painter, Diana. Good for you! I’m totally fine with letting my husband do all of ours! At least the walls anyway!