Creative Orange and Blue Fall Table Decorations
This post may contain affiliate links which won't change your price but will share some commission. Read more here.This is a sponsored post written by me on behalf of Plasti Dip for IZEA Worldwide. All opinions are 100% mine.
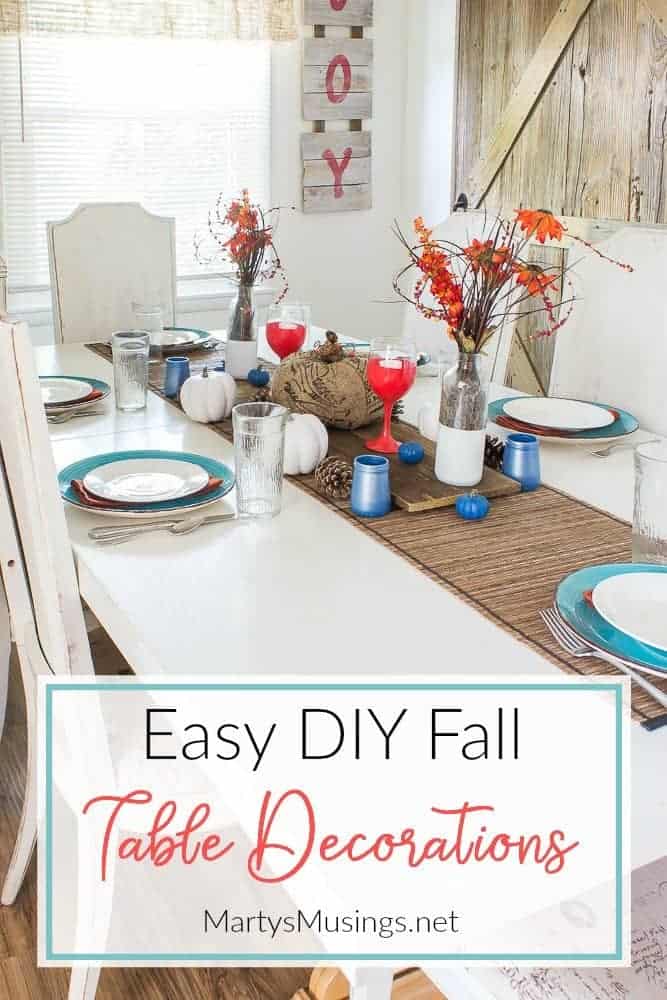
Take your fall decorating up a notch with these easy orange and blue fall table decorations. Includes a simple spray painting craft anyone can do!
I need to be a little bit honest for a minute.
I write a DIY/crafts blog where I encourage women to love their homes through inexpensive, creative decorating projects they can do themselves.
How’s that for a summary statement wrapped up with a pretty bow on top?
But for those of you who follow me on social media and read my emails (that’s where my real heart shines) you know I’ve been battling health issues for a few months.
Those creative decorating projects? Nowhere to be found.
It’s been hard, my friends.
I absolutely LOVE what I do. I love taking other people’s junk off the street and transforming it into a treasure.
I get jazzed when a project I see in my mind turns out even better than I imagined. (Have you seen our kitchen remodel? Ah-mazing!!!)
Yet in order to heal my body I’ve been resting. A LOT.
No, really. A LOT.
I’m unfamiliar with this practice ~eye roll~ so this season has been one of letting go of expectations and leaning into God.
When I was contacted about creating a project with a new craft material called Plasti Dip it took me all of, oh, 3 seconds, to say YES, and hallelujah, I’m back!
Forcing a creator to be idle is just plain hard. Anyone else know what I’m talking about? I know you understand.
Today I’m going to share the tutorial for a project I think you’ll love and not only is it creative but it involves some repurposing and thrifting.
Woohoo! Everything I love in one place!
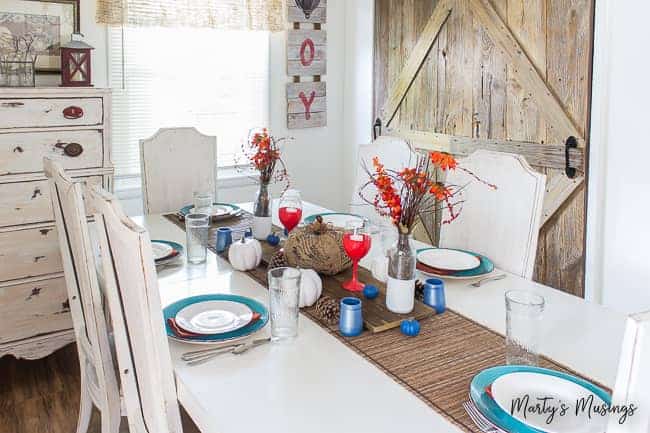
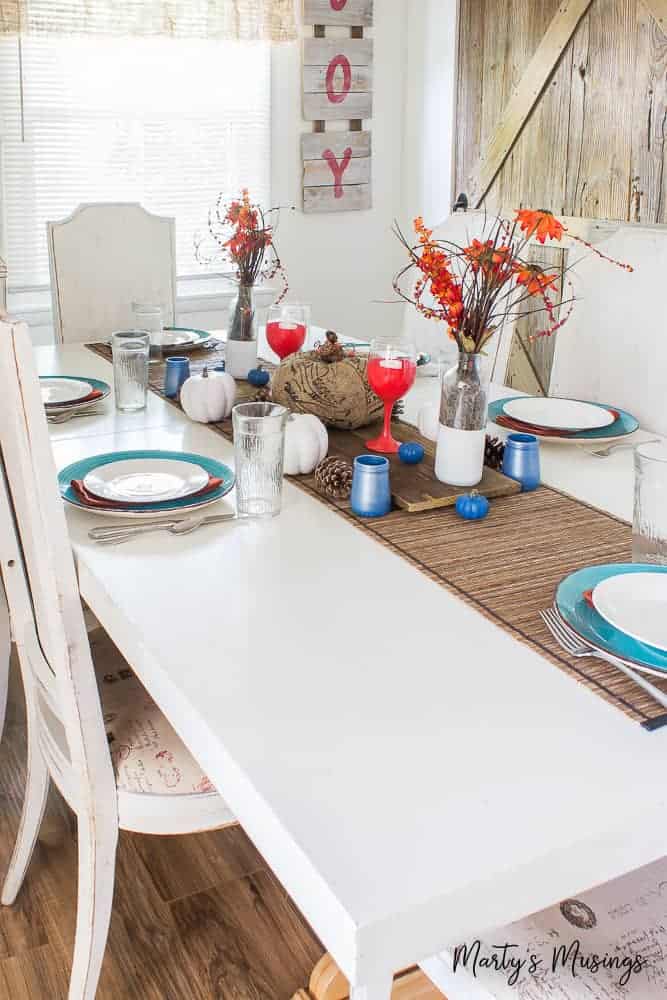
Fall is in the air and I chose to create orange and blue fall table decorations.
Red and teal are my kitchen accent colors and coral and aqua are in my living room. Since these two rooms are now one open space (since we took down a wall and remodeled our kitchen) I used a combination of colors to create a beautiful but simple fall table.
Orange and Blue Fall Table Decorations
For the DIY itself I used Plasti Dip which is an air-dry specialty rubber coating. It’s like spray paint but way better! Since my husband is my favorite handyman he remembers the original Plasti Dip that is used to dip tool handles (among many other things) to create a rubber grip.
Materials:
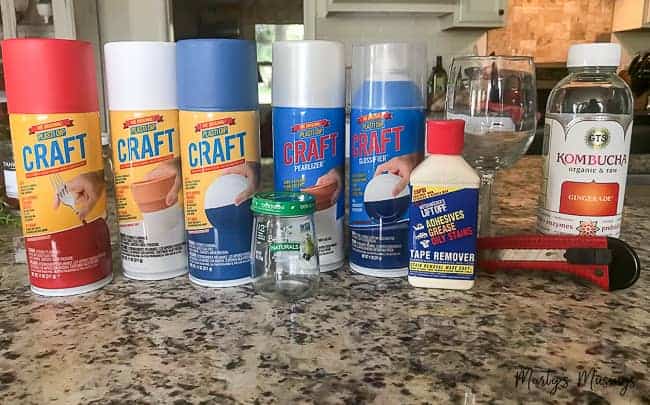
Plasti Dip Craft, Pearlizer, Glossifier
Baby food jars
Wine glasses or other type
Kombucha bottle or other glass jar
Dollar store pumpkins and craft picks (baby pumpkins)
Adhesive remover
Scotch blue tape
Craft knife
How to Make Creative Orange and Blue Fall Table Decorations
Step 1: Gather supplies
Since y’all know I’m into repurposing I used baby food jars from my grandson, wine glasses I got at Goodwill for $1 each and Kombucha bottles. (This was the first time I’ve ever tried this drink but you know I’m trying new things on my journey to health!) I also bought pumpkins from the dollar store.
Plasti Dip Crafts comes in 7 colors and 3 enhancers and I also knew I wanted to try the Pearlizer and Glossifier. (shop now at Awarehousefull)
Step 2: Remove labels off glass
Since I repurposed baby food jars and the Kombucha bottle I used adhesive remover to take the labels off the glass. I tried both rubbing alcohol and nail polish remover but they weren’t effective. Find a remover that will work for you.
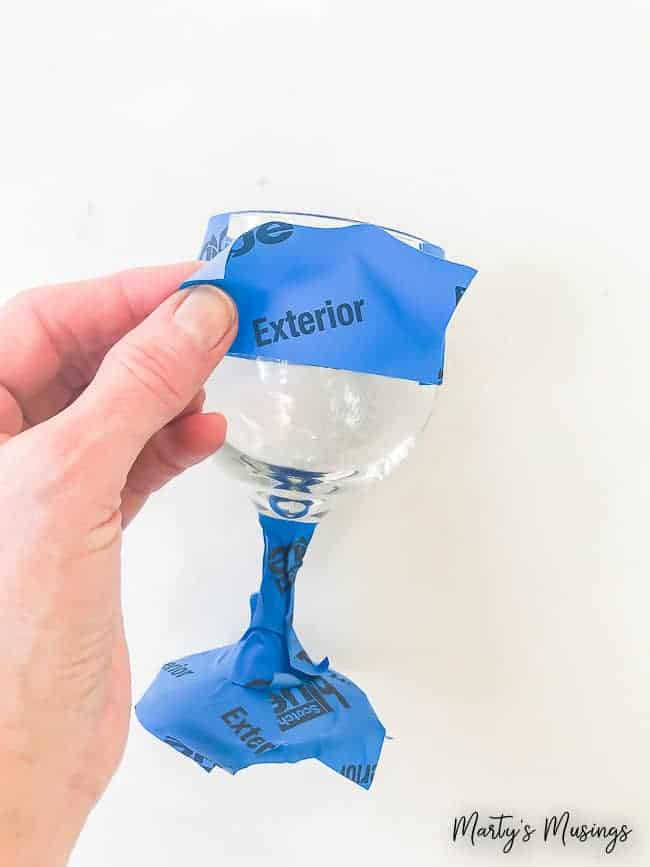
Step 3: Decide what you want to paint and tape off the rest
I only wanted to paint part of the glass so I taped off the sections I didn’t want covered.
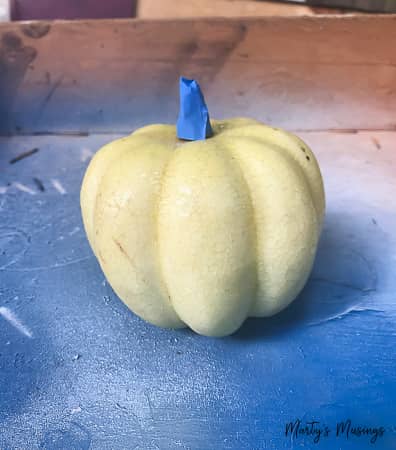
For the dollar store pumpkins I simply taped off the stems before painting.
Step 4: Begin painting, preferably outside
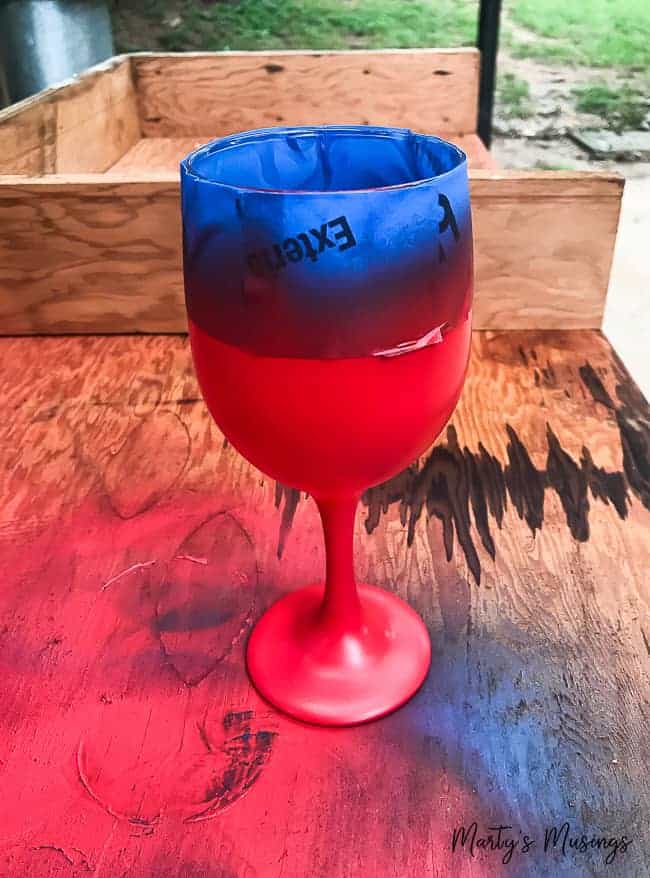
Plasti Dip works exactly like spray paint but way better! Shake the can for about a minute before spraying and if necessary, shake again during spraying process.
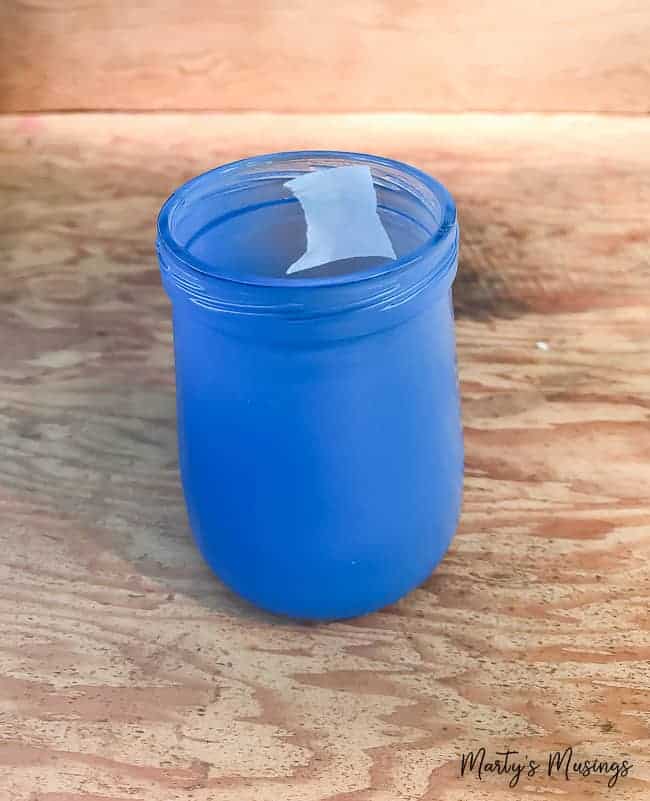
Since it was hard to tell where I started and ended spraying I added a piece of tape on the inside as my starting point.
The cool thing about Plasti Dip is it’s peelable off most surfaces once it’s dry, so if you make a mistake, just peel it off and start over! How cool is that?
I used three coats on every piece I painted and allowed 30 minutes dry time between coats.
Here in NC it’s still hot and humid in early fall so just make sure each coat is dry before you keep going. The instructions also say to let your project dry at least 4 hours before using.
Step 5. Add Glossifier or Pearlizer if desired
If you want to add a touch of pizzazz I highly recommend using the glossifier or pearlizer products. I sprayed the baby food jars with blue and then added the pearlizer for a bit of sparkle.
The red wine glasses were sprayed with glossifier and I love the way they turned out!
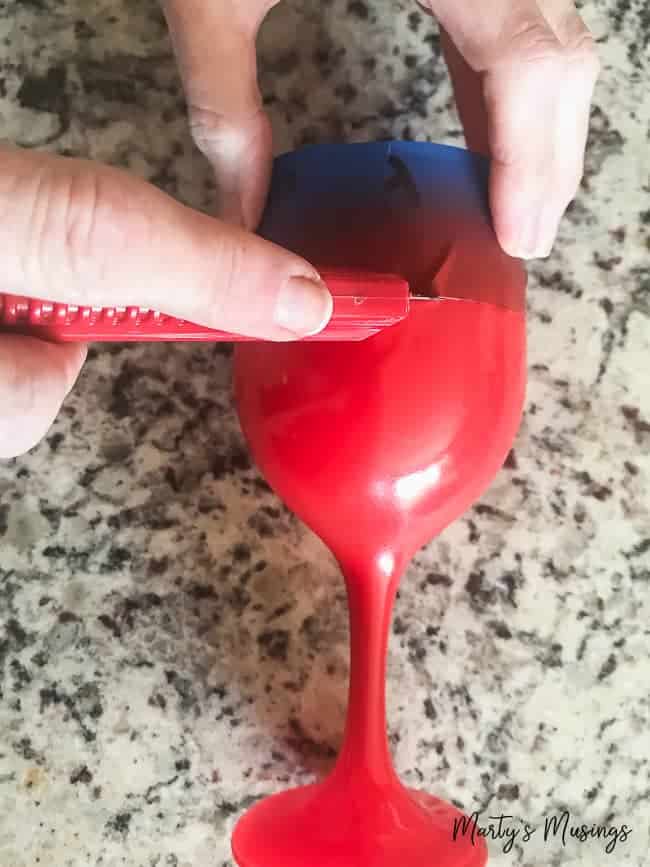
Step 6. Score with a craft knife and peel away tape
Since I allowed the last layer to dry, I needed to score the paint with a craft knife to peel away the tape. If I were to do it again, I would remove the tape after the last coat is applied and before it is dried for easy removal, as recommended.
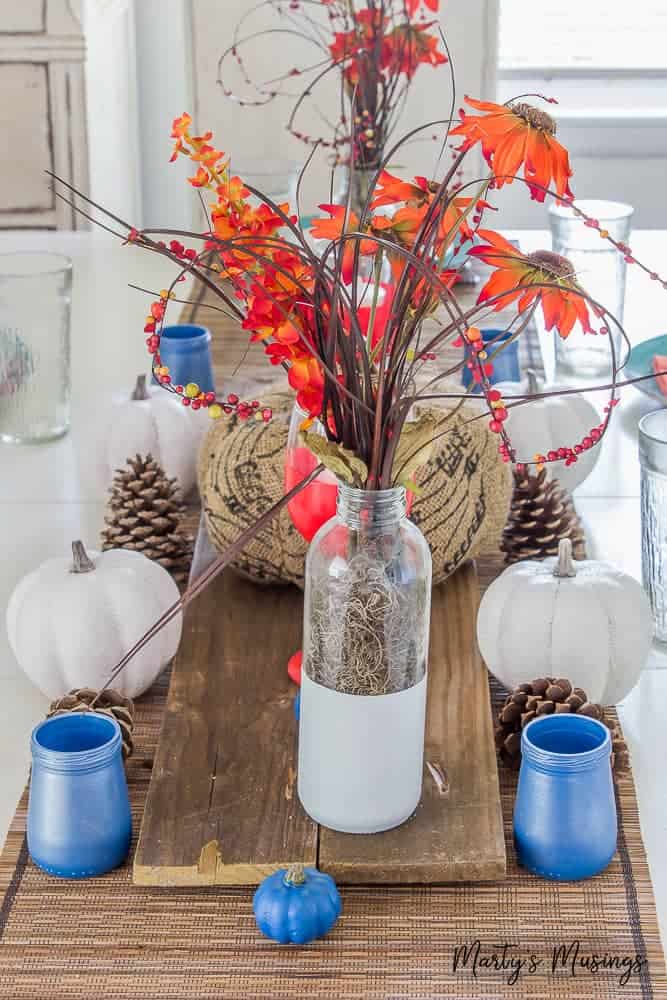
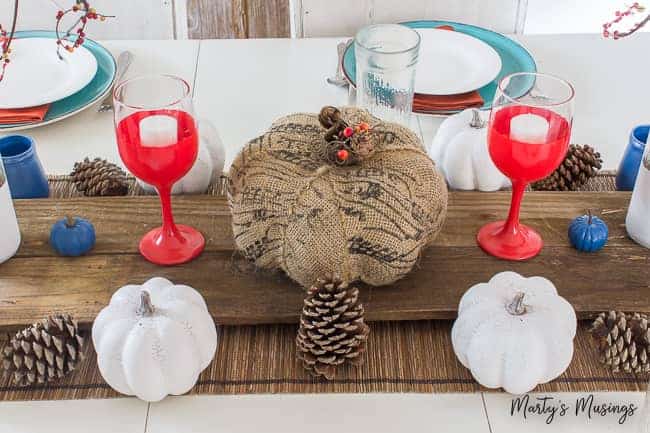
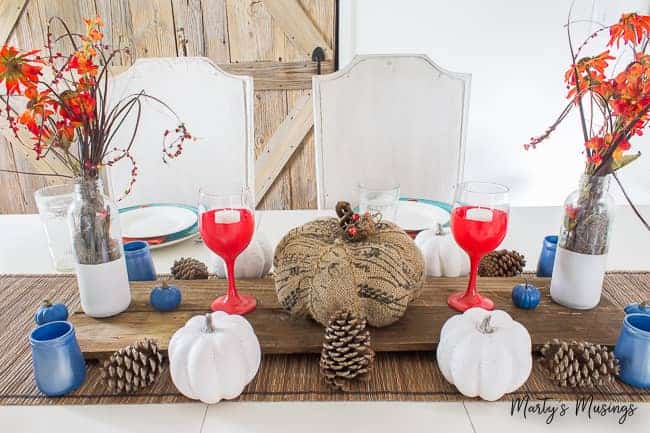
And here’s the final product! Who says a fall table can’t use unexpected colors?
Here’s the skinny on the rest of the orange and blue fall table decorations. The table runner was a yard sale purchase for a couple of bucks as was the burlap pumpkin for $1. I also spray painted the baby pumpkins which came from a craft store, with several in a bunch for a $1. Pinecones were free!
Plasti Dip protects against moisture, acids, abrasion, corrosion, and skidding/slipping. I think it’s a perfect application for home decor that could be used on a porch or front deck like ours. You could leave the items outside during all types of weather and not worry about them falling apart!
I think Plasti Dip would be fun to try on inexpensive yard sale baskets because the product remains flexible and stretchy over time.
Now that my own creativity has been fueled I’d love to know what you would use this product on. Aren’t the options limitless?
(find a retailer near you)


OMG I Love it! I never knew that these colours can look so beautiful combined together. The table looks gorgeous.
Hi, Susan! Thanks so much! I love those colors together, too. Sometimes it’s nice to not be so traditional. Blessings! Marty
This looks so cute Marty, where did you get the Plasti Dip?
Hi, Diana. Thanks so much! There are links within the post that will lead you to retailers that sell the Plasti Dip or you can go here: https://plastidip.com