Easy Candy Corn Banner (from a paper plate!)
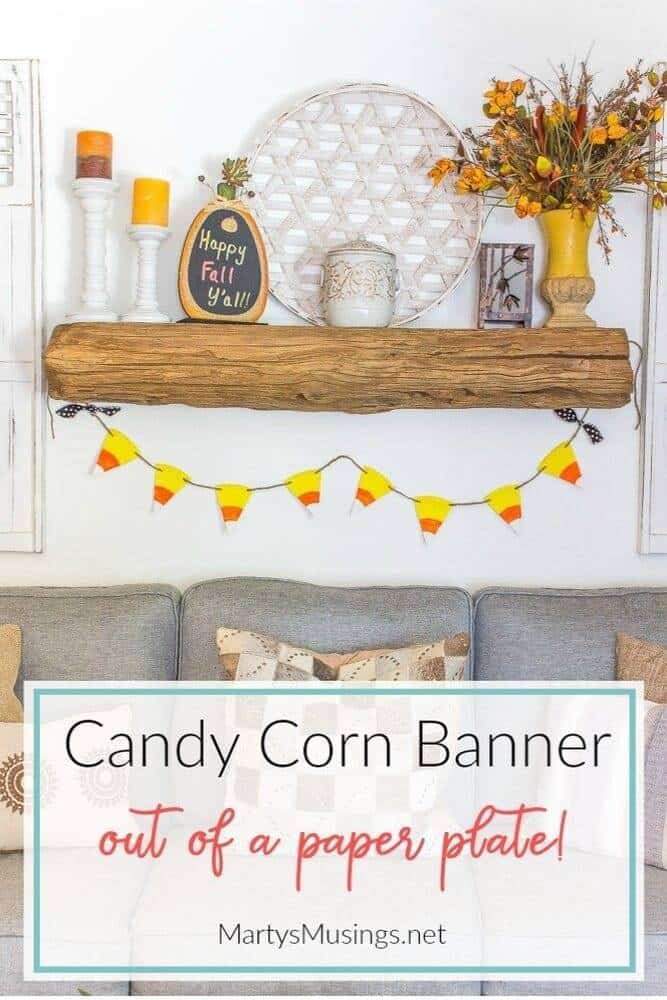
This post may contain affiliate links which won't change your price but will share some commission. Read more here.Want an easy Halloween or fall craft? This Candy Corn Banner is so easy and it’s made from a paper plate! Perfect for kids!
Do you remember making crafts as a kid? I don’t have any memories of being an artistic child. I do, however, remember when my sister introduced me to cross-stitching in high school.
That was it. For YEARS I spent all my free time cross-stitching gifts for friends and family and decor for my room.
I adored looking at all the pattern books and bought way too many for my budget. But they inspired me to create beauty from the simple act of making an x on a piece of fabric.
When I had children it was a natural fit for me to do all the crafty projects with them. This was way before the days of internet access and the library was our best friend.
We began homeschooling when our oldest was seven and for 23 years arts and crafts were a fun part of our learning experience.
Somewhere along the way I discovered scrapbooking and it quickly replaced most other crafts. Combining art with journaling? Yep, sign me up!
And yes, I still spent way too much on all the pretty scrapbook paper because they inspired me with all the beautiful colors and designs.
What I’ve learned more recently is I don’t have to spend a ton of time or money to be creative. Sometimes a paper plate and paint is all I need!
Easy Candy Corn Banner
If you’d rather watch a video of this project here it is!
Materials:
Paper plates
Orange craft paint
Yellow craft paint
Jute
Masking tape
Artist brushes
Hole punch
Scissors
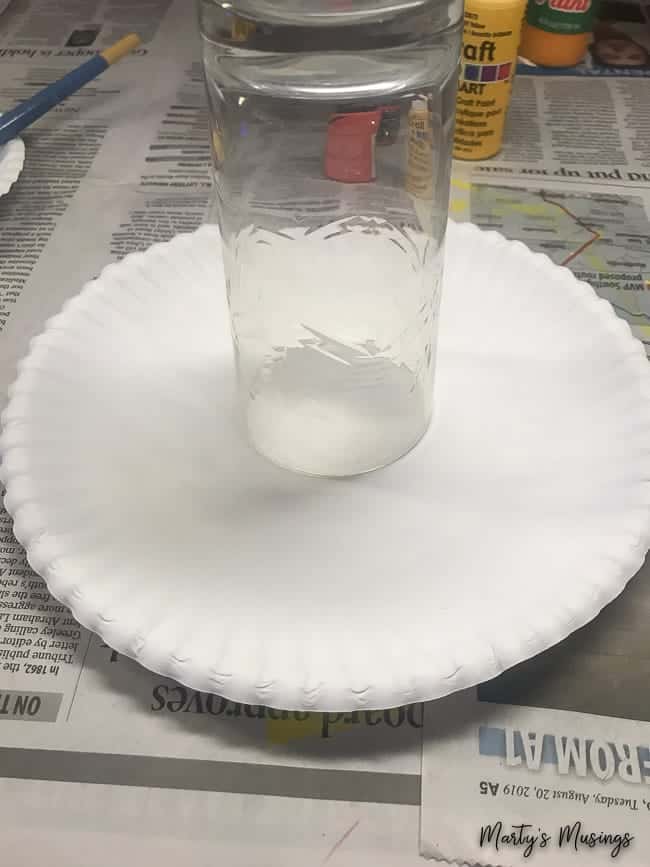
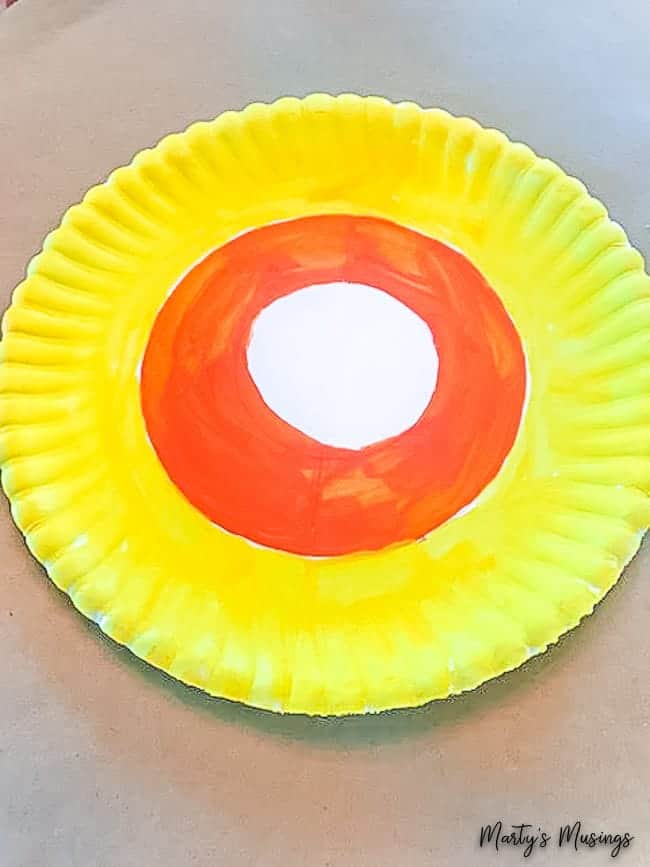
Step 1. Trace a drinking glass circle with pencil in center of paper plate.
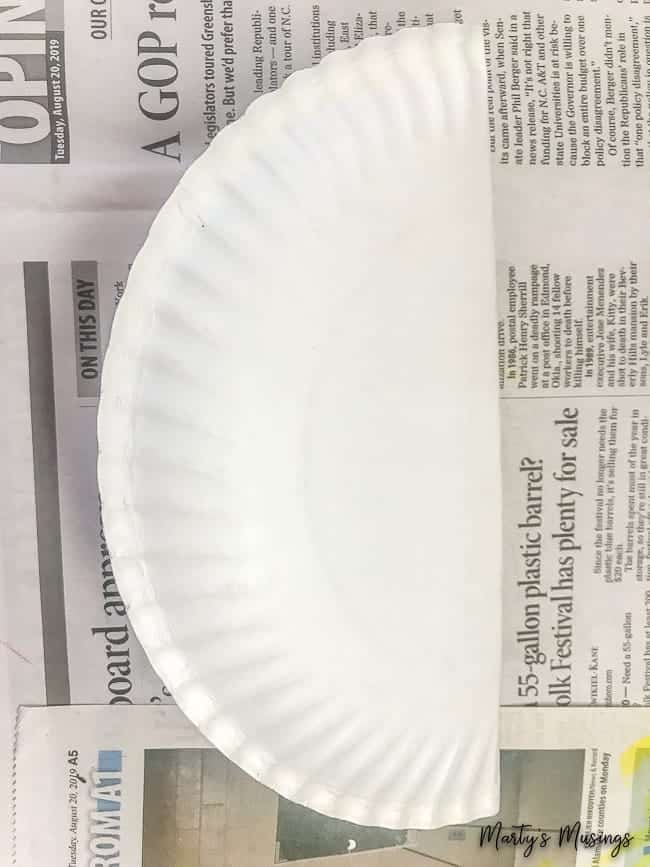
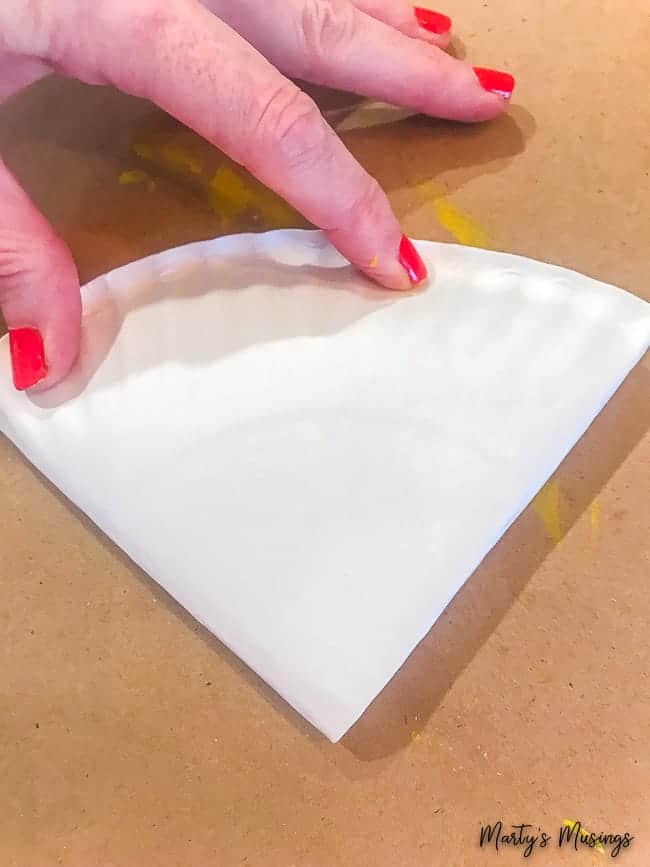
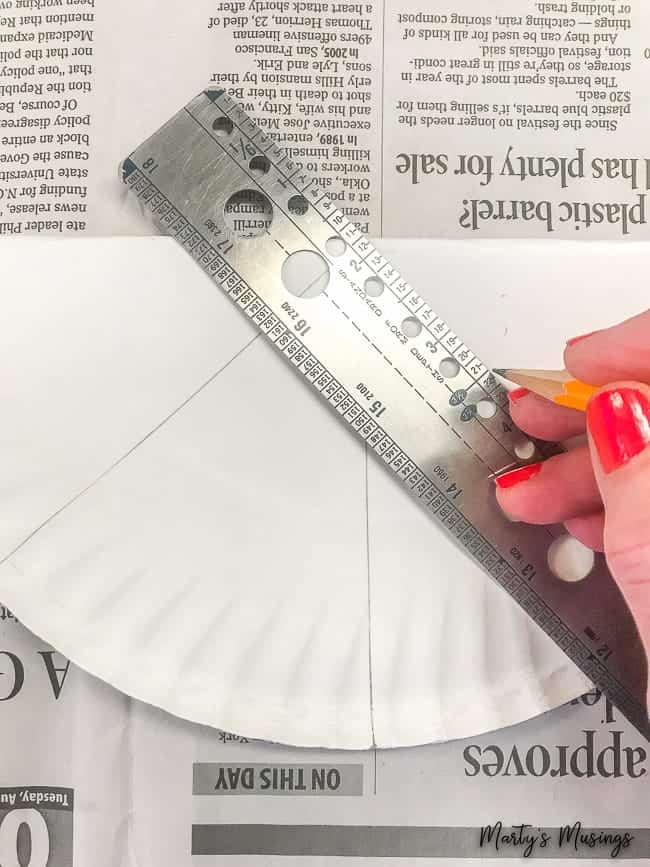
Step 2. Fold paper plate in half and divide in four sections with ruler and pencil.
Step 3. Unfold paper plate, then paint middle circle orange. Let dry and paint outer circle yellow.
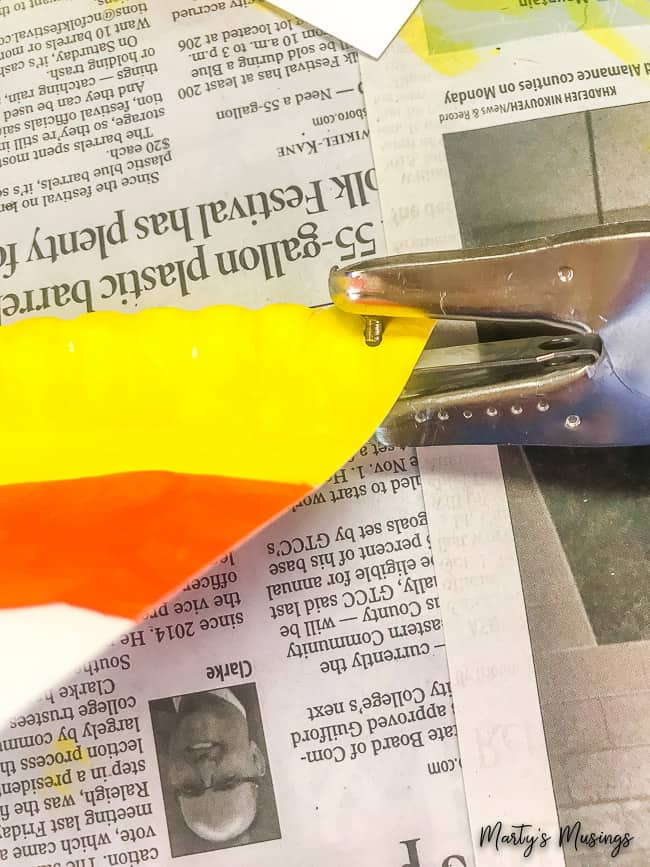
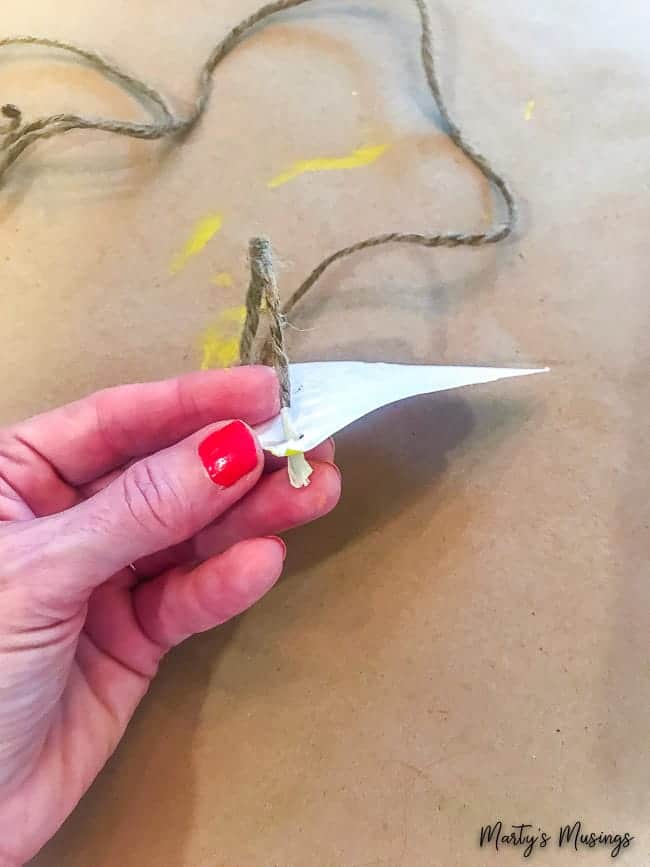
Step 4. Cut paper plate into eight triangles as marked then punch two holes in each triangle and thread with length of jute.
I used a small hole punch and had to enlarge it a little bit so the jute would thread through.
I used a piece of masking tape at each end of the jute to make threading easier.
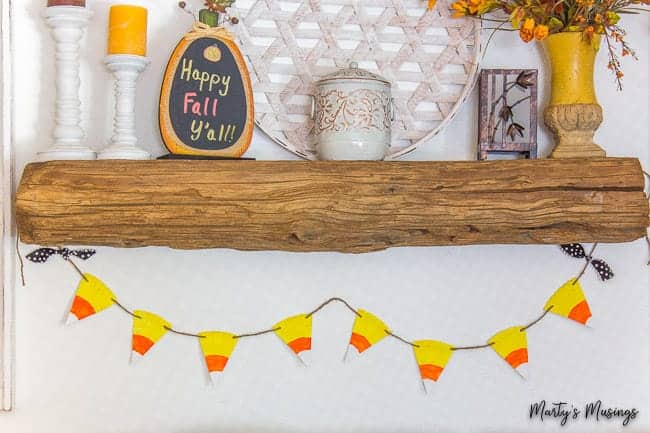
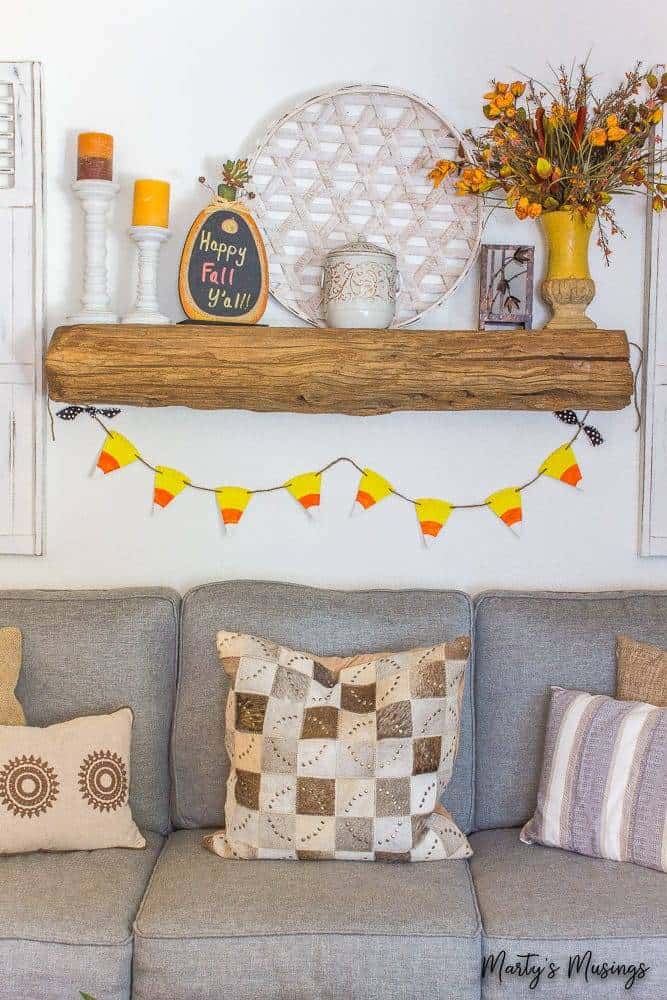
Step 6. Hang completed banner.
See, I told you it was easy and just plain adorable!
For more ideas for fall check out these posts!
5 Ways to Save Money on Fall Decorating

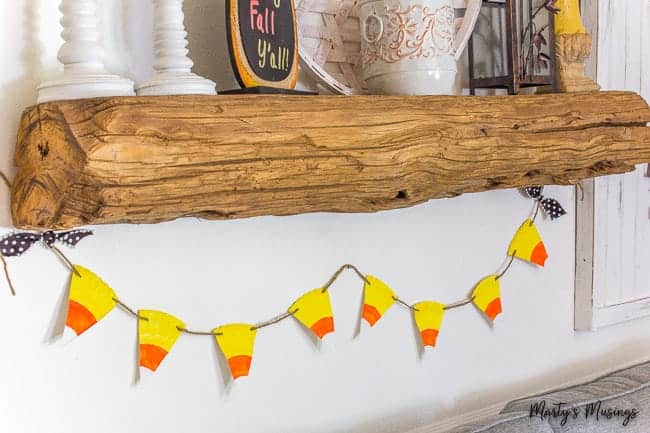

How very clever to use paper plates! I absolutely love how it looks on your mantel!
Thanks so much, Laurie! It was such a fun project!
This is a sweet project, Marty. It looks great and fun to make. My daughter loved cross stitching but I could never get into it. My mom taught me to embroider and I did that for awhile, but you ate right, crafting is a lot easier today and everything you do is beautiful!
You’re so sweet, Deana! I’ve actually started cross stitching again for the first time in about 25 years! But crafting is a whole lot quicker!
I LOVE me some candy corn. This is just darling for any Halloween decorating. Thanks, Marty!
Thanks for always encouraging, Meegan! I love fall too!
Too cute, Marty! Fab fall craft project to do with the Littles -:D
Thanks, Cat! I can’t wait until my grandsons are old enough (and still enough) for some fun art projects!
Great tutorial , Marty! Love the price point for sure! The banner really turned out so cute!
Hi, Lori. I’m all about a good deal! Thanks for the encouragement!
Love how it looks with your Fall decor. Such a fun project!
Thank you, Sara! I appreciate you sharing it!
What a great project to do with the little ones. They’re going to love the bright happy colors and that sense of pride when they see it hanging on Mommy’s wall.
Thank you, Michelle. I have grandsons but they’re not quite the age for this project. Soon, though, I hope!
Very clever, it looks great under that stunning mantel.
Thanks so much, Anita! Sometimes the simplest projects are the best!