How to Style Basket Wall Decor
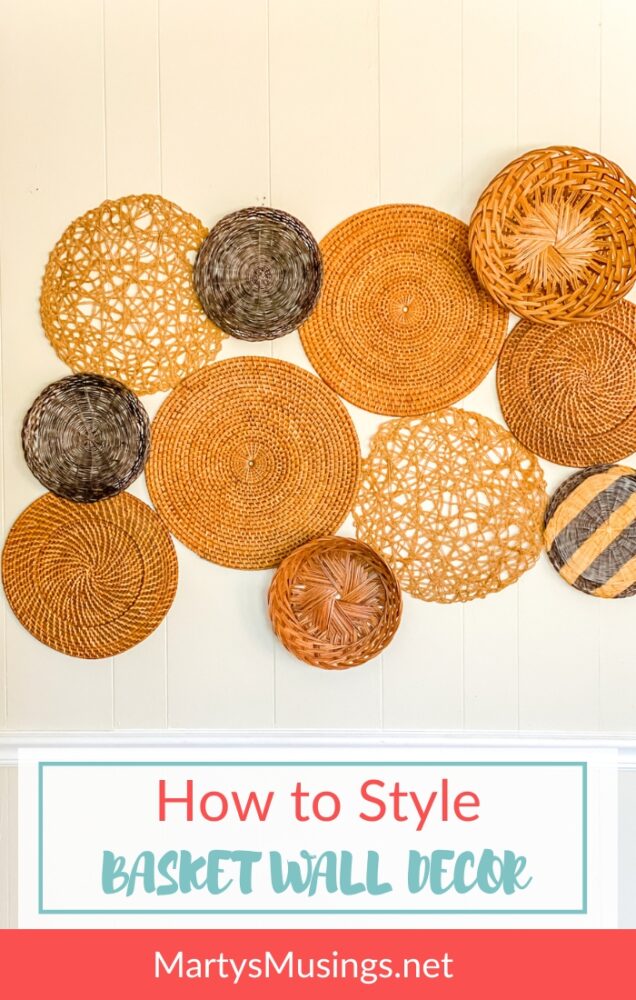
This post may contain affiliate links which won't change your price but will share some commission. Read more here.Basket wall decor is an excellent way to bring a unique, rustic touch to any room. With its versatile design, it can fit in with almost any home décor scheme, from classic and traditional to modern and eclectic.
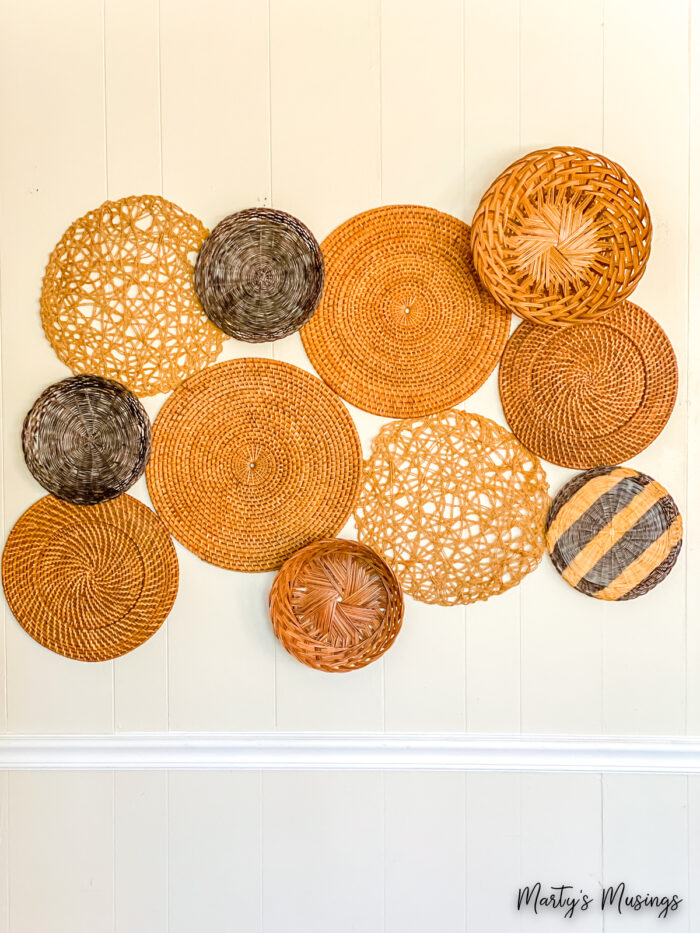
Learn how easy it is to style basket wall decor and create an accent wall that’s unique to your home! Whether new or thrifted this is such an inexpensive way to show your own personal style!
I love creating a home that’s perfect for me and perfectly ME! I’m also a yard sale and thrift store fanatic (read about my top 10 yard sale bargains here) which makes this project inexpensive as well. (But if that’s not your jam I’ve linked some ideas for baskets for your own wall.)
Learn how easy it is to style basket wall decor and create an accent wall that’s unique to your home! Whether new or thrifted this is such an inexpensive way to show your own personal style!
There are many different ways to display your baskets. I’ve seen basket wall art where the baskets wrap around from one wall to another for a unique look. Other walls display a certain style of basket or those with similar colors.. My gallery wall has a little bit of a DIY project with supplies I already had in my stash.
Instructions
Step 1. Gather an assortment of baskets, plate holders and placemats.
If you want to make this project as inexpensive as possible go shopping at yard sales, thrift or dollar stores. Use a variety of sizes and purchase extras so you can experiment with the arrangement.
You can arrange a basket wall anywhere you have a bare wall in your home, from the living room to entryways to going up a staircase. You can also use anything from flat wicker place mats to actual baskets that are taller and have more texture. You’re actually creating basket wall art so let your creativity shine!
Step 2. Decide on the arrangement for your wall.
There are a couple ways for deciding on the exact arrangement of baskets. You can lay them on the floor first before transferring to the wall. Or you can use masking tape to loosely attach them to the wall.
Take your time with this step so you can avoid a bunch of unnecessary nail holes. Also give yourself the freedom to move things around after they’re on the wall. For me, I often I have to allow time to live with the arrangement before it comes together.
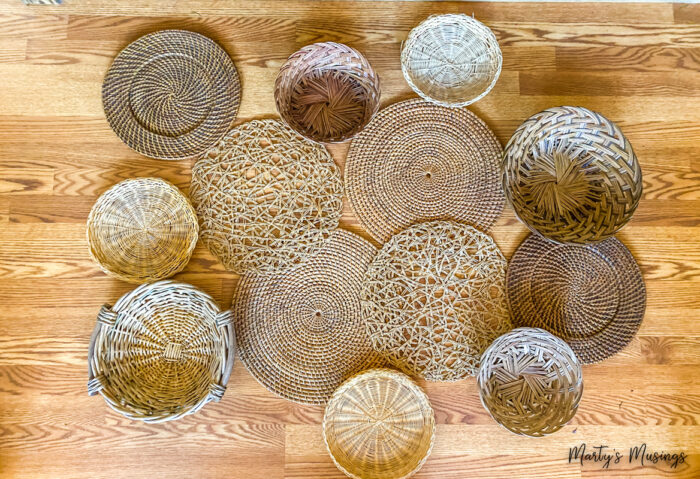
Step 3. Start in the middle by hanging the largest items and working your way outwards.
Choose the center of the wall where the decorative baskets will hang and the center of your basket arrangement.
Make sure to allow the baskets to touch or overlap so there are no large gaps in the arrangement.
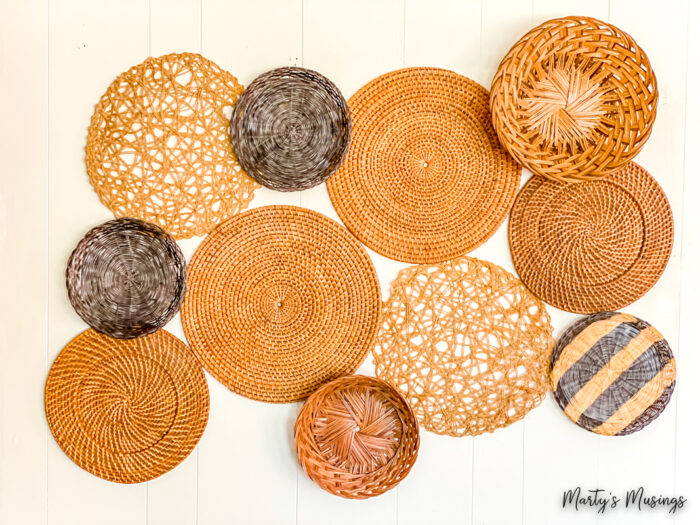
Step 4. Add variety by spray painting a design on the paper plate holders.
Use Frog tape to create the design and then spray paint 2-3 coats outdoors. Also spray paint 1-2 paper plate holders solid black. (Try the Dollar Store or yard sales for inexpensive holders!)
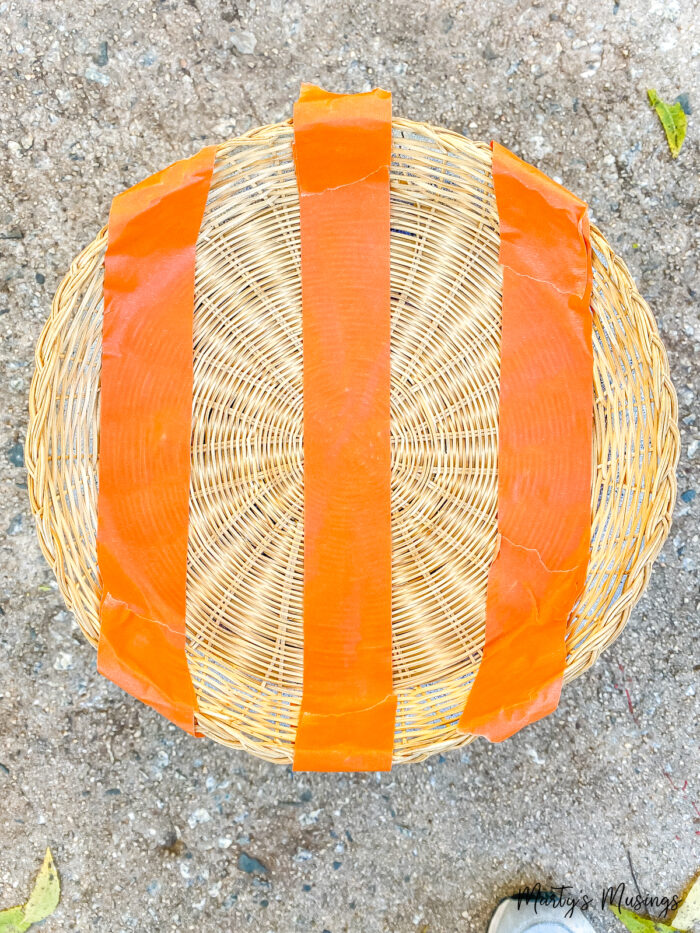
Step 5. Transfer to the wall using nails or picture hooks.
I actually just chose to use nails because it was the simple solution! But if you’re living in a rental home you might want to use removable picture hooks or something that is easily repaired when you move.
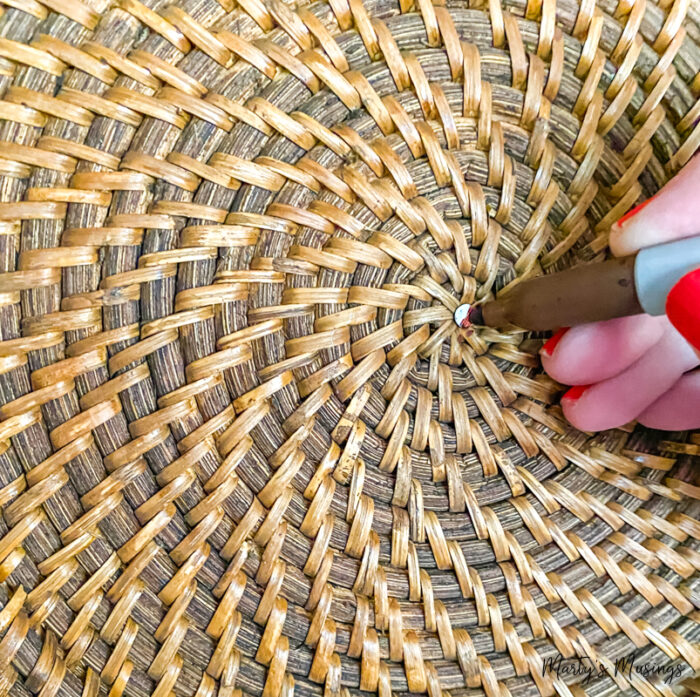
Step 6. If necessary, use a sharpie matching the color of the basket to cover up the nail so it blends in.
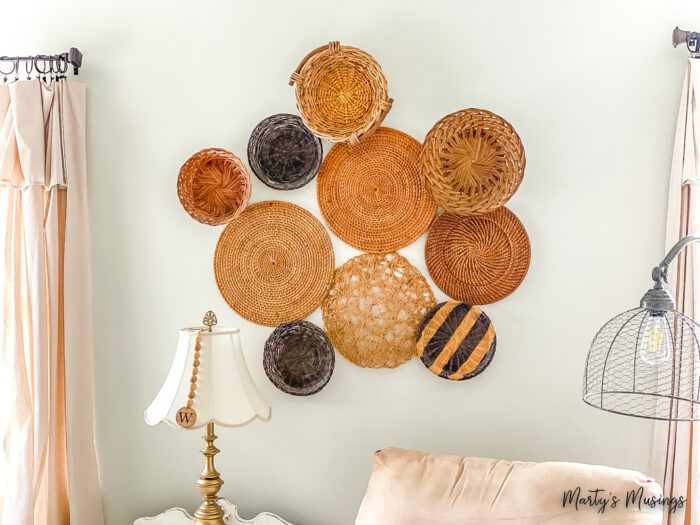
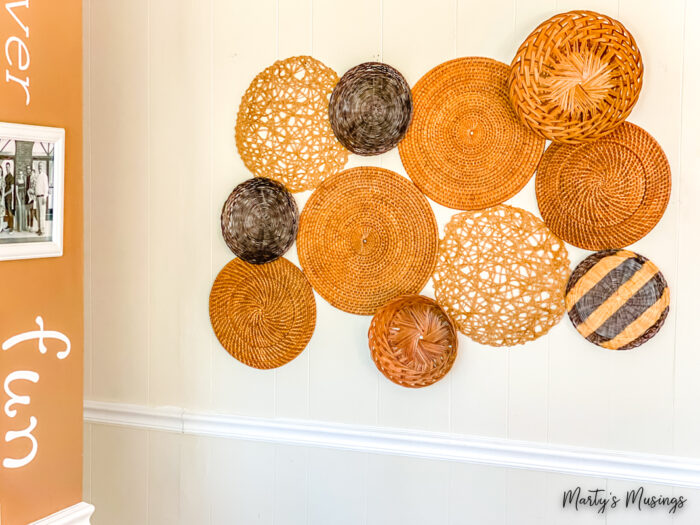
In my previous home I had a blank wall perfect for my display. You can see that it’s the only thing on the wall while you can peep my family gallery wall as well.
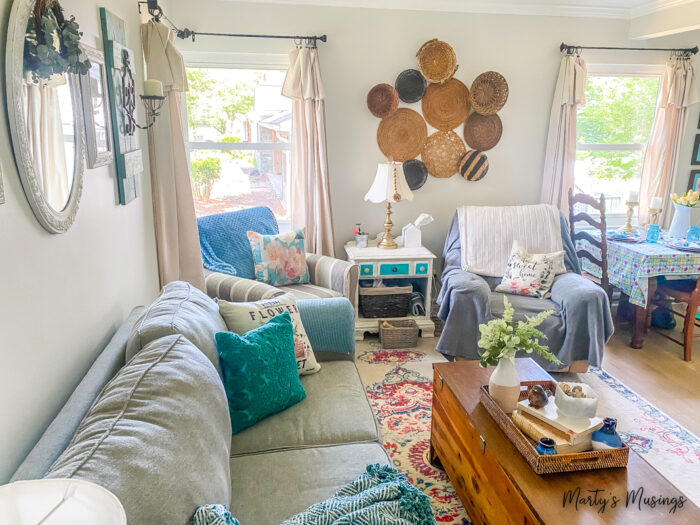
In my new cottage the wall just blends into the rest of the cheerful and bright home decor.
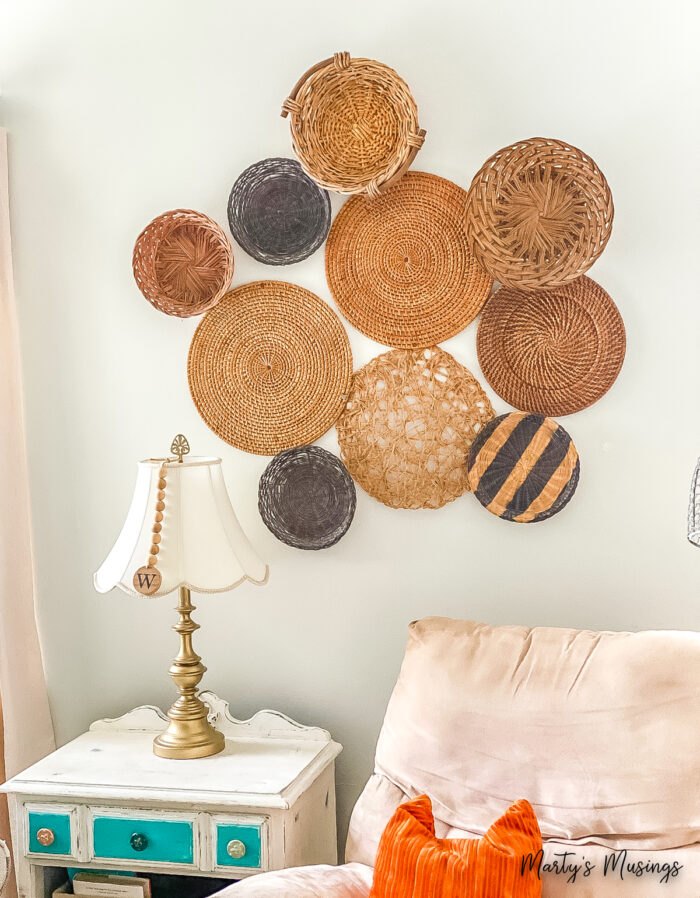
Enjoy the fruit of your labors! This is such a perfect project for someone who says they aren’t crafty (and I hear that a lot!) and if that’s you I wrote a post just for YOU! (Read you can decorate your home even when you aren’t creative!)

FAQs about a Basket Wall
More Craft Ideas
Try these fun and easy crafts anyone can do! A little spray paint, a few inexpensive supplies and creativity turns boring into fun!
How to Style Basket Wall Decor
Ingredients
- 1 can Black spray paint
- 1 roll Frog Tape
- 1 Brown sharpie
- 1 Nails or picture holders
- several Woven baskets or place mats
Instructions
- Gather an assortment of baskets, plate holders and placemats.
- Decide on the arrangement for your wall.
- Start in the middle by hanging the largest items and working your way outwards.
- Add variety by spray painting a design on the paper plate holders.
- Transfer to the wall using nails or picture hooks.
- If necessary, use a sharpie matching the color of the basket to cover up the nail so it blends in.
Video
