How to Make the Perfect Christmas Cookie Tin
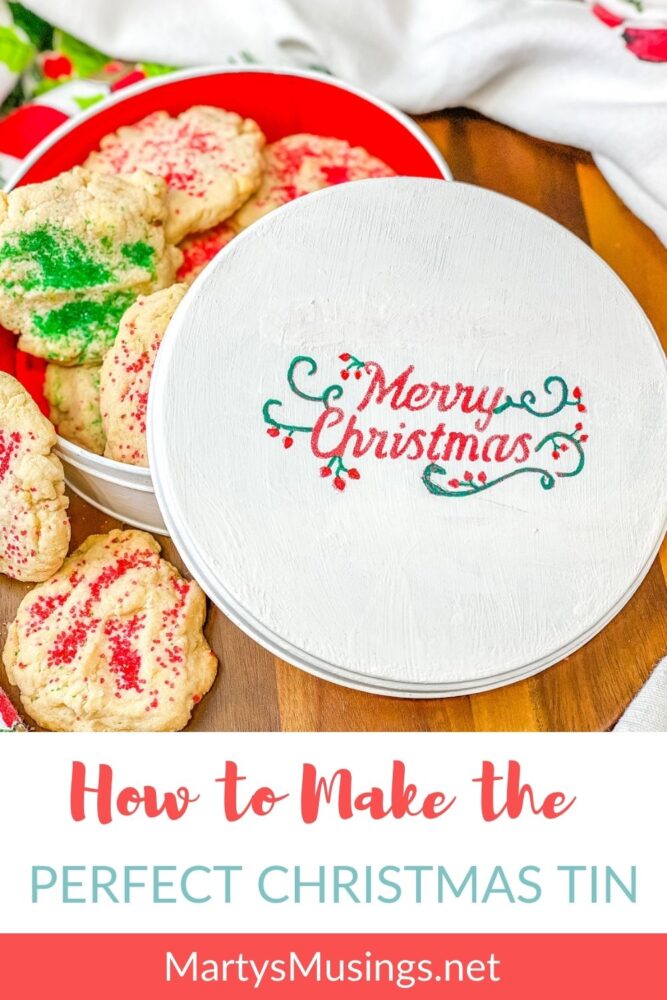
This post may contain affiliate links which won't change your price but will share some commission. Read more here.The holiday season is a great time to share handmade gifts with friends and family. Learn how to make the perfect Christmas cookie tin for all your favorite treats.

Instructions
Step 1. Buy inexpensive Christmas tins from the dollar or thrift stores.
This is a great project for gathering supplies when you find them year round.
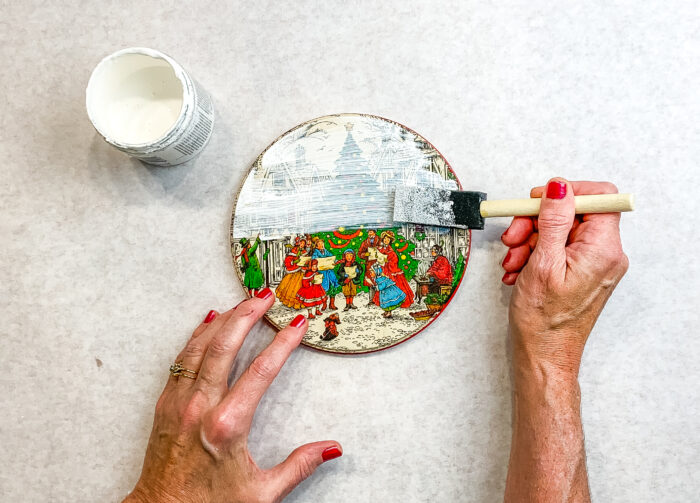
Step 2. Chalk paint both bottom and top of tin, until original design is completely covered.
It may take several coats but chalk paint dries fairly quickly and that should help speed the process.
Step 3. Practice stamping with stencil on scrap paper so technique is solid.
Step 4. Center stencil on tin and use dauber to lightly apply craft paint to top.
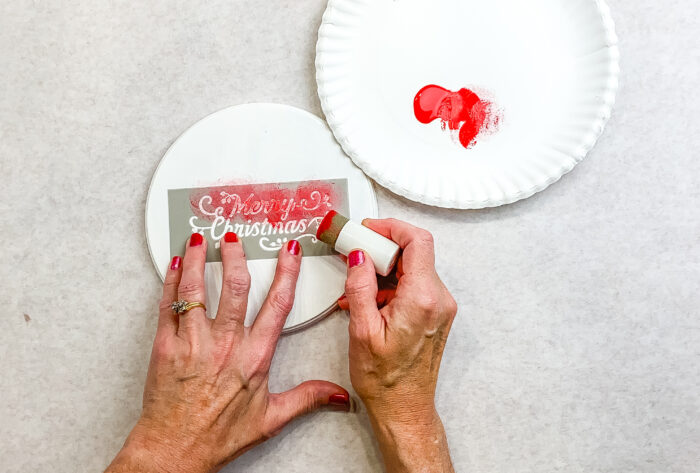
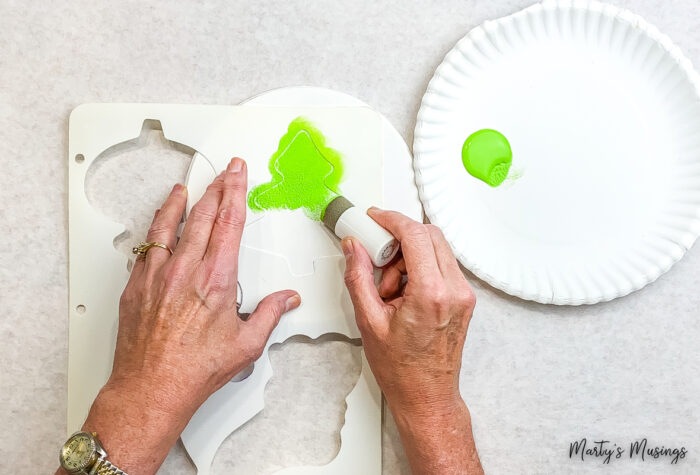
Step 5. If needed, use artist brush to touch up any stray paint from stencil.
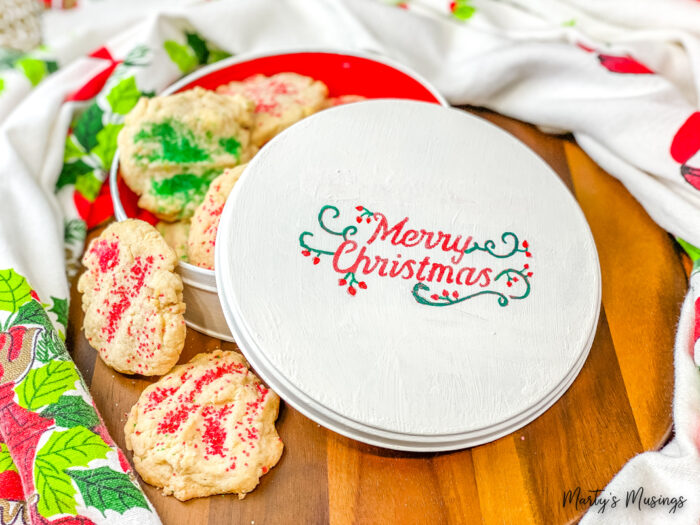
Step 6. Completely dry and then use a paint marker or permanent marker to add detail to stenciled area.
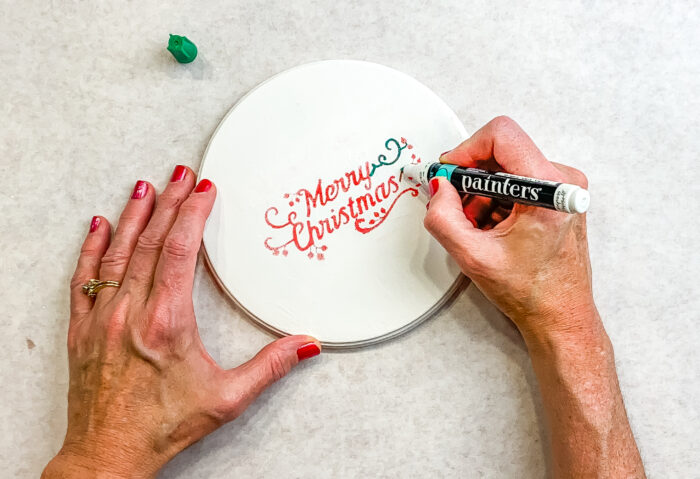
Step 7. Add any details (like jewels) after paint is dry.
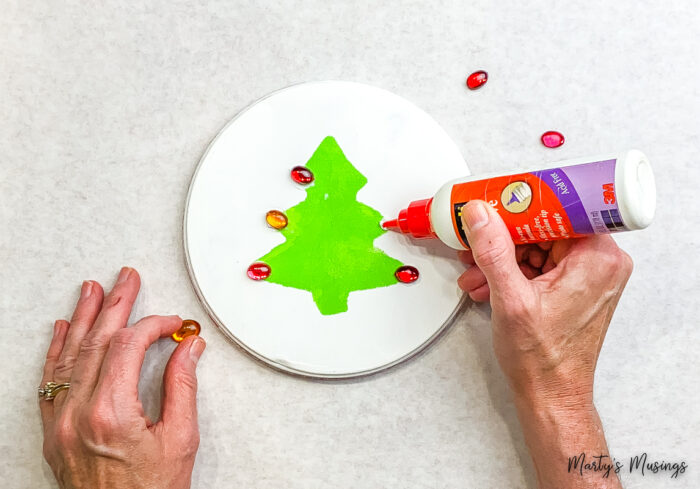
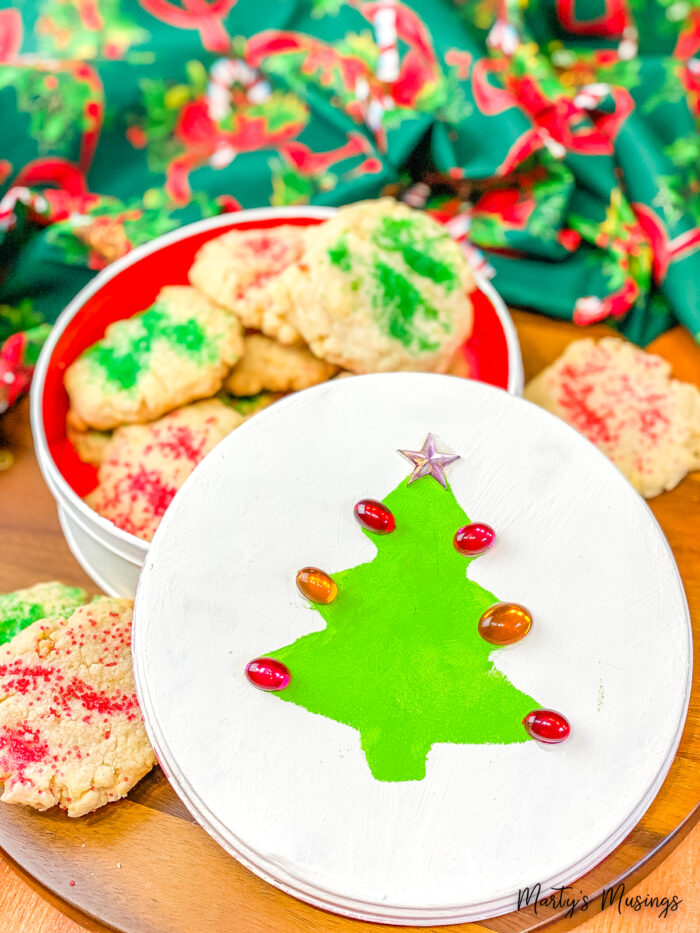
I demonstrated two different ways to make these handmade tins special. Use your imagination and have fun!
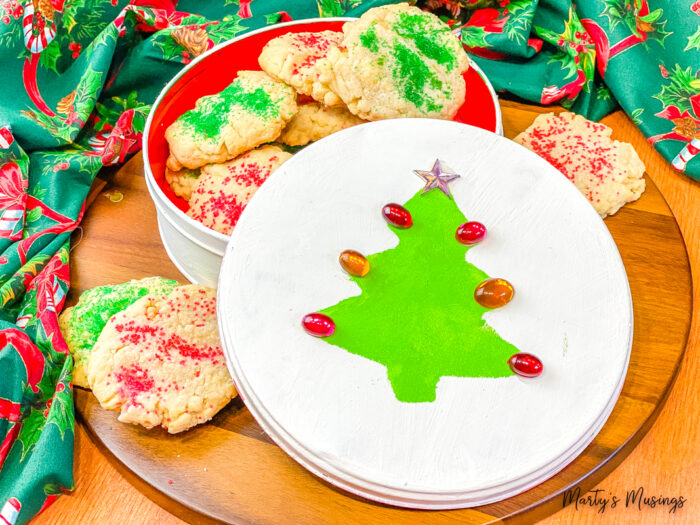
Giving a Christmas gift of food such as chocolate chip cookies or nuts is a delightful way to surprise someone special this year. Handmade gifts are the best!

FAQs About Giving a Christmas Tin
More Christmas Projects
Take your Christmas decorating up a notch with these simple and unique ways to create the perfect holiday home.
How to Make the Perfect Christmas Tin
Ingredients
- 1 Metal container
- 1 jar Chalk paint
- 1 Foam craft brush
- 1 Artist brush
- 1 Stencil
- 1 Dauber
- 1 jar Craft paint
- 1 Paint marker or permanent marker
- 1 Paper plate
Instructions
- Buy inexpensive Christmas tins from the dollar or thrift stores.
- Chalk paint both bottom and top of tin, until original design is completely covered.
- Practice stamping with stencil on scrap paper so technique is solid.
- Center stencil on tin and use dauber to lightly apply craft paint to top.
- If needed, use artist brush to touch up any stray paint from stencil.
- Completely dry and then use a paint marker or permanent marker to add detail to stenciled area.
- Add any details (like jewels) after paint is dry.






Nice post