How to Make a DIY Christmas Rag Wreath
This post may contain affiliate links which won't change your price but will share some commission. Read more here.This simple, practically free craft will start the holiday season off right! Easy tutorial on how to make a DIY Christmas rag wreath.

Are you a “let’s start decorating for Christmas in September” kinda person or are you the “heck no, not until after Thanksgiving” type?
I love the beauty of a home decorated for the holidays, but somehow as I’ve gotten older the stress of perfection has begun to weigh on me.
In years past everything had to be just right.
I couldn’t invite people into my home unless it was perfectly clean with all the pretty Christmas accessories HOMEMADE and CREATIVE.
I know you guys understand because I get emails like this:
My biggest challenge is fear of screwing up decorating my home.
I want my home to be right and not make mistakes.
Why are we SO HARD ON OURSELVES?
In this new season of my life I’m learning less is more because you know nothing says Merry Christmas like a grumpy, stressed out mom and wife.
Anyone feel me on that one?
My goal today is to help both you AND me embrace easy and imperfect with an easy craft that anyone can do!
Think you’re up to the task?
How to Make a DIY Christmas Rag Wreath
Materials:
(I’ve included some affiliate links for your convenience. Click here to read my full disclosure policy.)
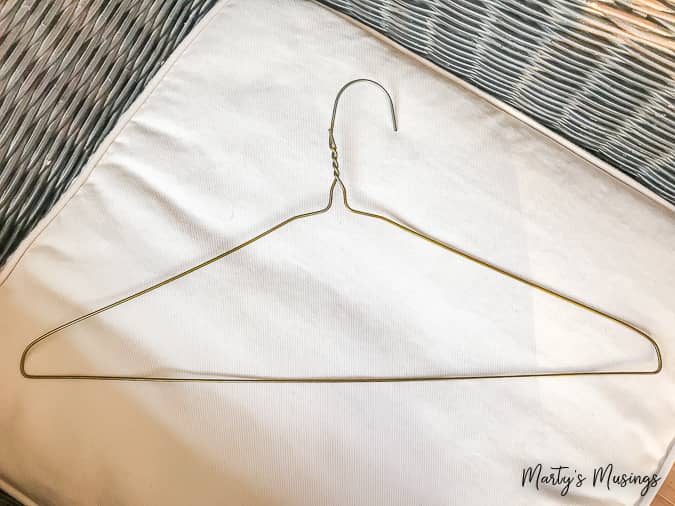
Wire coat hanger (thin is better and easier to work with)
Diagonal Wire Cutting Pliers (if necessary)
Scrap fabric
Mini Chalkboard Frame (2″ x 3″ or 3″ x 4″)
Chalk Markers
Directions:
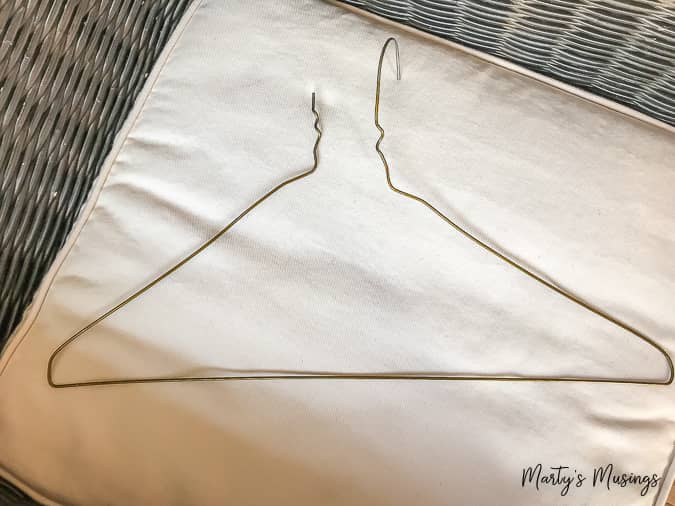
Step 1. Straighten out wire coat hanger.
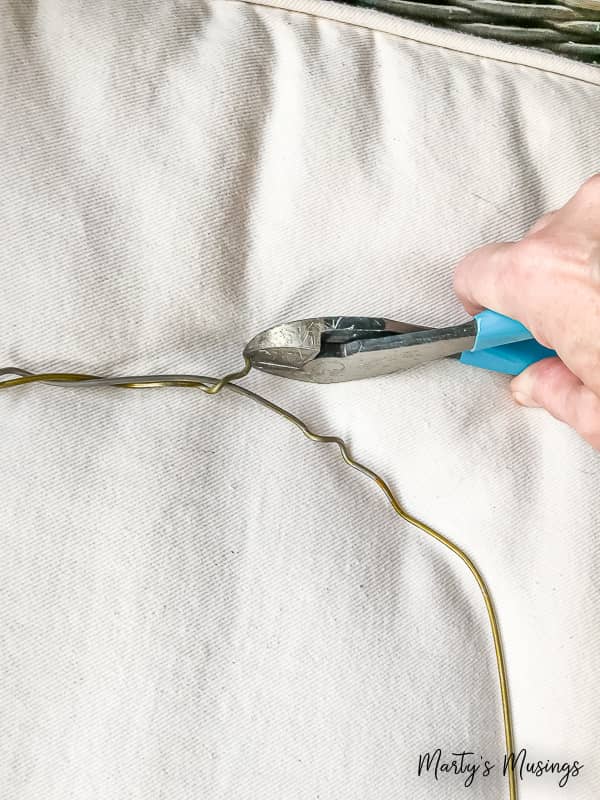
Depending on the thickness of wire you can either use your hands or these wire cutting pliers to straighten out the end of the coat hanger. So simple!
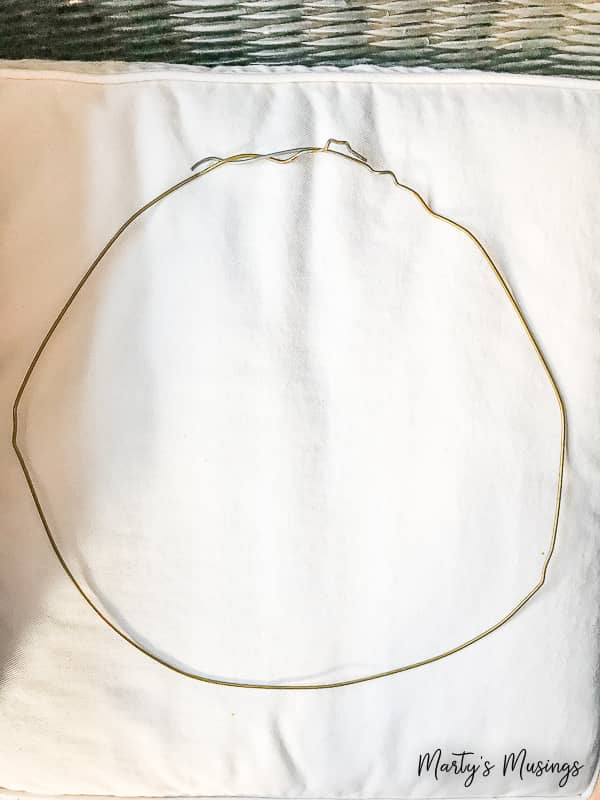
Step 2. Form into a circle and wrap wire around ends.
Take the wire and form it into some semblance of a circle. It’s not going to be perfect so don’t stress!
Use the pliers to wrap the ends around each other.
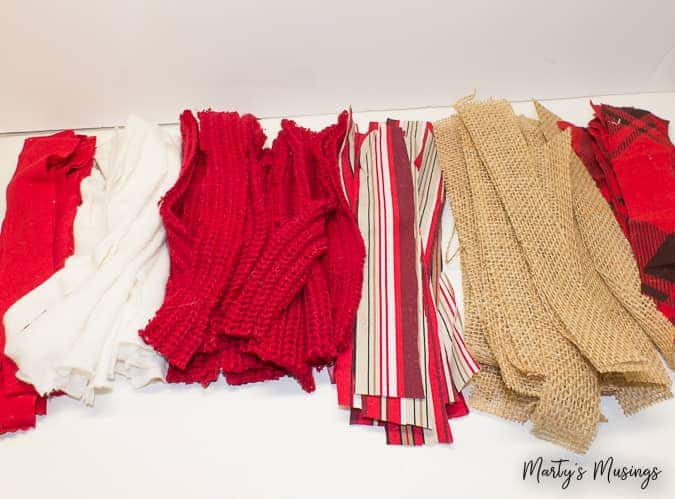
Step 3. Cut fabric into desired lengths.
The width and length of the fabric is totally up to you. Some fabrics are stiffer (like burlap) and stand out firmer while others need support if they are thinner.
Try cutting a few samples and tying them on to see how you like the look before you cut all the fabric at one time.
I used a variety of fabrics cut from old sweaters, shirts and burlap I had on hand.
If you don’t have anything in your closet just go to your local thrift store or yard sale (read my best shopping tips here) and have fun finding colors that appeal to you.
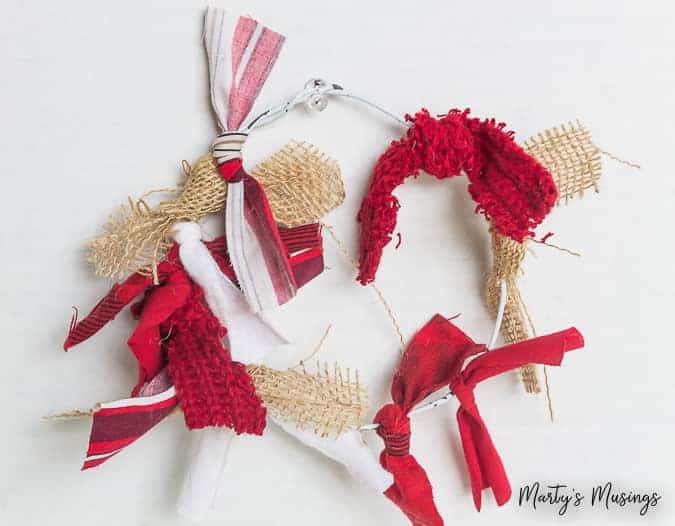
Step 4. Knot each fabric length on hanger and repeat until wreath is full.
You can see on the mini wreath I made below how I simply tied knots onto the coat hanger.
Alternate the fabric in repeating patterns until all the wire is covered.
And it’s just that simple! I added the mini chalkboard to create a unique homemade wreath.
I also made some mini rag wreath ornaments for my Christmas tree. Wouldn’t they be perfect for gifts for friends or stocking stuffers?
Although this is a Christmas rag wreath this project is actually perfect for EVERY season of the year (see the rag wreath I made for fall).
I’d love if you’d share this super easy project with your friends who want an authentic home with simple, thrifty decor!







love this idea! thank you! i posted to FB. great way to save some memories using old pieces of favorite but no longer wearable clothes!
Hi, Cindy. I never got notified if your comment but thank you so much for posting! Isn’t it great to find a way to reuse old fabric and clothes? I have one of these for fall as well and just love it! Have a blessed Christmas!