DIY Chalkboard Sign from Cutting Board
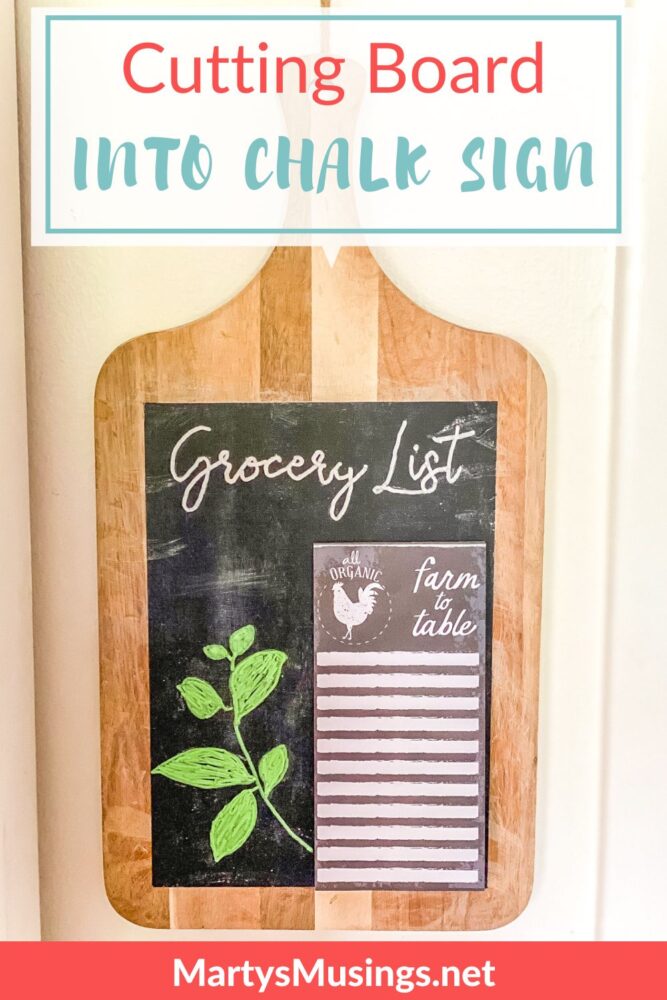
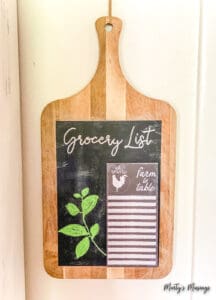
This post may contain affiliate links which won't change your price but will share some commission. Read more here.This DIY Chalkboard Sign made from a cutting board is perfect for your farmhouse style home decor or even for a wedding reception or party table.
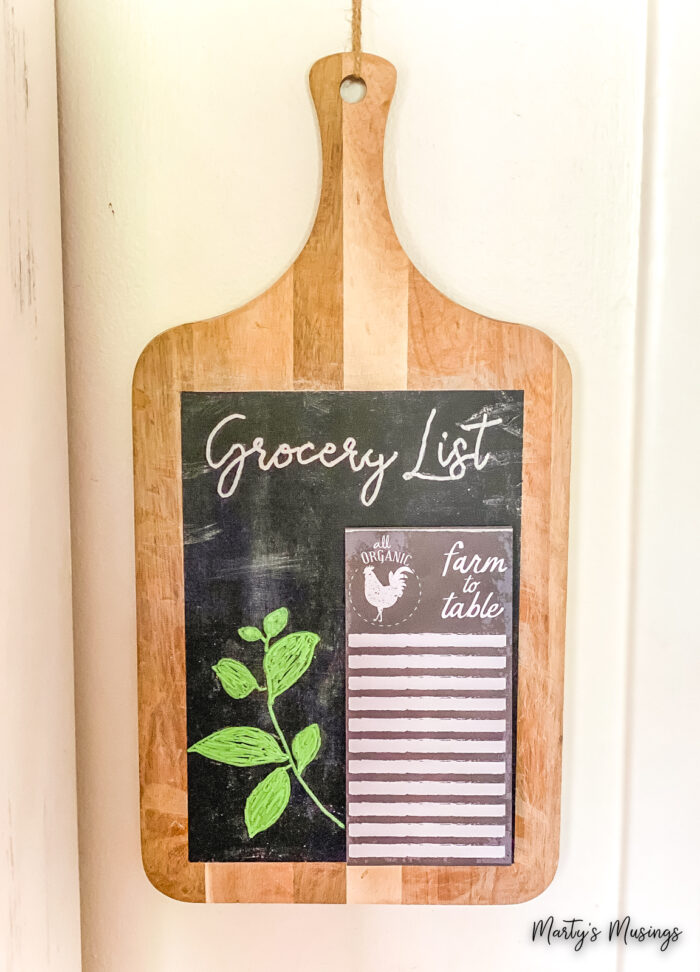
I love a simple tutorial where the cuteness factor is out of this world and is perfect for a beginner! Repurposing any piece of wood into unique home decor with a piece of chalk and a little bit of paint is the best!
Think of all the uses for this cute cutting board. Maybe on a wedding reception or party table to label food items. Or hang in a child’s room with their name on it and use it to leave notes filled with encouragement and inspiration for their day!
These chalkboard signs can be used for many types of entertaining, indoors or out. Any place you want to add a pop of rustic charm is perfect!
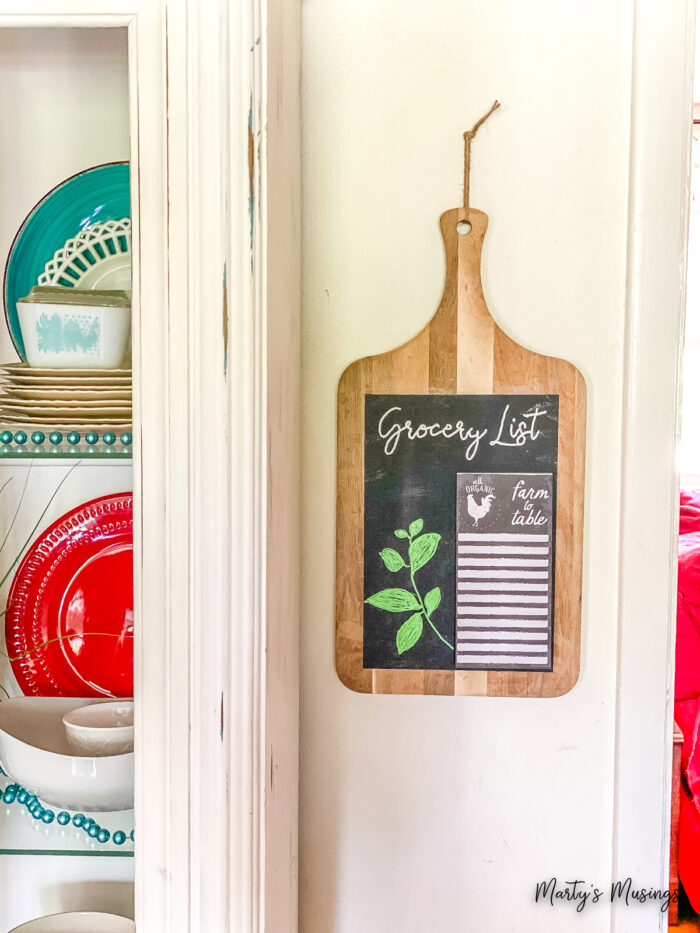
My own chalkboard sign has lived in two houses and says home to me every time I walk into the kitchen.
Materials:
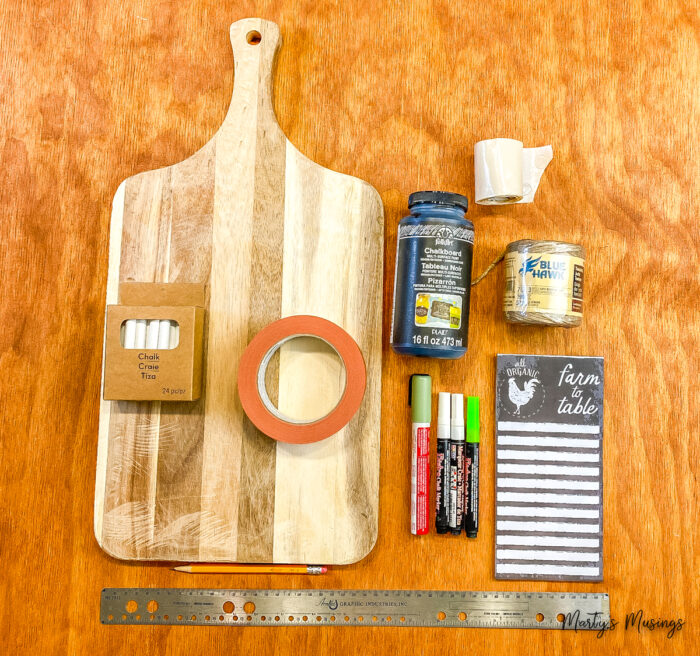
New or used cutting board
Chalkboard Paint
Painter’s Tape
Ruler
Pencil
Electric palm sander
Disc sander (grinder)
Hammer
Screwdriver
Note pad
Chalk Markers
Chalk
Adhesive Pop Dots
Jute
Instructions
Determine type of cutting board, new or used.
You can find used ones at yard sales, your local thrift store, craigslist, etc. New ones can be found online or at home decor stores. If the cutting board is already scratched up and used, that’s even better!
If desired stain the cutting board with your favorite stain before distressing.
Use tools to mimic a finish that is worn and uneven.
Use a combination of hand sander, grinder, hammer and screwdriver or whatever you have on hand!
Keep the center surface area free of markings to allow chalkboard paint to be applied evenly. Clean with a damp cloth to remove any fuzz or wood shavings.
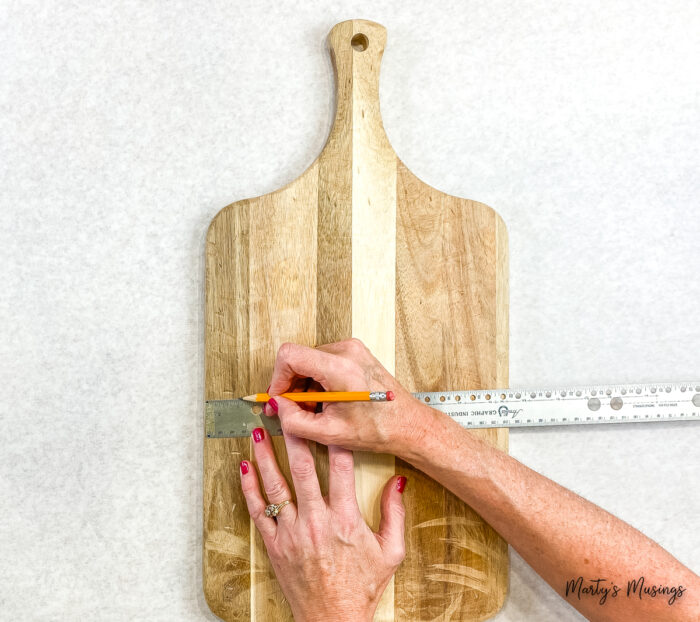
Mark off 1” on all sides with a pencil and apply painter’s tape in strips.
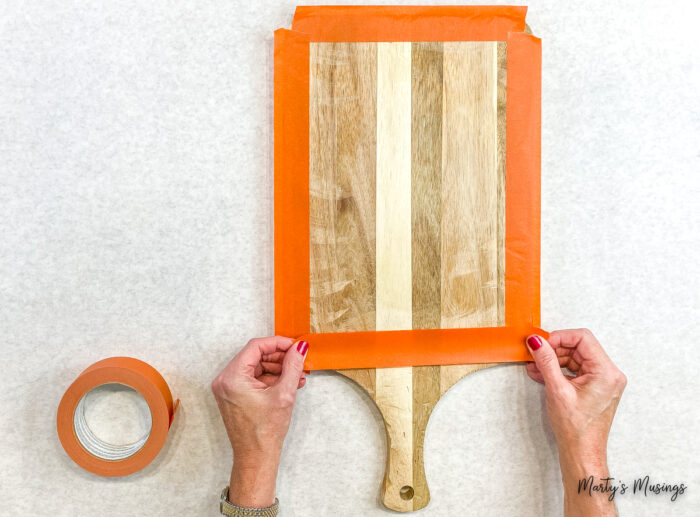
Apply chalkboard paint and let dry.
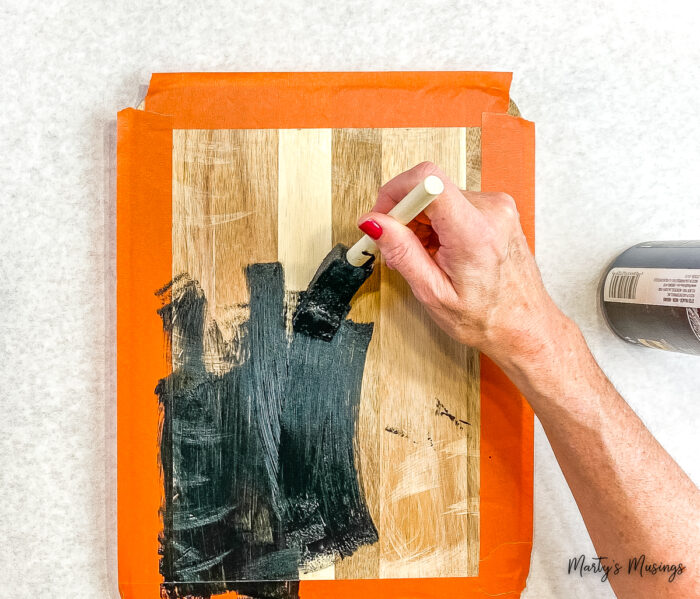
Add a second coat of chalkboard paint and let dry.
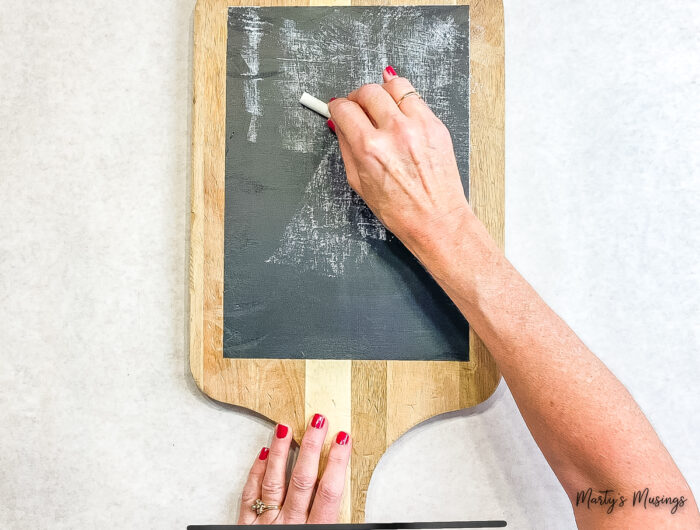
Peel off painter’s tape and season chalkboard with chalk.
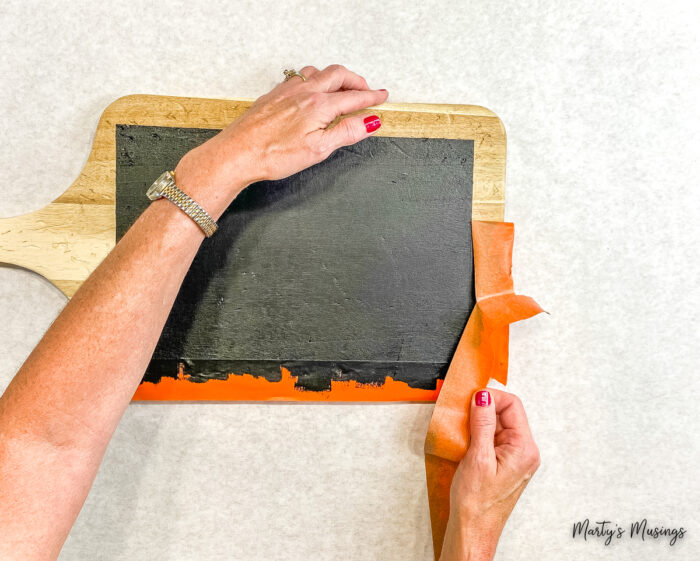
To season a chalkboard means to simply rub a piece of white chalk over the entire chalkboard area itself and wipe clean. This prevents leaving any faint image behind of the first thing written.
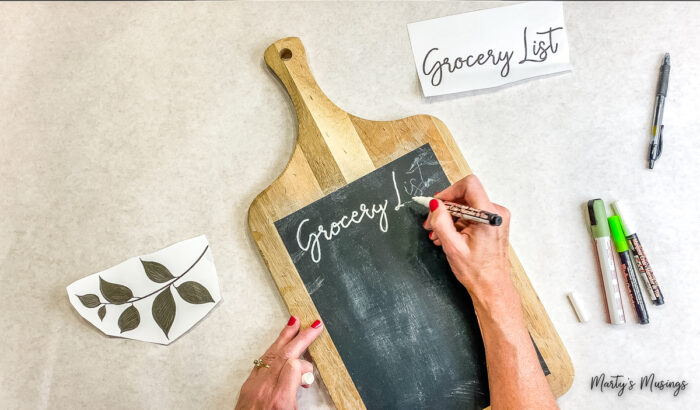
Add lettering and simple design with chalk markers.
This can be done by free hand or chalk transfer. If you’re not an artist (I’m certainly not!) you can easily use Canva or another app to print out a design to copy.
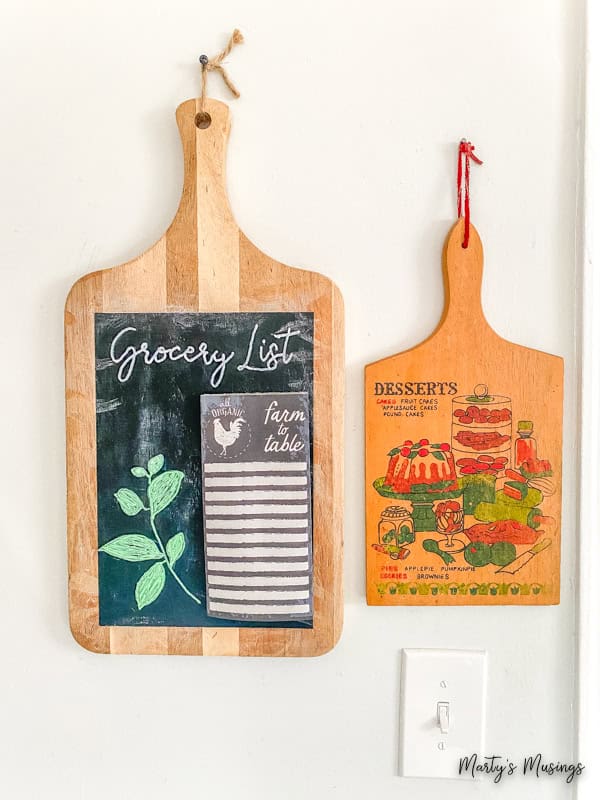
Attach note pad with adhesive pop dots.
I’ve found adorable note pads at the dollar tree or other inexpensive store. Change them out for the season and just replace when done.
One of my favorite way to attach different lightweight items is with pop dots. I discovered these back in my scrapbooking days!
Hang with jute string.
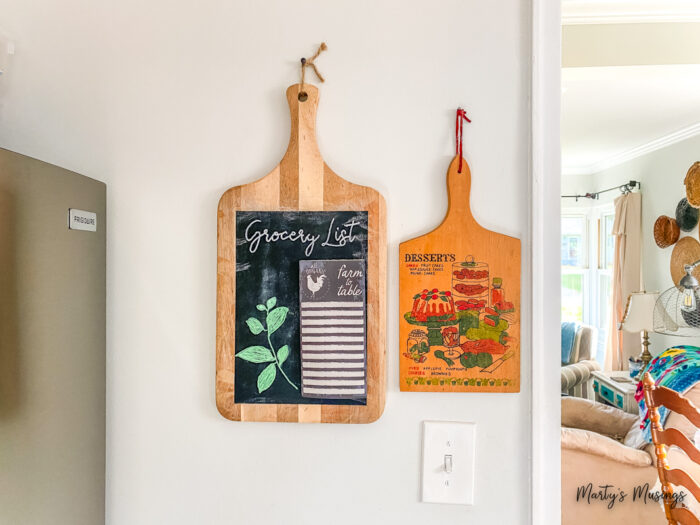
In my cottage home I hung this vintage yard sale cutting board beside my homemade one. Simple but darling!
More Crafts
Try these fun and easy crafts anyone can do! A little spray paint, a few inexpensive supplies and creativity turns boring into fun!
DIY Chalkboard Sign from Cutting Board
Ingredients
- 1 New or used cutting board
- 1 Chalkboard paint
- 1 roll Painter's tape
- 1 Ruler
- 1 Pencil
- 1 Electric palm sander
- 1 Disc sander
- 1 Hammer
- 1 Screwdriver
- 1 Notepad1
- 1 set Chalk markers
- 1 White chalk
- 1 Adhesive pop dots
- 1 roll Jute
Instructions
- Determine type of cutting board, new or used.
- Use tools to mimic a finish that is worn and uneven.
- Mark off 1” on all sides with a pencil and apply painter’s tape in strips.
- Apply chalkboard paint and let dry.
- Add a second coat of chalkboard paint and let dry.
- Peel off painter’s tape and season chalkboard with chalk.
- Add lettering and simple design with chalk markers.
- Attach note pad with adhesive pop dots.
- Hang with jute string.
