Frugal Tips for a DIY Kitchen Makeover
This post may contain affiliate links which won't change your price but will share some commission. Read more here.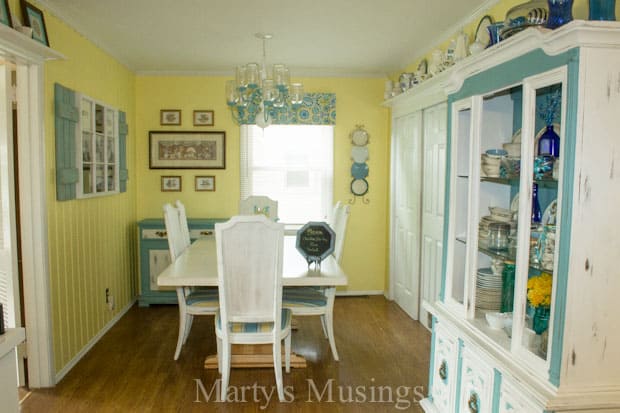
My DIY hubby and I were talking recently about our bathroom project (gutting everything but the tub and toilet) and we realized something about our style of DIY.
We don’t have any idea of what we’re doing! We are aware there’s a problem, but there is no grand plan to our method (or madness!)
We’re more a “fly by the seat of your pants” kinda team. Throwing out suggestions and ideas and seeing what sticks.
Yardsaling and scrounging around in the attic and workshop for materials.
Not very professional but it seems to work for us!
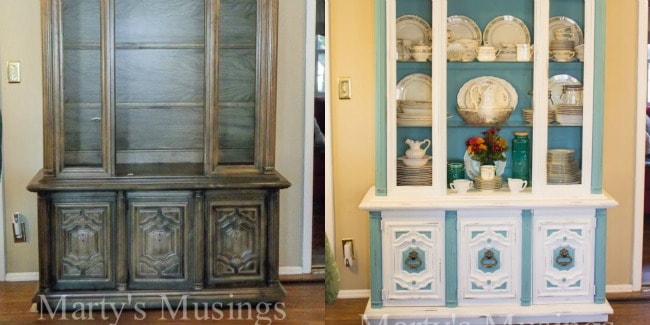
Today I thought I’d share an update on our kitchen makeover which all started with an ugly dated 70’s china hutch that was passed down from my parents.
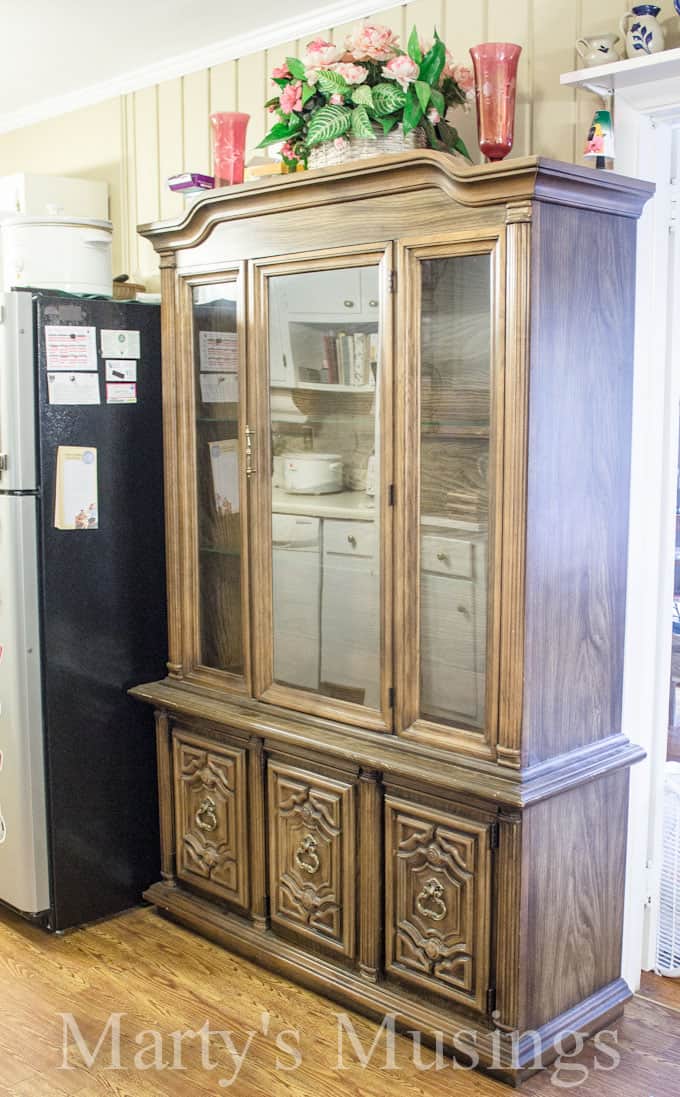
It was our first project with Annie Sloan chalk paint and as a painter by trade, my hubby struggled a bit with the concept of messy painting and distressing. Eventually, however he jumped on board! Isn’t the transformation amazing?
On the next kitchen project my hubby exceeded expectations and hit a homerun! He took a castoff 10-light brass chandelier

and turned it into a one of a kind Mason Jar Chandelier.
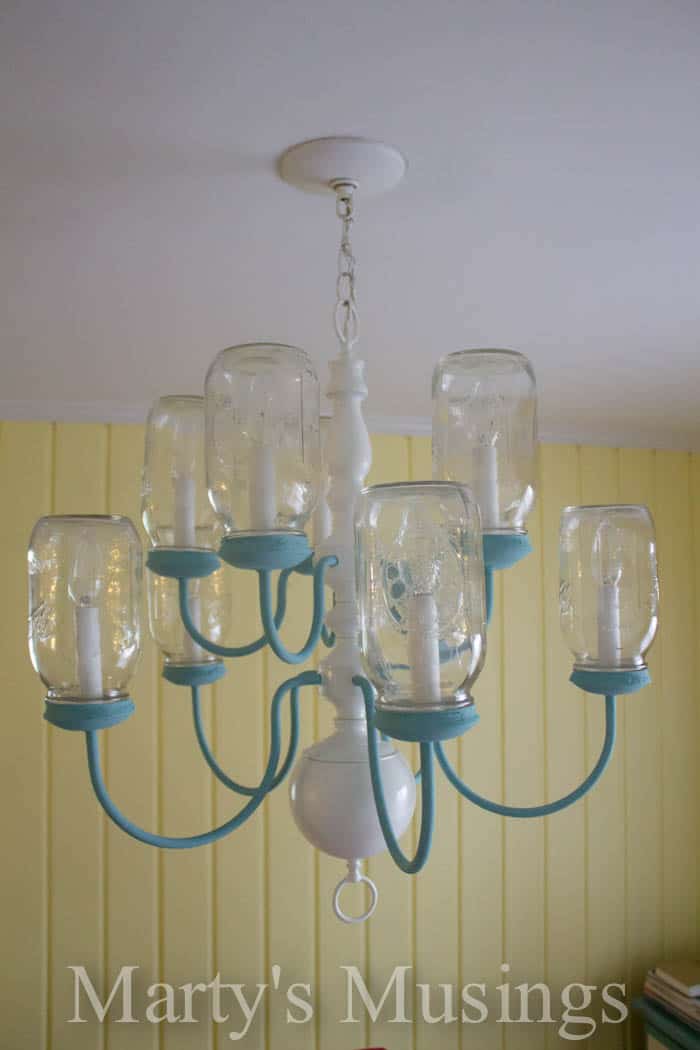
Yes, it actually works and includes a dimmer switch for mood lighting.
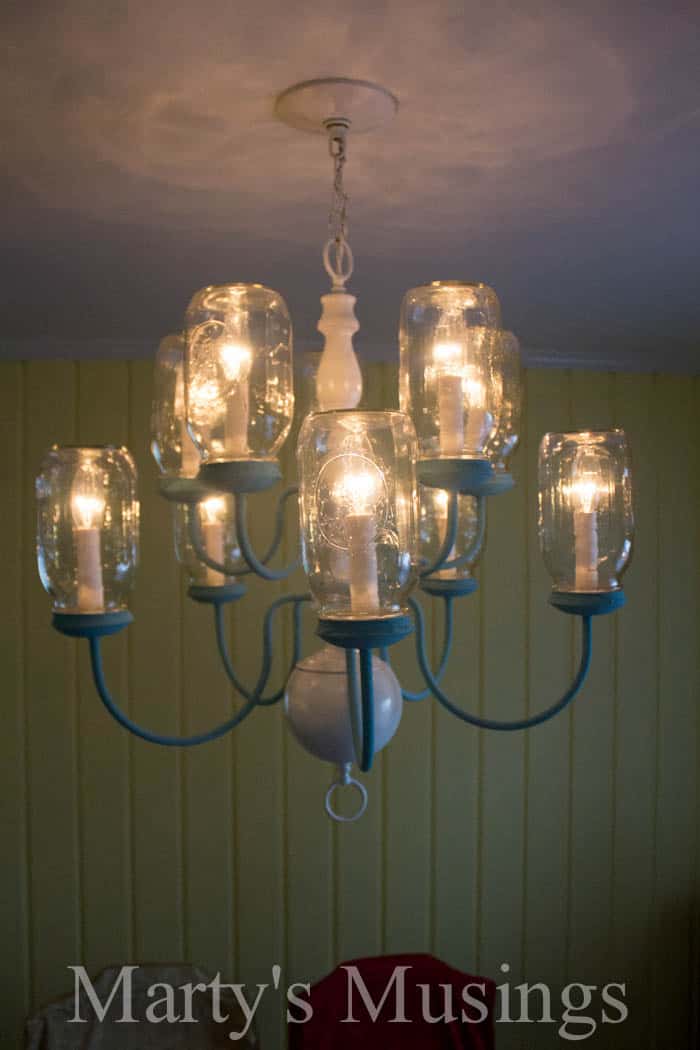
Let me reiterate that we did not start with a plan to totally makeover our kitchen (frugally, of course!) but one project led to another and and then another. If you can’t tell by the pictures, my hubby did paint the kitchen a bright yellow two days before my yearly Christmas party. Not much stress there!
Next up is a project that highlights my husband’s creativity and willingness to think outside the box. We had a peel and stick backsplash (which was actually pretty ingenious) but no longer went with the kitchen.
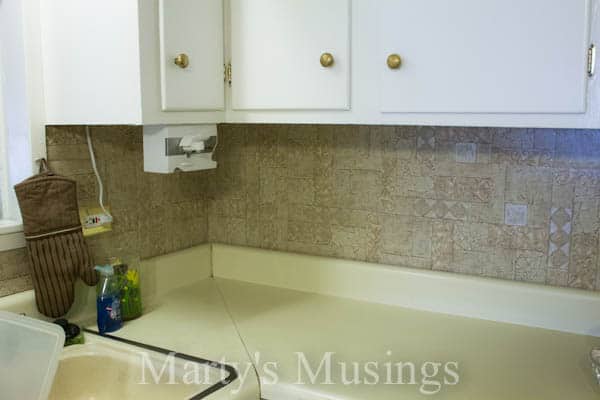
He took old fence boards, cleaned them up, white washed them and turned them into a backsplash!
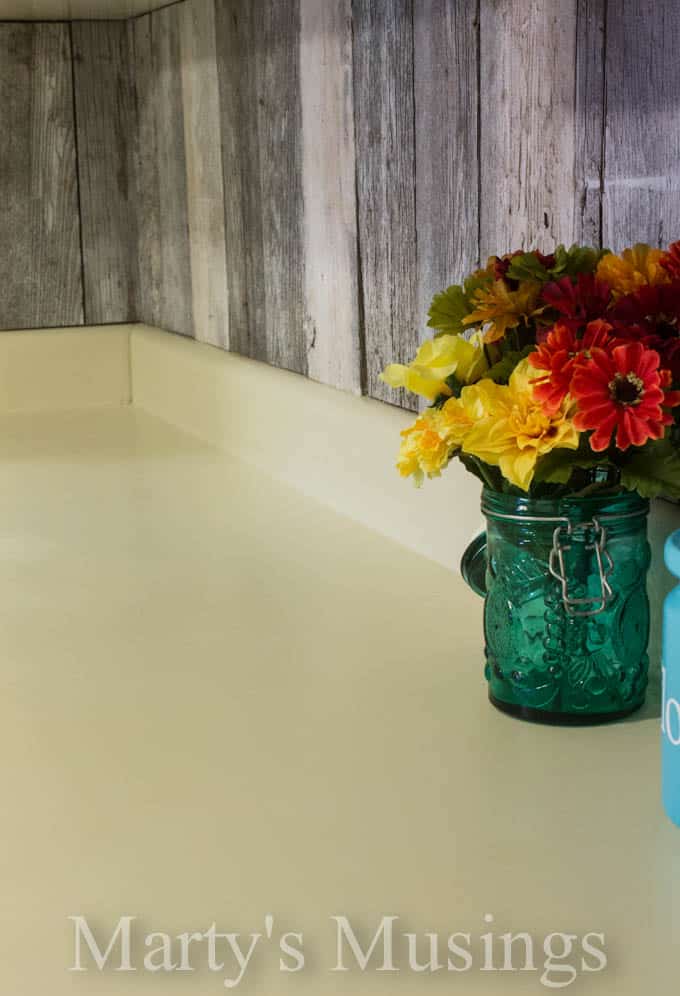
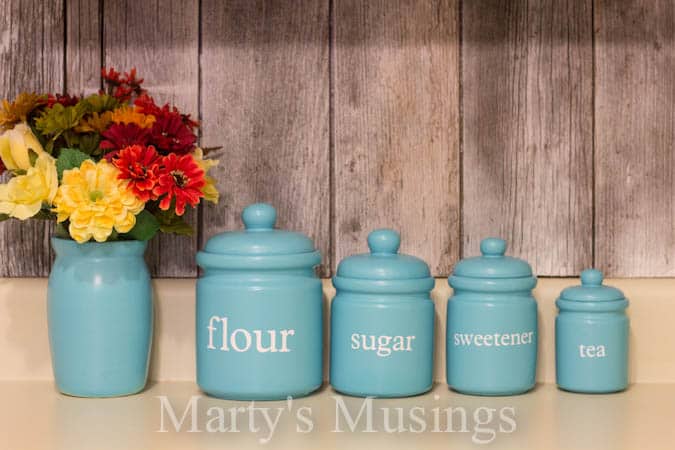
The fence boards give our kitchen a beach cottage feel so Tim spray painted the jars and I used my Cricut to cut vinyl words for whimsical canisters with a pop of color.
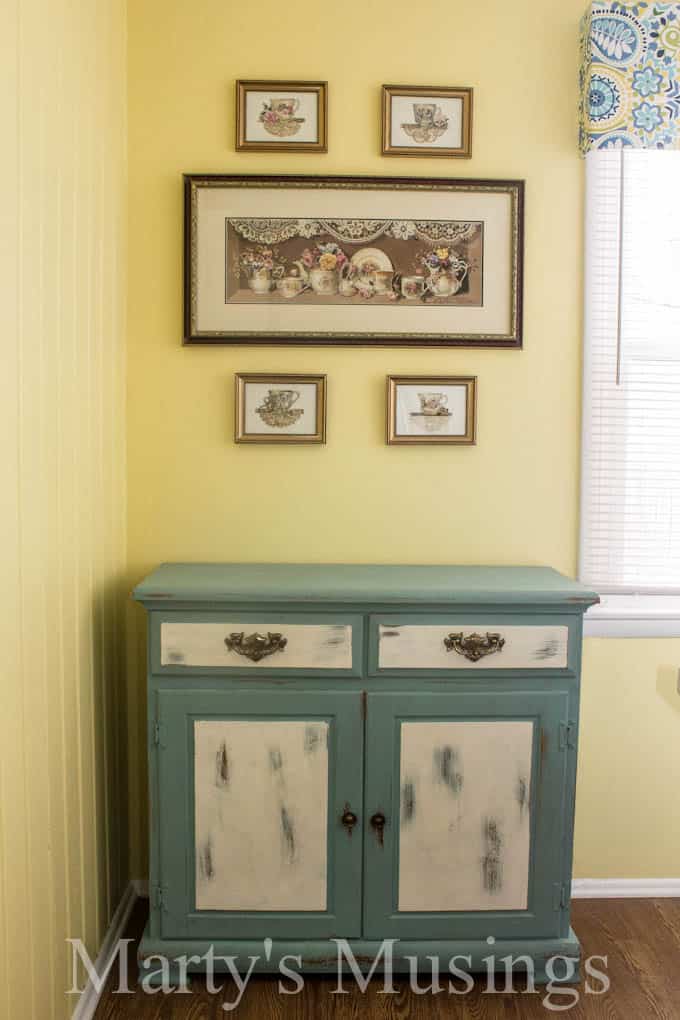
Are you enjoying this makeover as much as we are? Next up was another piece of furniture transformed with chalk paint. Our small kitchen buffet went from this nondescript wood finish
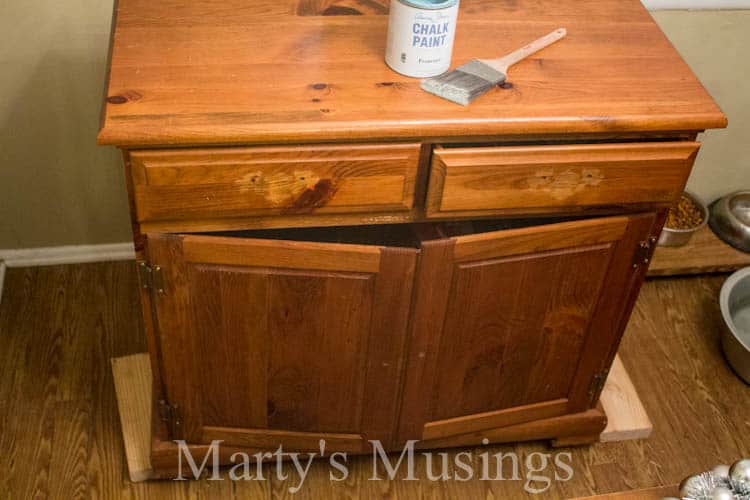
to this beauty, chalk painted and distressed, again with Annie Sloan chalk paint. You’d never know it hides our dog food!
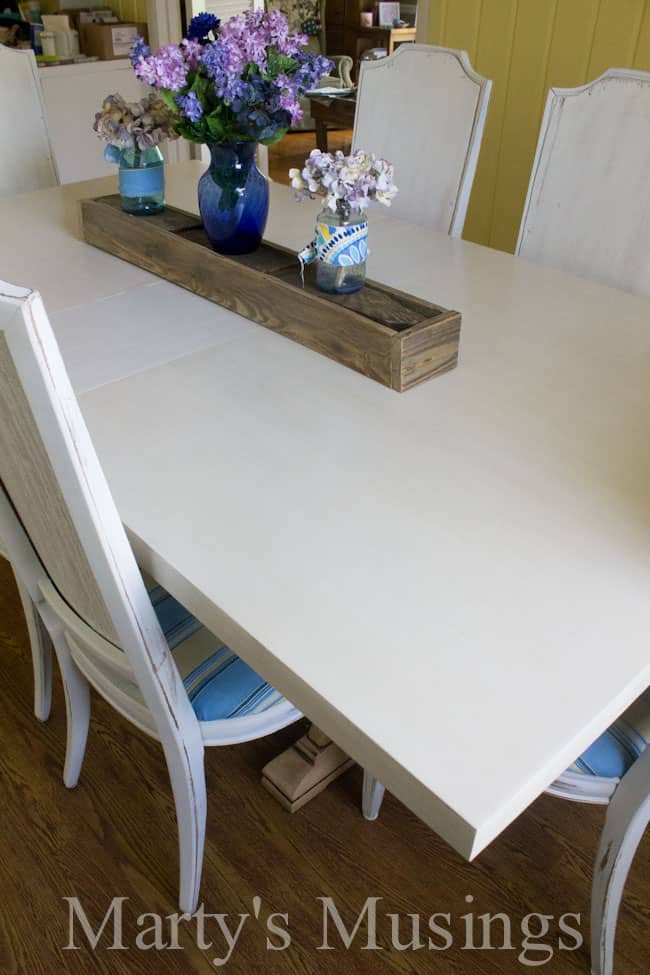
Our kitchen table was dearly loved but had seen seen five children through homeschooling, games, dinners, puzzles and conversations.
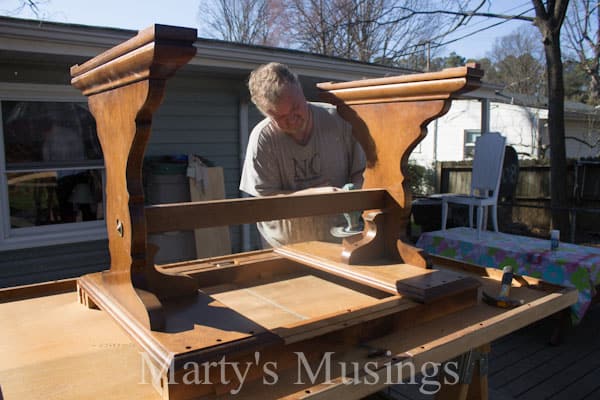
Our table makeover was a bit time intensive but well worth it. Read about how to paint a kitchen table.
Last but not least (so far), we had one large wall in the kitchen to fill and together my hubby and I put together this Old Window Photo Frame.
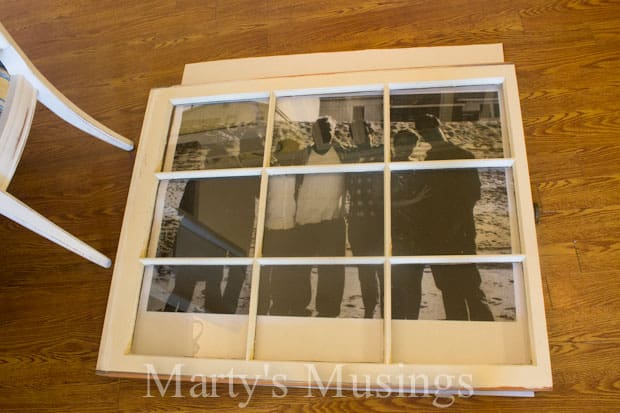
Made from old windows given to him from a job site and fence board that he painted and distressed, this fun picture is a reminder of our family bond.
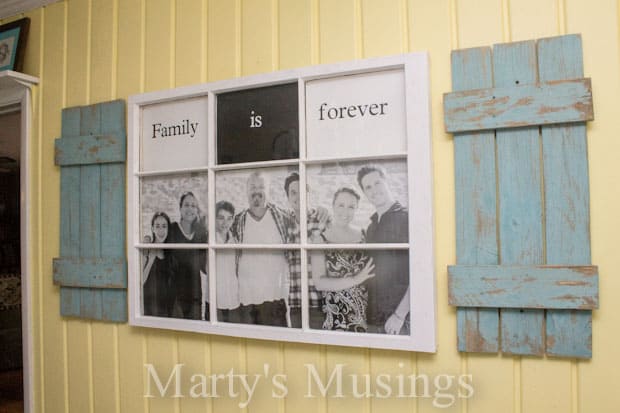
I hope you’ve enjoyed all our DIY goodies so far. We aren’t even done yet!
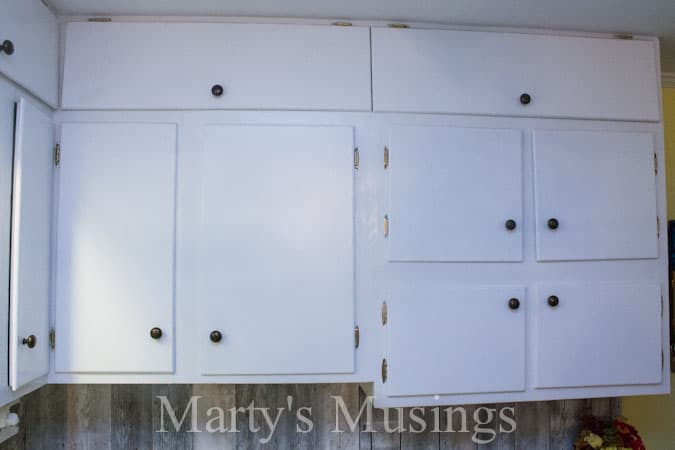
My husband is kind enough to share his painting expertise in his Ask Tim posts. Simply click on the pictures below to be taken straight to his posts!
Thanks so much for visiting Marty’s Musings! Come back and see our latest and greatest!


Have you ever painted counter tops? How do you do it and what type of paint.
Wow! I’m almost inspired enough to get back to work on our old house and all the little projects that accumulate! 🙂
I do have a question for Ask Tim. Our kitchen cabinets are 20 years old and in the last few years I’ve noticed that they don’t always swing shut completely (usually hang open about 3-4″). I assumed it was because I had put stuff inside that bumped the little spice racks I’d attached to the inside of the doors and that was keeping it from closing completely or that the kids weren’t bothering to shut them when they were done, but now one cabinet swings all the way open and refuses to stay shut (there is nothing keeping it from closing)! I close it and it just swings open again. 🙁 Suggestions? I can send you a picture of the type of hinges that we have.
From Tim: Hmmm…there are a few variables that may be causing the problem, so I’ll just give some long distance suggestions/observations that might help. Over time, cabinets can sag just enough to let gravity release the doors. They won’t move/jiggle (rather, they really should NOT), but they can tilt forward off the wall just a bit. This would be the least likely and most difficult to correct, so let this one go ’til last. A second guess might be that the hinges have aged enough to also release just a little, and most likely the bottom hinge. What you can do is see if the door has any “play” in it by opening it and gently lifting up and down to see if it moves at all. If so, that’s the culprit. To address this you can either replace the hinge(s) on that door OR try this cool little trick; remove the bottom screw on the bottom hinge that is attached to the cabinet boxing – just that one screw. Next, insert a wooden toothpick into that screw hole and re-insert the screw. Don’t worry about breaking the toothpick off, it will likely break when you tighten the screw. The concept here is to throw the fulcrum point back to vertical, thereby forcing the entire door back to vertical and allowing a good close. One final and very easy fix is to simply purchase a magnetic cabinet closer and install it! Sorry for the wordy response!
Good Luck!