How to Distress Furniture with Chalk Paint
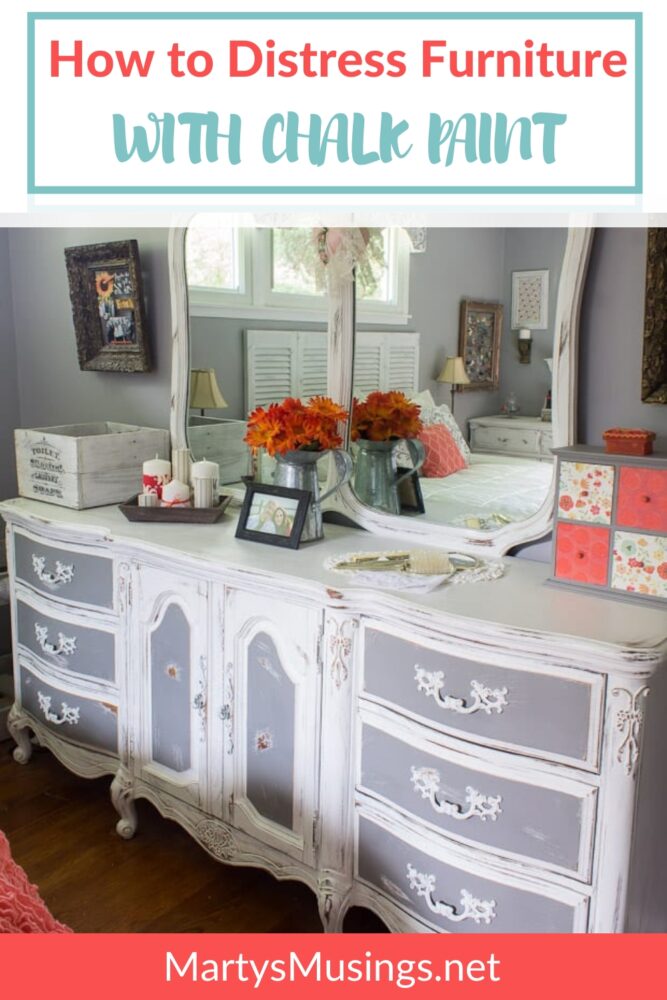
This post may contain affiliate links which won't change your price but will share some commission. Read more here.Have furniture you want to look beautifully aged and worn? Learn how to distress furniture with chalk paint for beginners and more advanced painters!
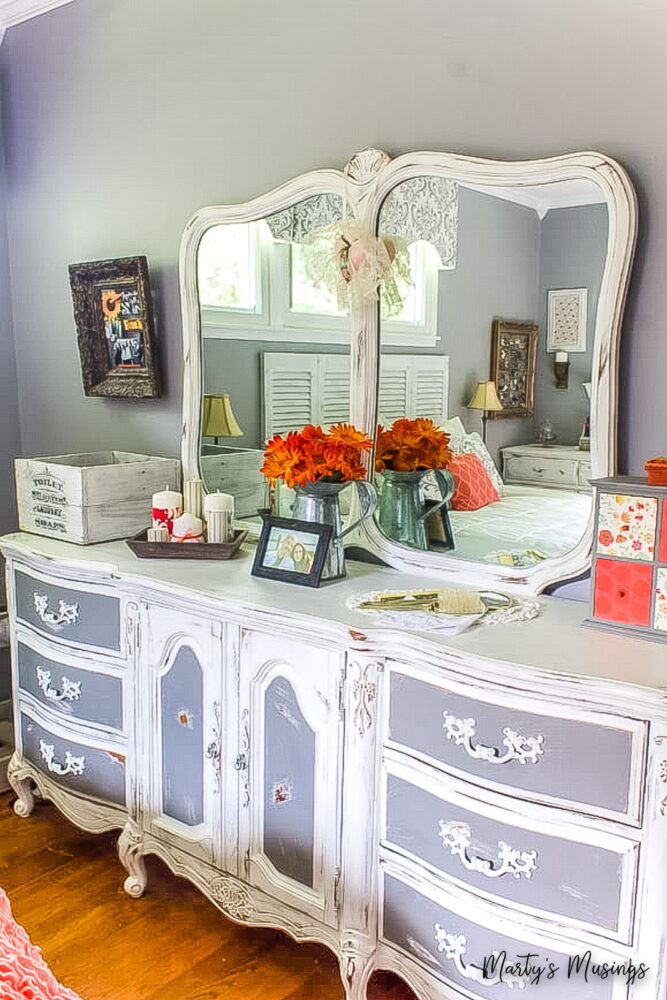
If you look around my blog a bit pretty soon you’ll find a chalk paint project, or two or three! Chalk paint is my favorite way to change things in my home without spending a ton of money. And you don’t have to be an expert to give it a shot! (Read my 11 Chalk Painting Tips for Beginners.)
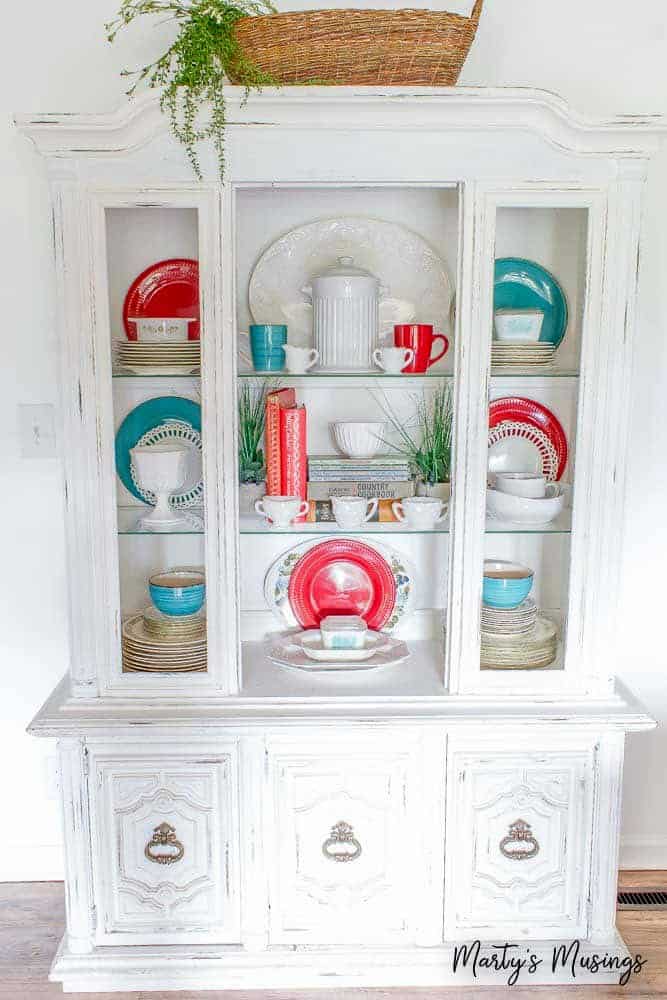
Chalk painting is one of the best ways to distress furniture as well. The great thing about chalk paint is how it sticks to almost every surface. Its unique matte finish has a vintage look all on its own even without additional distressing techniques.
Instructions
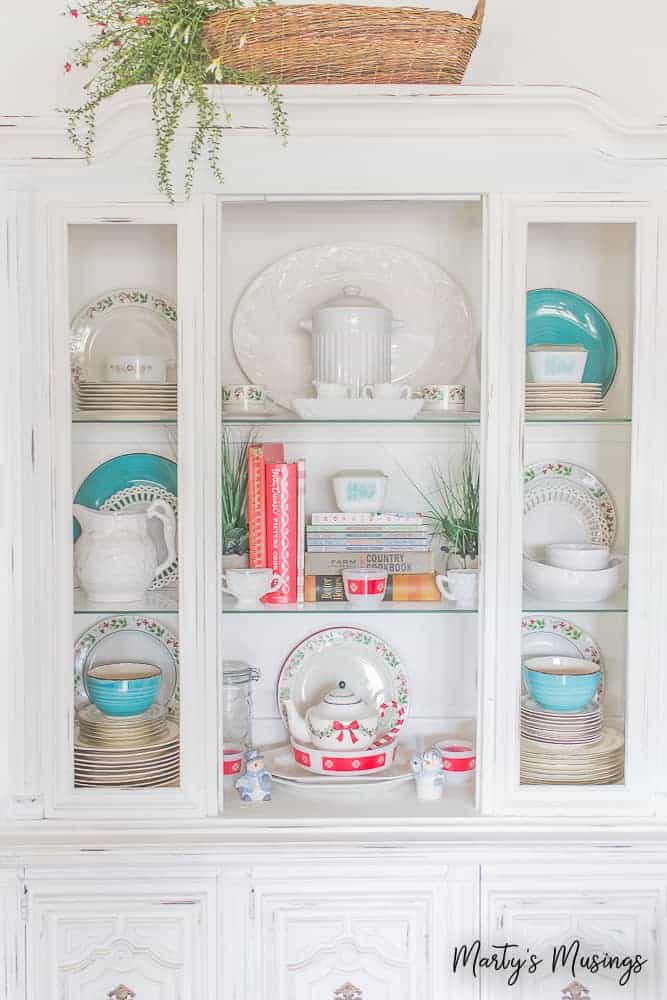
What is distressed furniture?
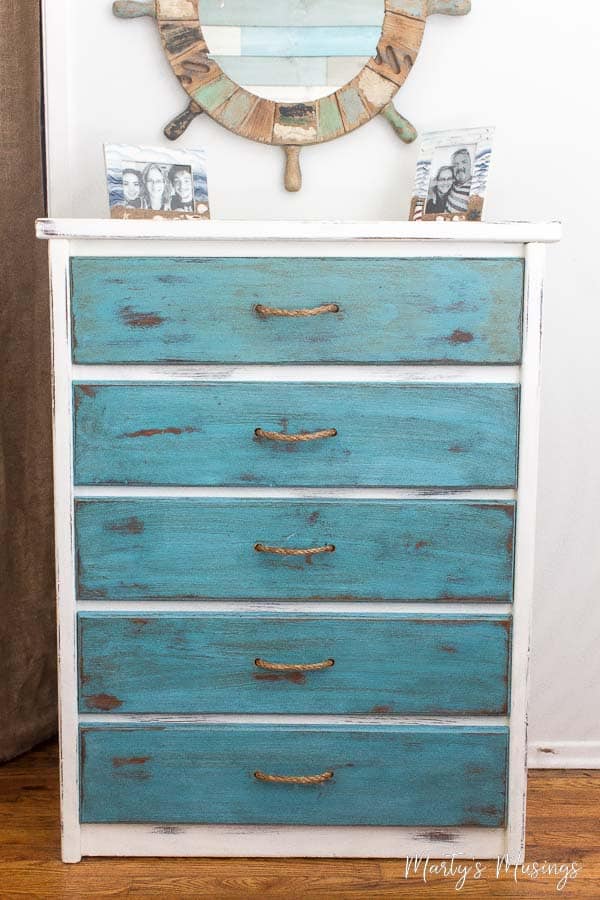
Distressed furniture is a technique used to create furniture with a rustic, worn and aged look. This can be achieved by the normal wear and tear on layers of paint. Using a couple coats of paint like Annie Sloan chalk paint and a fine-grit sandpaper allows the painter some freedom to experiment.
Should I distress and if so, what’s the best way to do it?
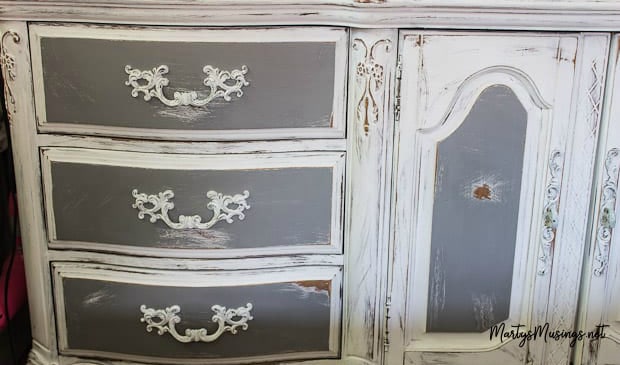
Before you distress a piece of furniture you first must decide what look you’re going for. Chalk paint is quite forgiving and it’s always a good idea to try out the look on a section of wood grain that won’t be seen.
Distressed furniture works well for the shabby chic style, for French country themes that mix old and new, for rustic style rooms that embrace the old and worn and for those that just like distressed furniture, including farmhouse style.
What is the best technique for distressing furniture?
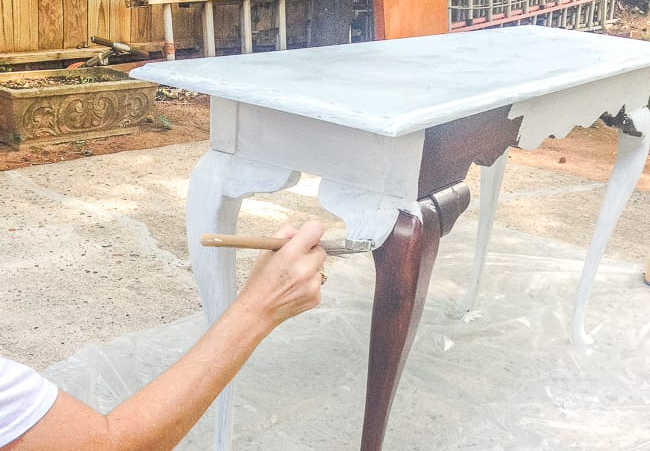
Obviously your first decision and steps are to apply chalk paint to your furniture. (Here are my recommendations for the best chalk painting products.)
Make sure the entire piece of furniture is dry from the paint application using a paint brush first. Then you’ll need to decide what technique you’d like to try.
Distress by sanding
The goal of this popular technique is to remove chalk paint from the furniture to reveal the wood/surface underneath the paint. The one downfall is it’s pretty messy.
If you have a garage or an open area outdoors that would be ideal, but I paint and sand in a spare bedroom and just cover as much as I can. You’ll usually have sandpaper dust everywhere so keep that in mind!
Don’t distress as if the piece fell off the back of a truck going down the highway. Distress as though your piece enjoyed many happy generations sitting in the corner! That means nooks and crannies, around the handles and edges and anywhere normal use might occur.
Honestly, I’ve found that distressing is a trial and error type of process. The more projects you complete the more you’ll know what appeals to you the most.
I would start with 220 grit sand paper and go from there. If the sanding is taking too long try using a coarser sandpaper. If the finish is just a pain you can even try using a palm sander to lightly add distressed areas. Again, it’s usually trial and error!
Make sure and always wipe your surfaces with a lint-free cloth after distressing and before applying wax.
Dry brush technique
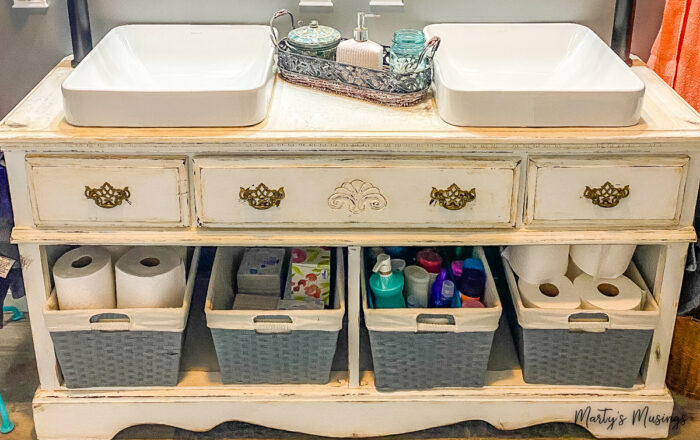
Dry brushing simply means using a dry brush with only a tiny amount of paint to highlight various areas.
Try dipping the tips of the brush in paint and tap the excess onto a paper towel or paper plate. This allows only a little bit of paint on the brush.
Then, working in small sections, use the dry brush to add more dimension. Remember this application is not for adding a second coat of paint, just merely highlights. By using two slightly different colors of paint you can blend them together for a unique look.
Have a rag handy to use to wipe any excess paint from the painted area if needed.
Wet distress
Right before your furniture is completely dry use a cloth dipped in water to wipe away the paint in the areas you wish to give the distressed look. The paint application has to be damp enough for this technique to work.
This technique requires a little bit of practice but you may love the look. Always remember you can paint over it if you don’t like the result!
Petroleum jelly
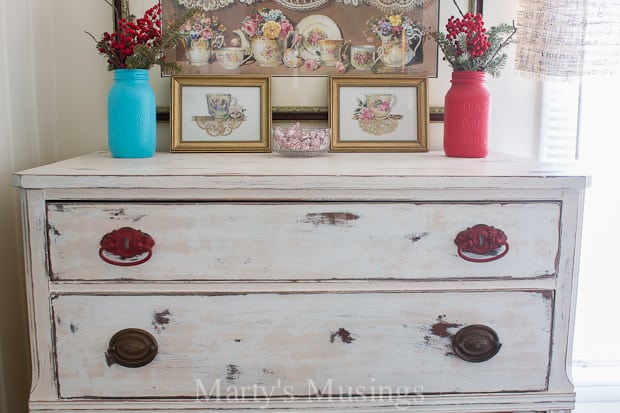
A popular tip is to apply Vaseline before painting on any spot where you know distressing will take place. Chalk paint will not bond here and it will be much easier to sand it off.
Using just your finger, you can place the Vaseline in the precise spots you want to look distressed, worn and chippy. It will look like the paint has naturally flaked off over time from the elements. This requires some forethought and planning but it’s doable!
Glaze
Glaze is a water based product that provides a similar look to dark wax. Because it’s water based it’s a bit easier to work with.
After your chalk paint has dried, apply glaze with paint brush or cloth along edges or areas where you are adding distressing then wipe away excess with clean rag.
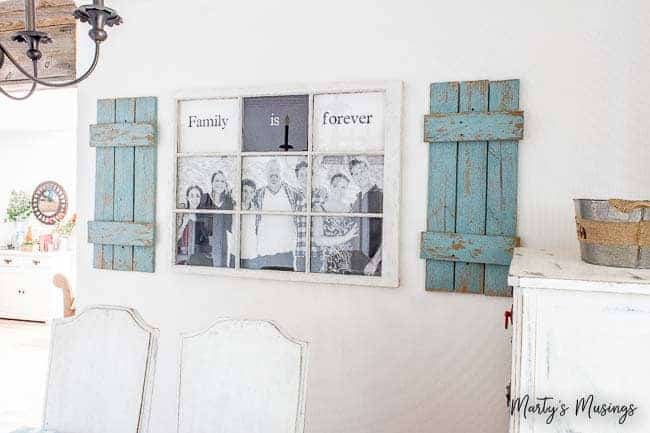
What about waxing?
I wrote an entire post on how to use chalk paint wax and it’s invaluable as you’re deciding whether to use a dark wax, clear wax or maybe none at all on your DIY project. You can use a wax brush specifically created for this purpose or I’ve even used cloth pads to apply the wax.
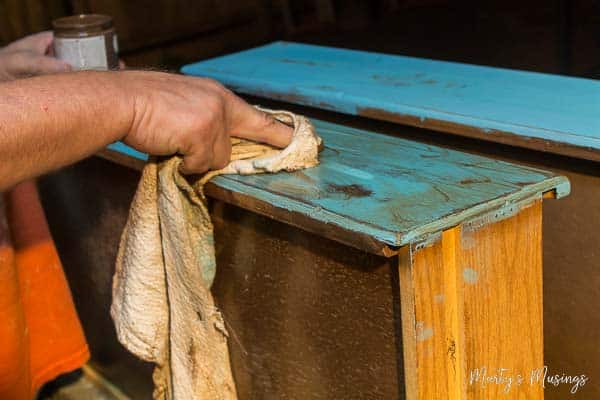
Waxing can be used to add a certain style to your piece or or for sealing the chalk paint. However, there are newer paints that don’t require a wax. If you have furniture like a table that will be used often I’ve also just added a coat of polyurethane for protection..
How do you make new wood look old?
To piggyback on this topic you may have furniture that still looks new and you want to make it look older and well used. I had this issue with some shelving in my previous home.
The answer may be to add dings and distressed areas. It may also be the way you stain or give a paint look to the wood.
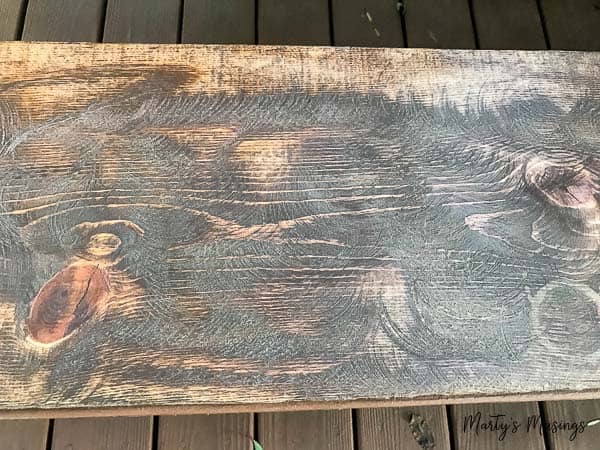
How to Build Industrial Pipe Shelves and Make New Wood Look Old
I’m just a big believer in trying something until you like it! That’s the fun, creative part
How do I know what color is underneath the finish?
A reader commented she wants to change the black picture frames in her house to a lighter, more distressed/farmhouse type look. What color would she see beneath the black if she distressed it?
When you chalk paint over black (or any color for that matter), that is the color that will show through unless it’s just a finish.
If it’s a finish you could just sand off all the black and chalk paint over the bare wood, but that may be more work than you want to do.
If you can, find small sections, in the back or underneath, where you can use a first coat of paint and experiment with the technique you want to try. The good thing about chalk paint is you can always repaint and try again!
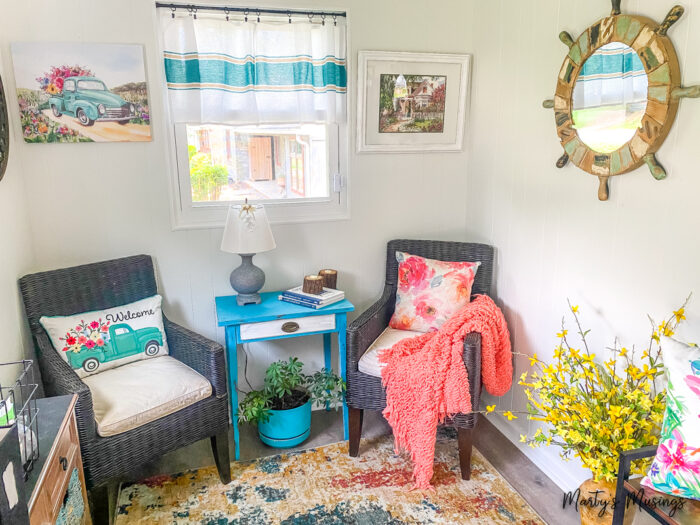
Making a New Home After Divorce or Loss

FAQs about Distressing with Chalk Paint
More Chalk Paint Ideas
Practical painting tips for the home that anyone can use, including chalk painting, accent walls and choosing the right colors.
How to Distress Furniture with Chalk Paint
Ingredients
- 1 can chalk paint
- 1 container wax of your choice
- 1 piece sandpaper
- 1 paint brush
- 1 brush for waxing
- 1 jar petroleum jelly
- 1 palm sander (optional)
Instructions
- What is distressed furniture?
- Should I distress and if so, what’s the best way to do it?
- What is the best technique for distressing furniture?
- Distress by sanding
- Dry brush technique
- Wet distress
- Petroleum jelly
- Glaze
- What about waxing?
- How do you make new wood look old?
- How do I know what color is underneath the finish?
- FAQs about Distressing with Chalk Paint
