How to Install a Kitchen Sink
This post may contain affiliate links which won't change your price but will share some commission. Read more here.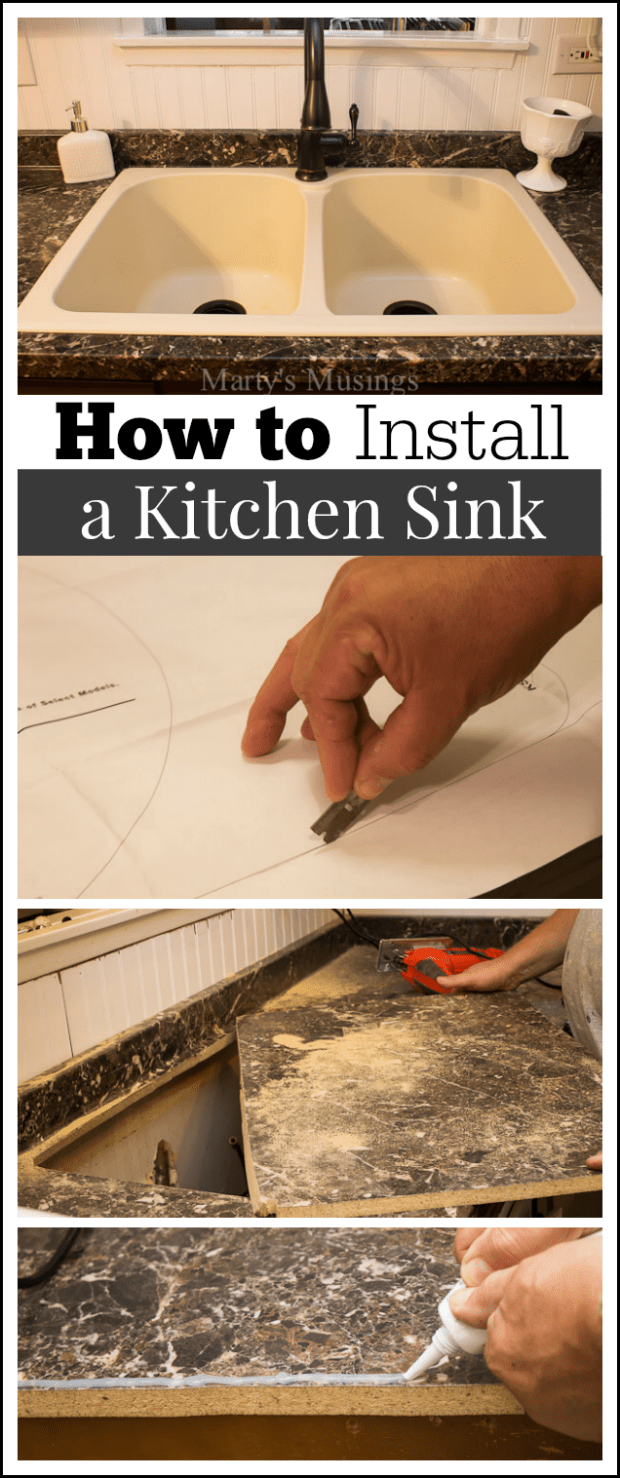
Disclosure: I was provided with product from Westside Wholesale but all opinions are my own.
It’s the start of a new year and I’m excited to share with you just a teeny sneak peek of our kitchen makeover.
When we found out that my DIY hubby was going to have rotator cuff surgery in December, miss work for six months and not be available for many of my DIY projects, he and I got on the ball and raced to the finish line to complete our kitchen.
We have transformed our kitchen over the last two years with no clear direction. We just started with one chalk paint project and went from there!
Actually, I’m not sure we envisioned changing the entire room, but that’s just how we roll!
Slow and steady wins the race! Or hobbles to the finish line in our case!
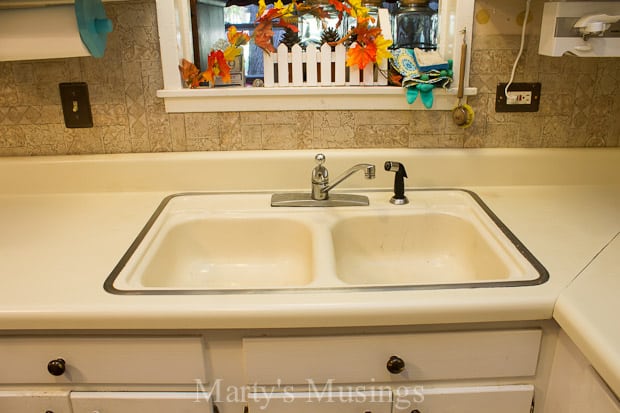
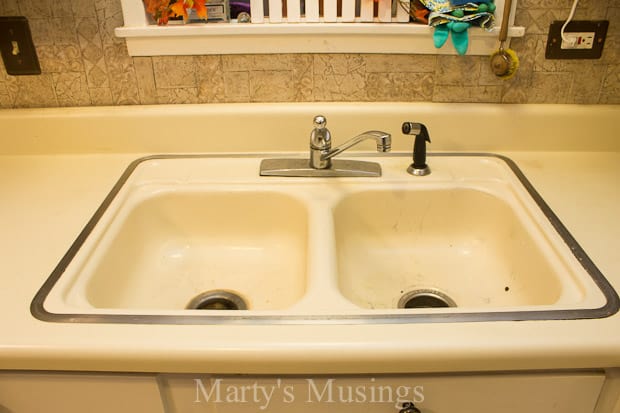
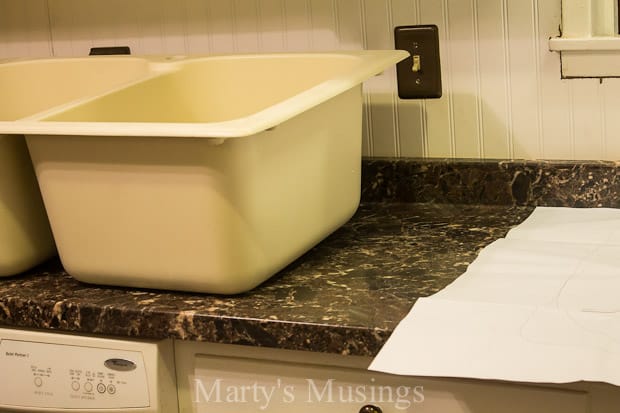
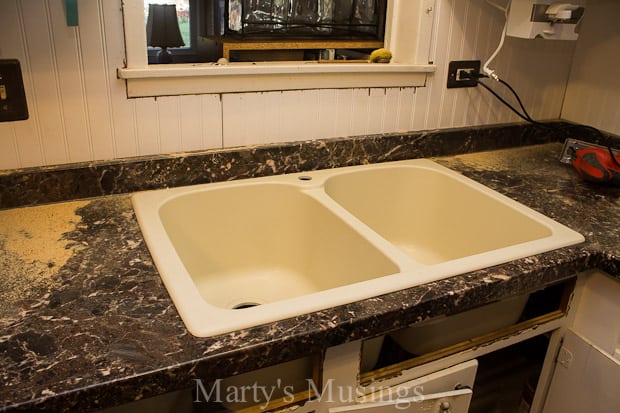
Why on earth would I want to show you a closeup of our twenty odd year old sink? Because it just makes the after more impressive!
This sink dutifully served us through raising five kids and feeding the whole crew for years, but it was time.
Say it with me. IT WAS TIME.
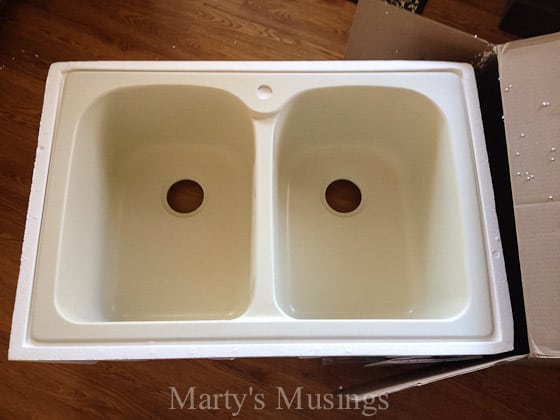
Enter Westside Wholesale and an opportunity to upgrade to a Swanstone Double-Bowl Kitchen Sink.
(You know you’re a blogger when your happy mail consists of a 38 pound sink!)
Here’s my hubby to give you the details on how to install a kitchen sink!
From Tim: Since this was our first ever deep well kitchen sink, I wasn’t completely sure of the size and even if it would truly work in our environment. Unpacking it and just giving it a good eye-ball on top of the new countertops was a real treat! Wow! Wish we had this when the kids were little and the cats were just kitties…that’s a whole lotta sink!
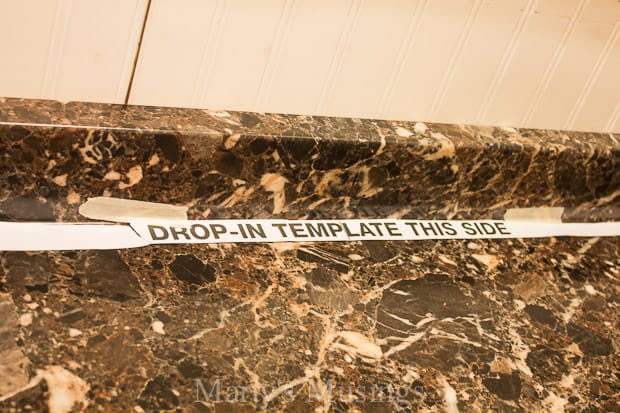
I really did have clearance concerns, both under the countertop (for plumbing purposes) and between the molded backsplash and the cabinet faces (for the installation). After determining the correct template size provided with the sink, it looked like we were a “go” to proceed. Obviously we used the drop-in template since that fit our application, but the other side included the template for an under-mount situation. All bases covered!
The next step was to cut the template…not sure why I chose the razor blade first, but I did switch to scissors after a bit! Precision is key, since this will provide the outline to actually establish a cutting line on the countertop.
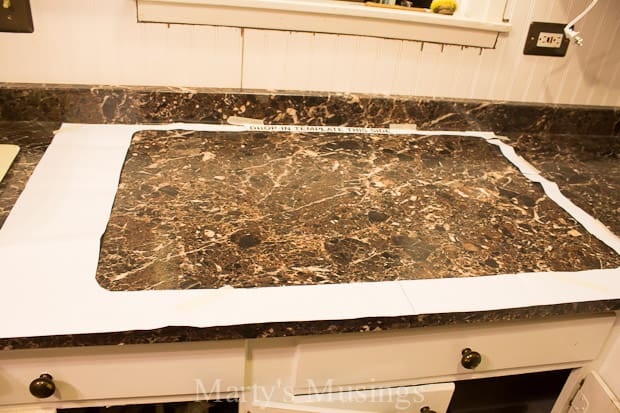
After discarding the center of the template, we taped the remainder to the countertop and re-checked for room and proper placement. If you have a center line to match, this is the time to set that up. Our sink would line up with the center of a window directly above it. You also need to consider faucet placement and make sure the plumbing underneath is still lining up. Check, check, and re-check!
So, we’re centered side-to-side and front-to-back and the template is secured to the countertop with masking tape.
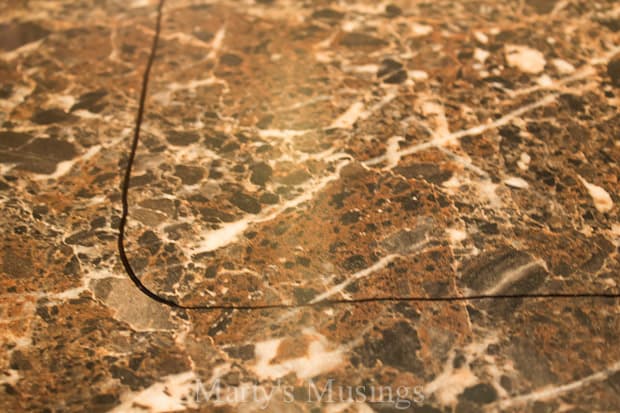
The next step is to transfer the template to the countertop with a marker. While it doesn’t have to be a pretty line, it does need to be accurate. This will be your cut line with the jigsaw, but you do have a little bit of play with a drop-in sink.
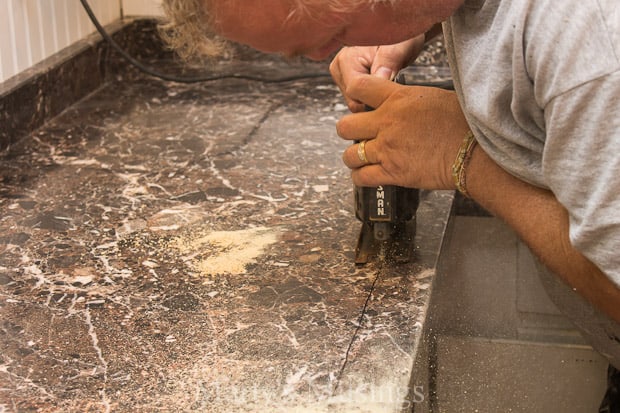
Remove the template and you are ready to break out the power tools! I found this step to be the most intimidating, since these were beautiful, new surfaces that I could ruin with one mis-step. So, I stepped back one last time to re-check and then reached for the drill! The first step in the cutting process is to drill holes on the inside of each corner large enough to allow entry of your saw bit. This will vary based on your tools of choice, but a 1/4″ hole should suffice.
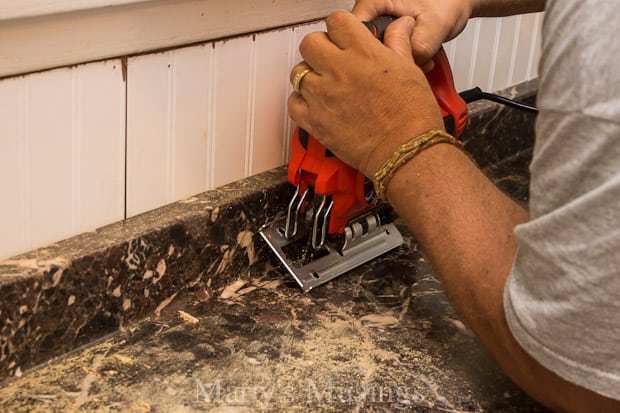
Switch to the jigsaw and insert into any of the holes and cut along that line. The trick here is slow and steady…oh, and have an extra blade ready! This is not butter we’re cutting and the blade will get hot and likely snap at some point.
OK…notice anything different? Yup, had to get a new saw! That old Sears Craftsman jigsaw has obsolete blades and I broke the last one I had! I had to bevel the blade platform in order to get as close as I could to my line, but it worked.
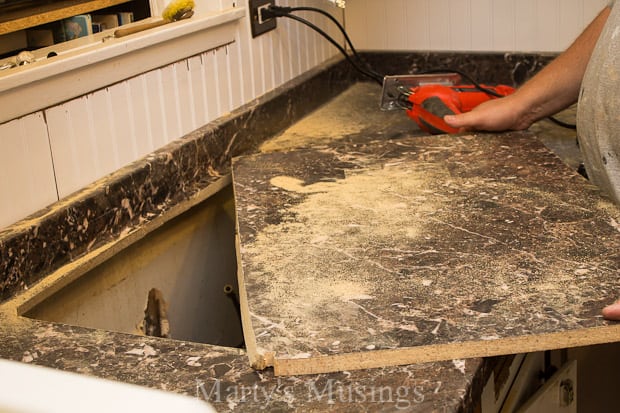
And we have successfully removed our cut piece! Be careful at the very end of the cut to have a helper support the slab or you may well encounter a snap and a ruined edge.
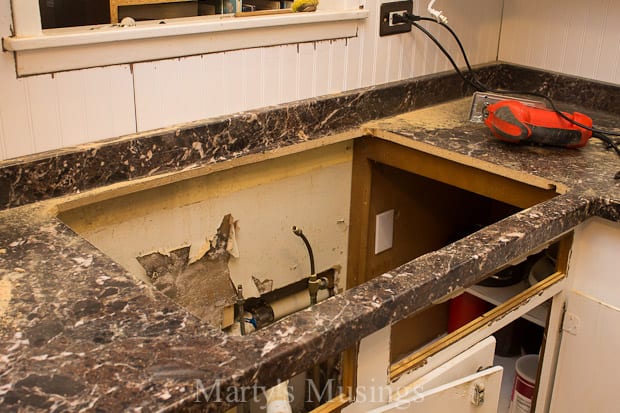
So here is the rough opening ready for the sink…and a little clean-up first!
The drop-in! This was pretty exciting but just a quick look to make sure the opening was sound and sized correctly. You may find that you need to tweak things here and there for a proper fit. Snug is good and just a little wiggle is still ok.
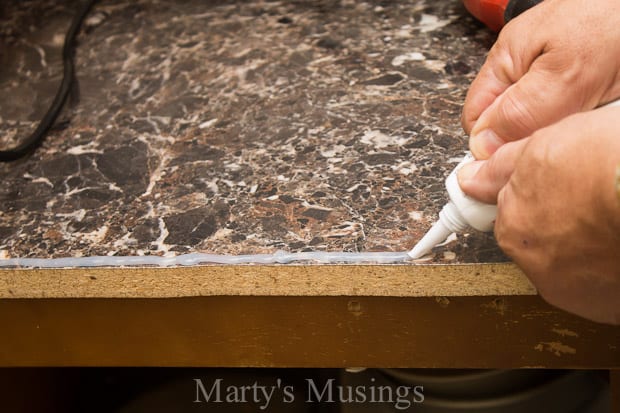
After that test run, pull the sink back out, clean up around the site and, per the manufacturer’s instructions, apply a bead of waterproof sealant (not provided) all the way around the opening where the lip of the sink will meet the countertop. This will prevent moisture from running under the sink and wicking the countertop where it was cut…very bad news! Exposed composite material and water don’t play well together.
Drop the sink back in and you are done! HOWEVER, it is MUCH easier to do as much of the plumbing that you can BEFORE the sink is installed, but that is for another post! I will say that the only remaining sink concern is to install the sink anchors, provided with the sink, around the perimeter on the underside. This is not easy and requires some awkward contortions (masterfully executed by my teenaged son!) but is essential in attaching the sink to the countertop. Again, full and clear instructions were provided by the great folks at Swanstone!
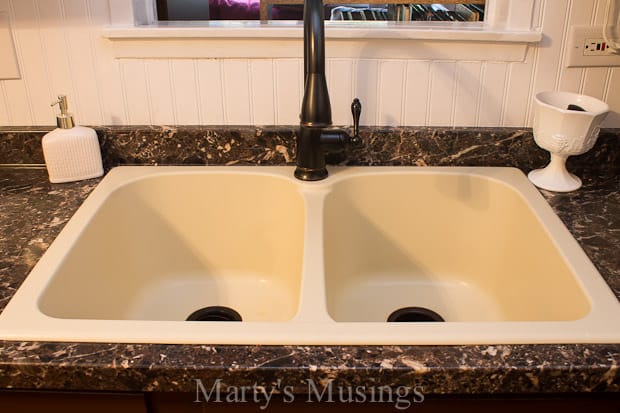
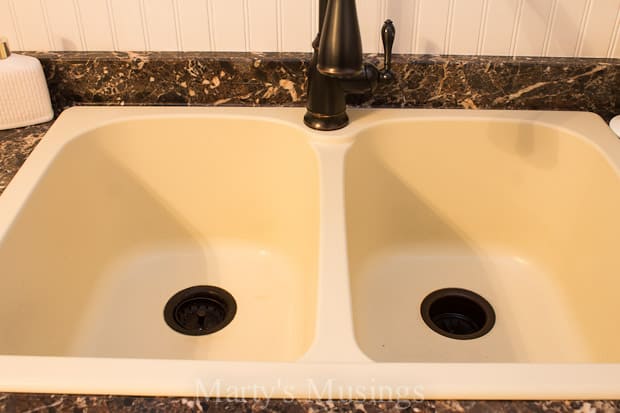
Marty: Doesn’t it look great? We are both so pleased with this product and the change to a deep well sink is amazing. It almost makes me want to do dishes.
Nah, just kidding.
Seriously, though, this sink is durable and amazingly deep. You can see all the specific details here.
I will say that the one thing I would do differently is choose a white sink. When we started this project we were going a completely different direction with the countertops, backsplash, etc. (and that slightly yellow kitchen paint). As per our usual, we discovered our style through trial and error (and budget).
We’re kinda aiming for farmhouse style rustic shabby chic (I just invented my own style!) but you’ll see more as I work on the final reveal (including a new faucet).
What do you think?
This post contains affiliate links.




Nice remodel job. It’s wonderful you were able to work with the existing cabinetry and I appreciate that you didn’t slather white paint onto those beautiful old cabinets.
The new sink looks great, Marty. What a difference! Tell Tim that I remember seeing him at Sears when he was on the hunt for jigsaw blades. 😀
You won’t be running into him at Sears anytime soon, Suzy! I think he’s out of the DIY business for a few months!
How to install a kutchen sink? She says completely tongue in cheek….pick up phone…call plumber. Pay exhorbatant fee. Grumble at every butt crack joke ever imagined….say goodbye to plumber, clean up mess….be very happy that it actually works.