DIY Rustic Wood Candle Holders
This post may contain affiliate links which won't change your price but will share some commission. Read more here.Decorative and beautiful, rustic wood candle holders are easy to make and are perfect for fall, Christmas and weddings or special events.
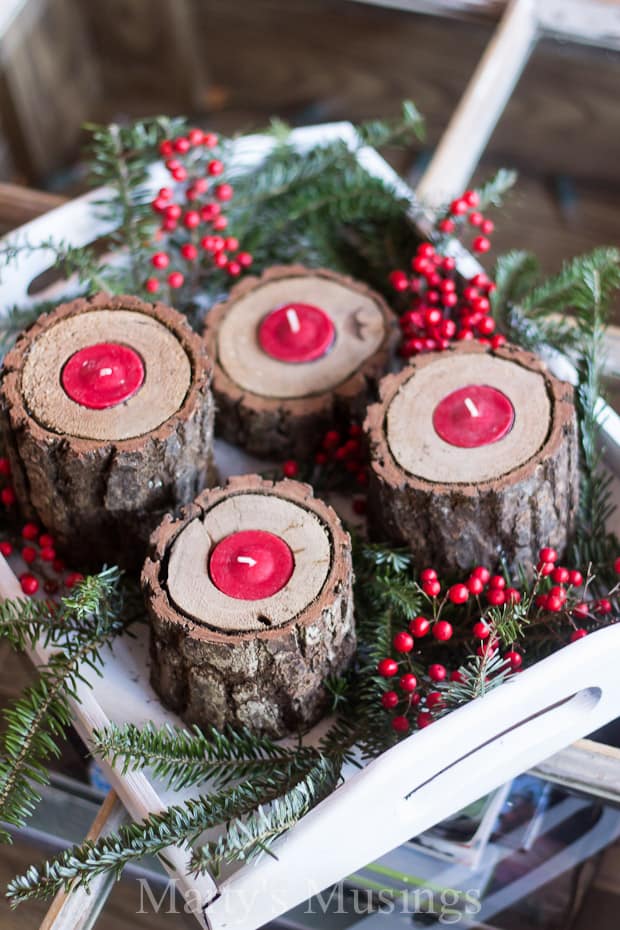
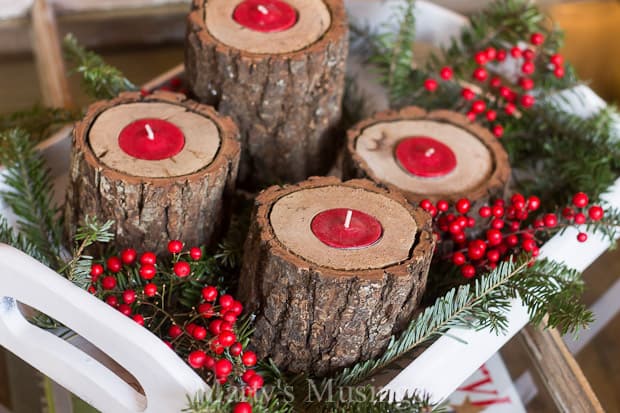
These simple rustic wood candle holders exemplify beauty in décor with just a few natural elements.
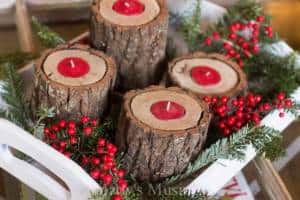
I love that nature provides some of the best free home decor ever! WIth a simple painted tray and sprigs of evergreen and berries, these rustic candle holders provide the perfect blend of rustic and sophisticated.
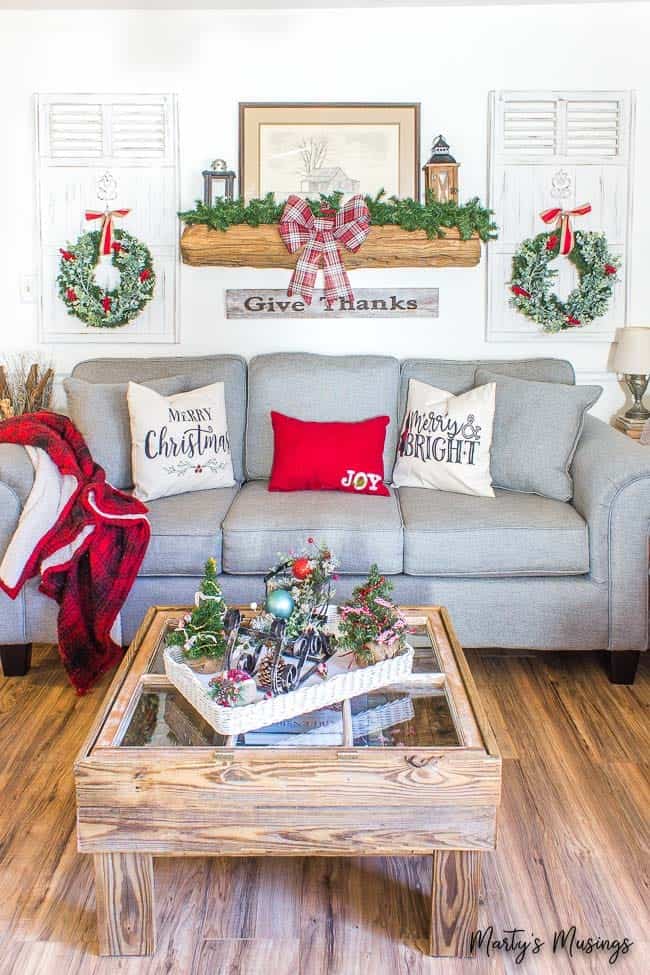
This arrangement is perfect in a living room or den (or on a rustic window table) or on your kitchen or dining table as the base for a beautiful centerpiece. Use the candle holders singly and add them to a mantel with pillar candles surrounding them.
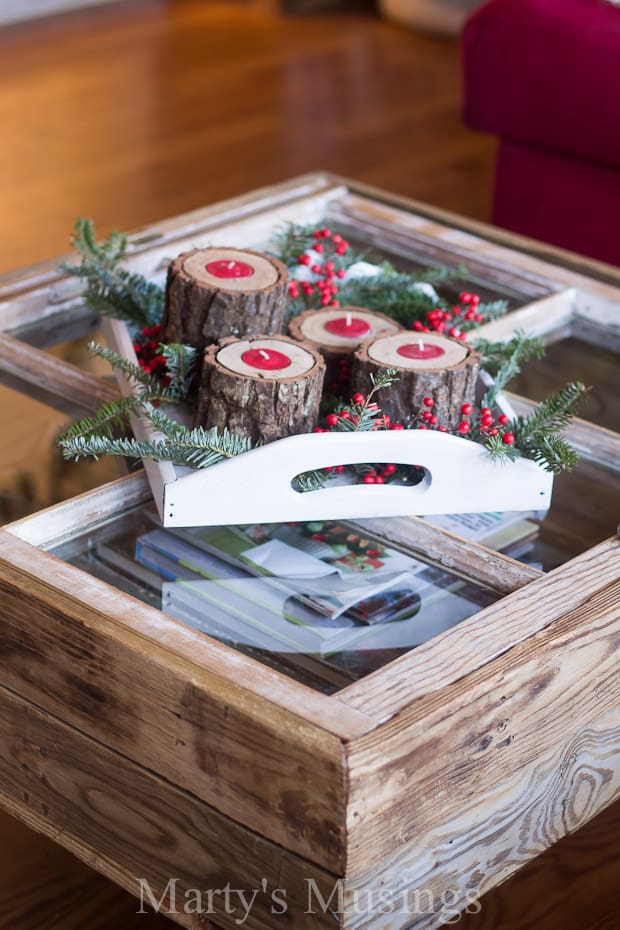
The rustic design is perfect for giving warmth to a wedding, anniversary or special party for family or friends. Also, the availability isn’t a problem because you can make them ahead of time!
Are wooden candle holders safe?
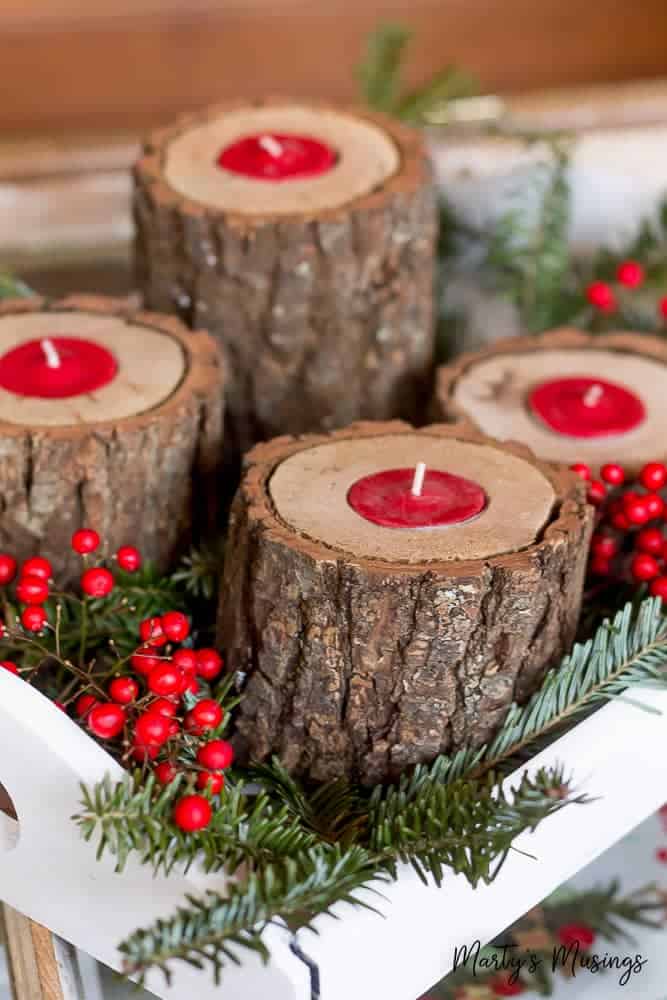
I’m a wee bit freaked out by flames so if you’re like me, just use these for decoration since the tea light is so close to the wood.
(A reader also pointed out one option for these rustic wood candle holders is to use battery operated LED tea light candles. Great idea!)
Materials:
(I’ve included some affiliate links for your convenience. Click here to read my full disclosure policy.)
Home Defense Spray
Corded VSR Hammer Drill
1-3/8″ hole drill bit
Tea light candles
Battery powered LED tea light candles
White serving tray (or unfinished wood tray)
Step 1. Select wood.
Perhaps the most difficult part of this very simple project is selecting and locating the preferred wood to be used.
A heavier-barked wood like walnut creates a more dramatic effect. It provides a well-developed ring around each piece and gives good definition. To contrast, pine has a very thin bark, so the edge is less defined. Walnut was used for this project.
Step 2. Determine length and number of pieces to be made.
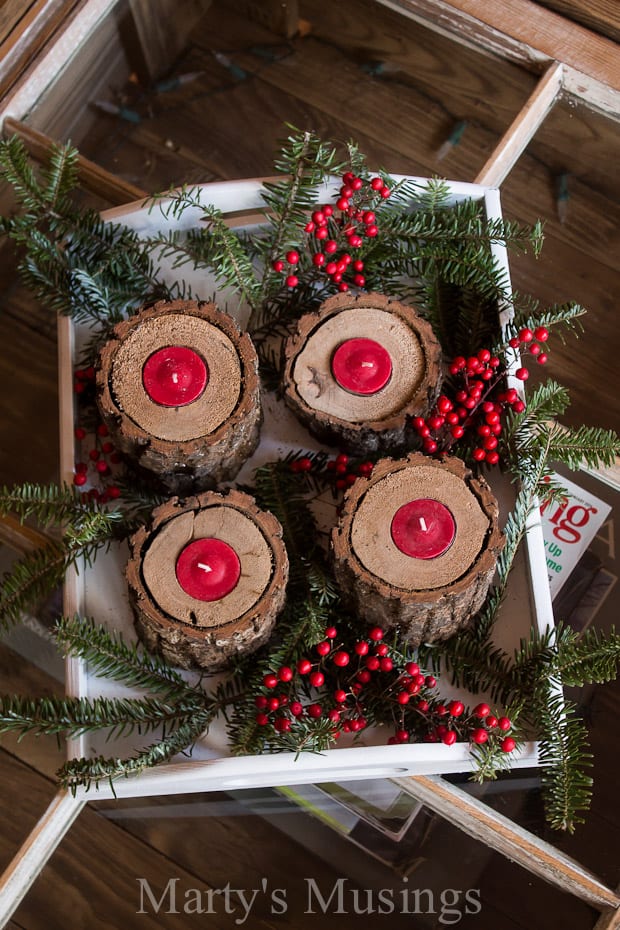
This is totally random and determined only by your preferences; some will like multiple pieces of similar height while others may prefer to stagger each piece for a single clustered arrangement. Four different lengths were chosen for this grouping.
Step 3. If necessary, treat wood for bugs!
This next step may be crucial, so give it attention. If necessary treat your lumber for bugs BEFORE you bring it inside!
Sound like a word of advice from experience? Indeed, it is! The lumber came from a wood pile and exploded with ants once cutting began.
Tip: Be aware!
It is important to use a water-based product since there is potential for open flame near this product (if you choose to light the candles). Home Defense all-in-one product is a good choice so saturate each piece, letting them dry overnight outside.
Step 4. Drill hole in center of wood.
The last step is to use a 1-3/8″ hole drill bit to remove enough wood at the center of each piece for the candle. This size bit is exactly the right size for a tealight candle.
Just approximate center and drill out enough wood to match the depth of the candles you use. Ideally, you want the top of the candle right at or slightly above the level of the wood.
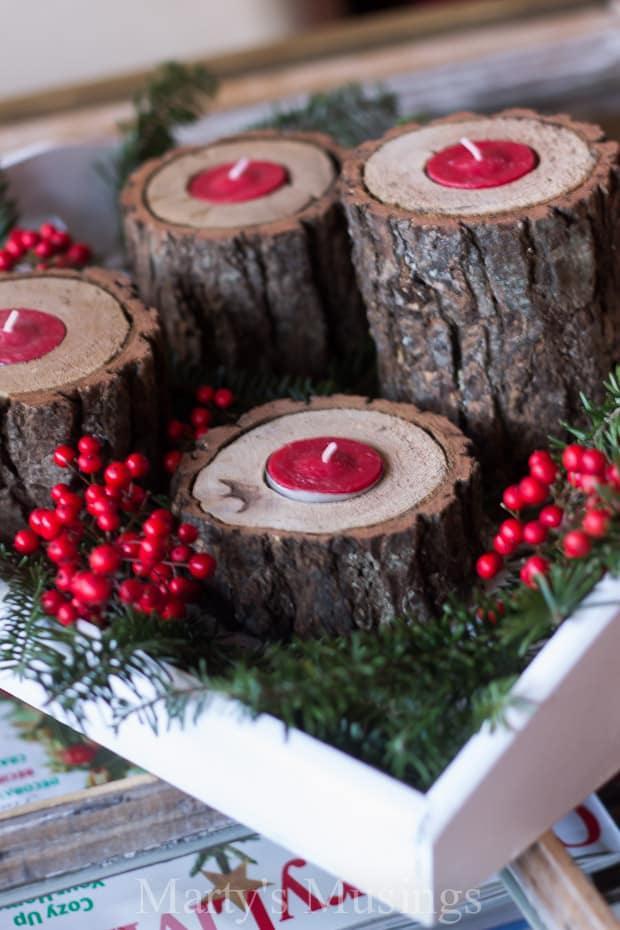
That’s it! No need to seal or weatherproof.
You definitely want to choose your wood carefully, especially if you intend to actually use the candles.
Step 5. Decorate with wood candle holders.
I corralled the candle holders with a white wooden tray (you could use this one or paint a less expensive one like this one), added some evergreen from our Christmas tree and red berries from a bush and I was done! The textures and layers are the perfect seasonal accent.

I also added a strand of battery operated lights for the inside of the table that makes it even more festive at night.
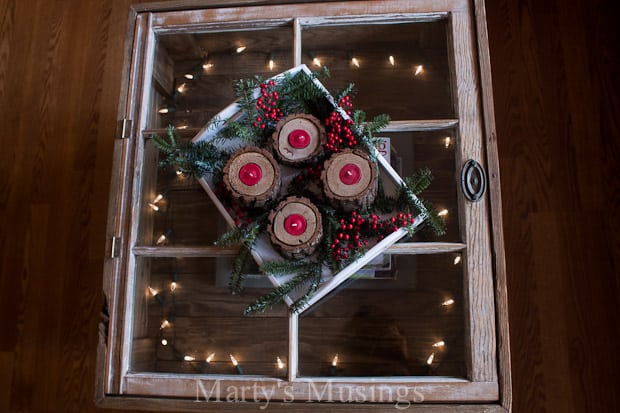
You could also use these log candle holders as a centerpiece with a lantern or pillar candle added. Another idea is to change up the colors of the candles.
My philosophy is to always gather items on a tray with varying heights and these natural candle holders make such a nice addition to holiday tray or vignette.
More Christmas Inspiration
Take your Christmas decorating up a notch with these simple and unique ways to create the perfect holiday home.
Wood Candle Holders Printable Instructions
Ingredients
- 1 can Home Defense Spray
- 1 Corded VSR Hammer Drill
- 1 1-3/8″ hole drill bit
- 1 pkg Tea light candles
- 1 pjg Battery powered LED tea light candles
- 1 Serving tray
Instructions
- Select wood.
- Determine length and number of pieces to be made.
- If necessary, treat wood for bugs!
- Drill hole in center of wood.
- Decorate with wood candle holders.




We made a ton of these with birch to give as gifts to co-workers this Christmas. We bought bundles of birch firewood at a big-box store and my DIY helper husband cut and drilled them. I then hot glued burlap ribbon around each and added bits of holiday decoration to each. Gifted in sets of 3. 16 sets cost under $30. They were a HUGE hit!!
Hi, Sarah. What wonderful gifts you gave your coworkers! I know they were amazed at the work and thoughtfulness of each present. I’m so glad you let me know they were a hit! Happy New Year!
This is so cool. We have a few overcrowded trees on our property that need to be cut down. I would love to save some of the logs and make candle holders like these. I love this project so much that I featured it in my post “15 Rustic Farmhouse Christmas Decorations”. http://www.diyhsh.com/2017/10/15-rustic-farmhouse-christmas.html Hope you’ll stop by and check it out.
I love candles especially the scented ones. However, for this project I would use the fake battery powered tealights. Since I live in Houston, Tx in a subdivision, where would one find this type of small walnut tree to make there candle holders?
Hi, Ann. Here are my husband’s thoughts for you: From what I could tell, walnut trees are present in your area. You might get lucky and find downed branches after a storm. However, any thick-barked tree would do. Thanks! Tim.
Just dont burn them!! MAJOR FIRE HAZARD IF BURNED!! the lil metal cups heat up when burnig and char the wood, which after several burnings starts on fire!
Hi, Jodi. I did mention in the post to be careful if burning and that I use them for decoration only. Good advice. Thanks!
The home defense product.. Can you tell me what that is?
Hi, Tracie. The product my husband mentioned is Ortho Home Defense Insect Killer. Here’s a link to it and you can also click on it from the post now: https://www.amazon.com/gp/product/B00DHALYLY/ref=as_li_tl?ie=UTF8&tag=marsmus035-20&camp=1789&creative=9325&linkCode=as2&creativeASIN=B00DHALYLY&linkId=56b097a3ffa11c0d5c42e301b1d468b3
I stumbled across this post while searching a countyliving.com post for creative DIY Christmas crafts. Just love this idea. So simple, but eye catching. I lean to the more rustic, nature-based holiday decorating. I have share this on my FB page.
Hi, Barbara. I’m glad you found my wood candle holders. I love using nature in my decorating whenever I can. It’s both easy and inexpensive, two of my favorite ways to decorate! Be sure to join my community if you’re interested in more thrifty ideas! Have a great day!
Thanks for sharing your lovely rustic wood candles at the party. Pinned & shared.
I love these and I’m so inspired to make a bunch for the mantle of our ski condo!!
Hi, Jennifer. You have a ski condo? How wonderful! I’m sure it’s beautiful and these candle holders will be perfect! Happy holidays!
I am so in love with these rustic candle holders Marty! What a great way to bring a piece of nature into the house for decor. I have to add too that I am totally in love with the window table 🙂 I use old windows in house and absolutely love how that one turned out. Thank you so much for linking this up to the Bewitchin’ Projects Block Party last week; you are one of my featured picks over at Recreated Designs tomorrow. Hugs, Lisa
Hey, Lisa. The window table was one of my hubby’s first projects and I still love it, too! The candle holders stay out most of the year and I swap out the red for white. I just love the rustic look!
This looks awesome! Thank you so much for sharing 🙂
Congratulations, you are being featured in this week’s
Snickerdoodle Mini Round Up!
Have an awesome day!
Joanita
Love it!! So pretty!!
This is a fantastic project! Thank you so much for sharing with us at Snickerdoodle Sunday. Pinned and tweeted to share! Have a wonderful Holiday!
~Laurie
Thanks so much, Laurie! Have a great Thanksgiving!
looks fantastic, and how great to have a husband who is happy to please by being your DIY partner! thanks for sharing on craft schooling sunday, and hope his surgery goes well and he heals quickly!