Shabby Chic Dining Chairs
This post may contain affiliate links which won't change your price but will share some commission. Read more here.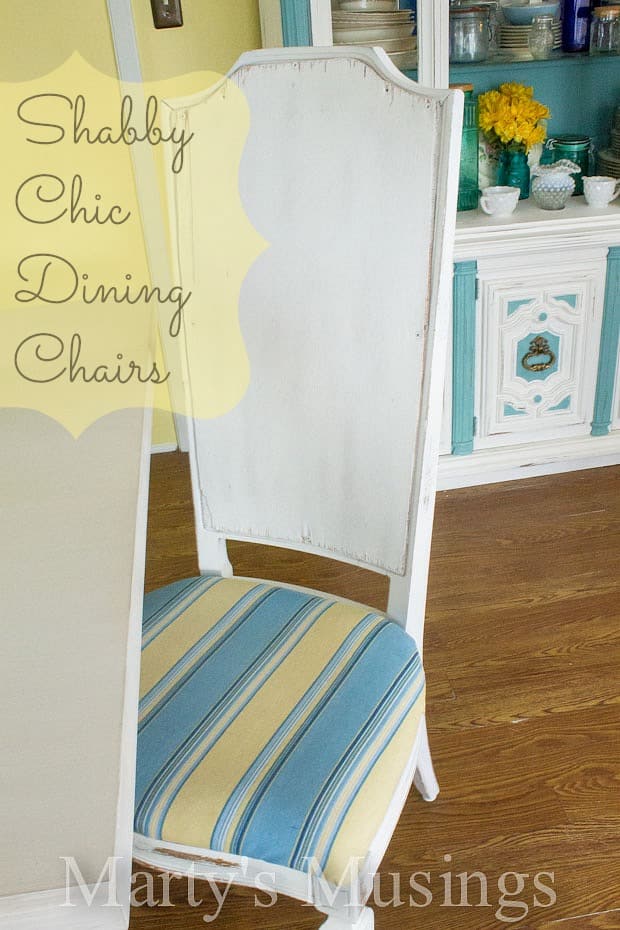
In pursuit of transforming our kitchen on a budget we were faced with some very very ugly hideous kitchen chairs.
While our kitchen table went from drab to fab our chairs were still a problem.
We got the table and six chairs a decade ago for $150 and they have served us well.
The inset of the chairs was originally cane but because of the age they quickly wore out.
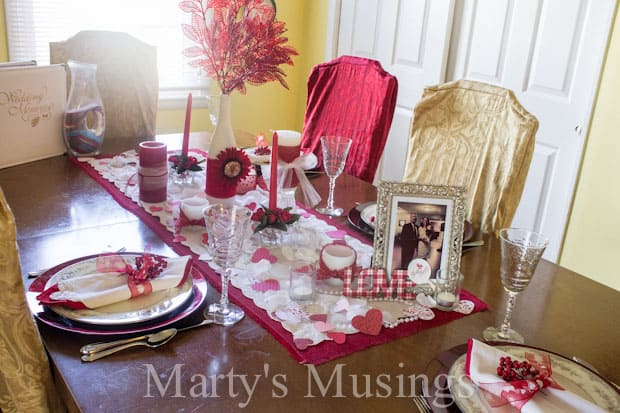
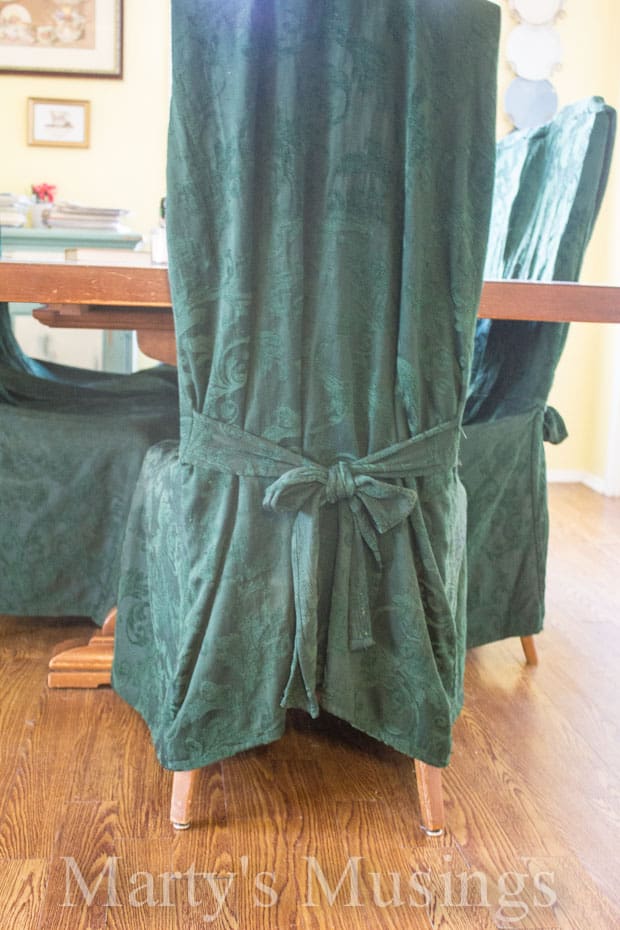
Our solution was chair covers, which worked for many years. As you can see, though, they were worn out.
We even had red and gold covers for Christmas until Valentine’s Day.
As Tim and I discussed (for weeks) what we wanted to do we made the decision to makeover the table and somehow work with the chairs we already owned.
The key for me was finding fabric to match the window treatments (another post to come on that easy solution.) For $20 I bought enough fabric for all six chairs, a table runner and some extra for accents.
Now for the fun part, my new shabby chic dining chairs, and as usual, my husband continues to amaze me with his handiwork.
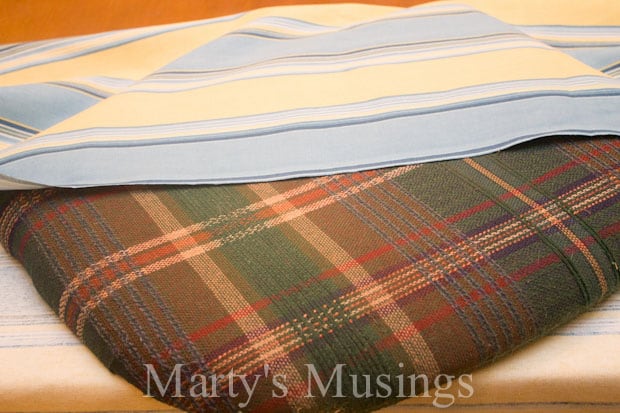
Handy-husband here! Once the chief my bride selected fabric to re-cover the seats, it was quite simple to remove the 4 chair bolts on the under side of the seats and attach the new material.
I chose to leave all the existing material on the platforms and attach the new right on top. This would give additional cushioning and preserve the integrity of the padding underneath everything, which probably had some age to it. It was still good, so no problem in leaving it.
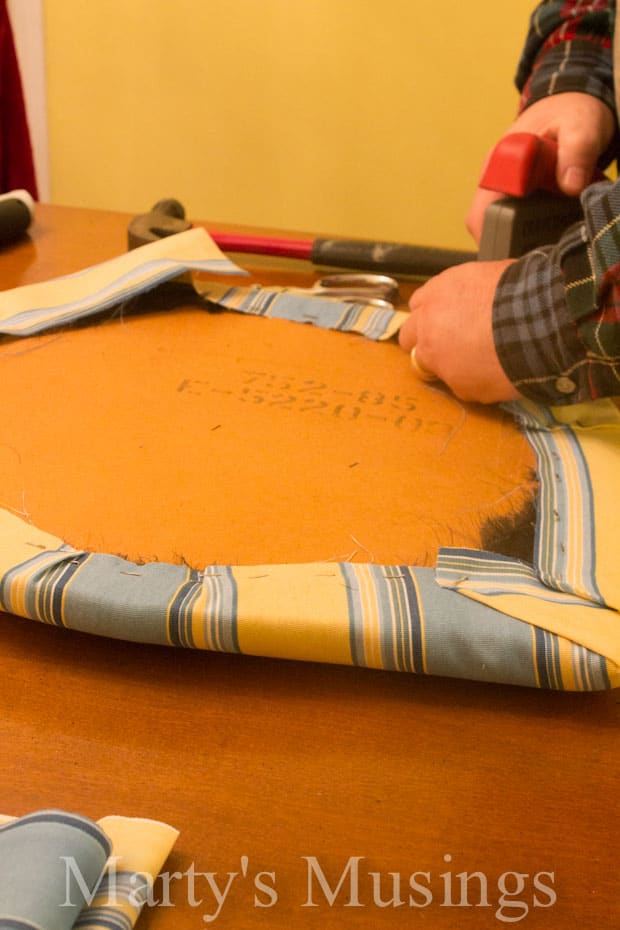
I laid the raw fabric on the work surface and then placed the seat upside down on it. After determining the amount of overlap I wanted for a secure fit, the fabric was cut in squares for all six chairs.
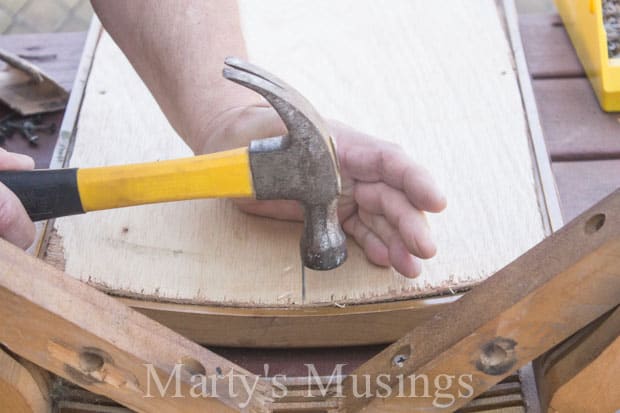
Here, the first piece is attached with a staple gun. Simply roll the fabric up and around the edges and staple to the base. I also go back and smack each staple with a hammer to drive them deeper into the surface.
Corners can be a bit tricky, but just trim off all the excess fabric and then staple – it will bunch up there. Trim any excess and they’re done! I was working with stripes, so it’s a good idea to not only check that you’re not applying crooked, but to also run all the chairs in the same way.
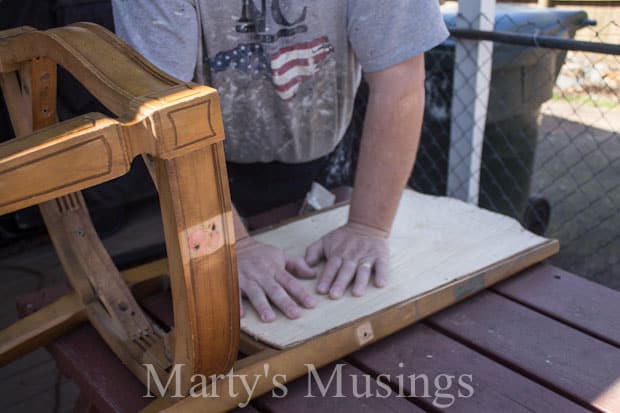
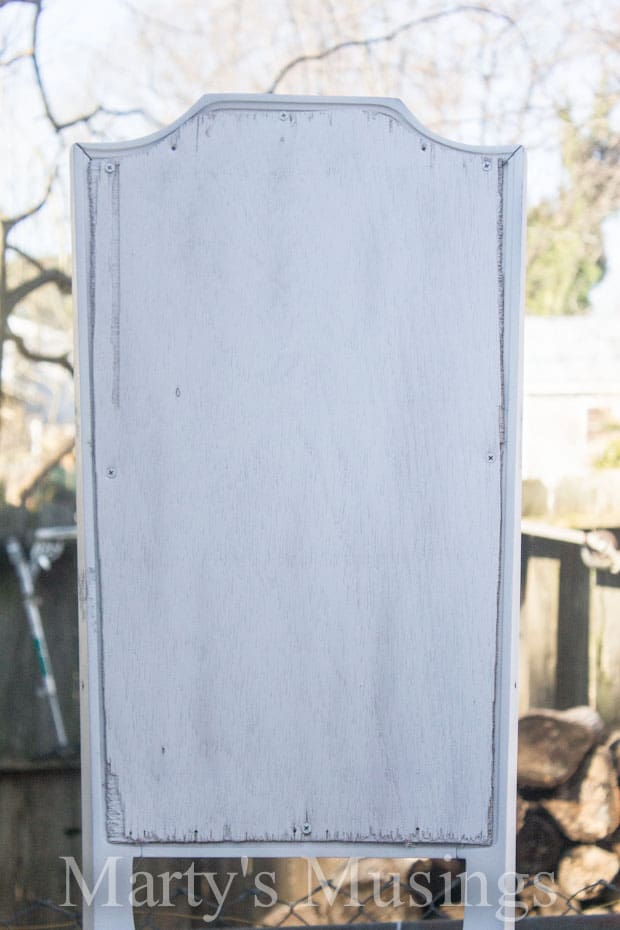
The bulk of the work in up-grading these chairs was in the frames, especially the backs. Since the caning had been removed years ago and plywood installed inside the frame where the cane was, this was an area that required primary attention. We had always covered the backs with chair covers, so the fit was neither perfect nor pretty.
The solution? The distressed look! I did re-work some of the backs for a better fit and made them a bit more secure with more nails and screws, but trust me, they were already well on their way to distressed!
The particular chair below actually had arm rests that I removed when the caning went away. That explains the holes and change in color. The holes were filled with wood filler and sanded, no problem.
I had trouble getting some of the screw heads even with the surface, especially on the curves, so I switched to finish nails. You get a good look here at the expertly distressed plywood!
A quick coat of oil-based spray primer (outside) to seal everything up. Again, this look isn’t for everyone, but it worked for where we were headed.
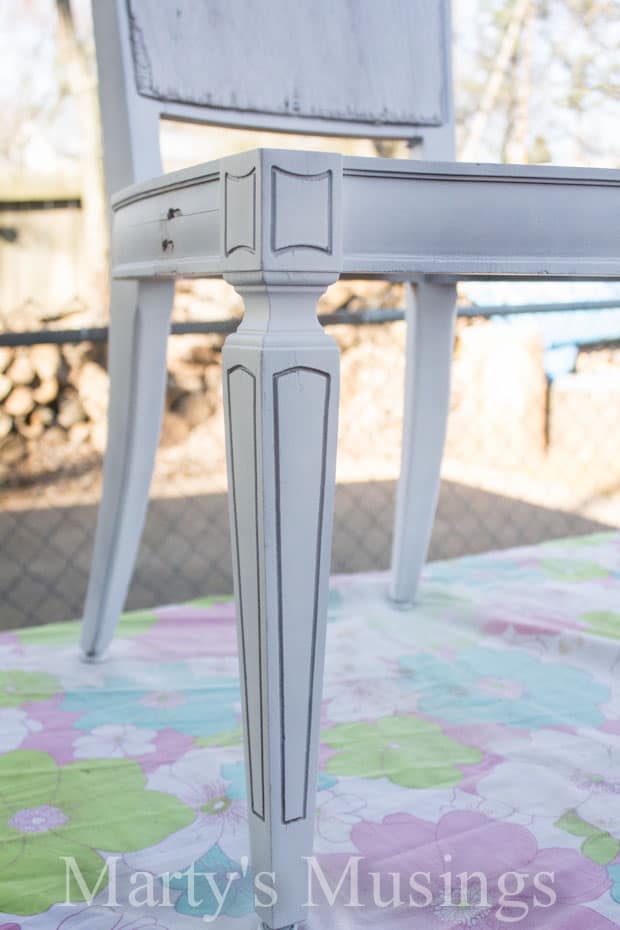
I’m always surprised at the manufactured detail work I miss with a stained finish. The second the primer went over the carvings, they jumped off the chair. It was a pleasant effect that really enhanced the look.
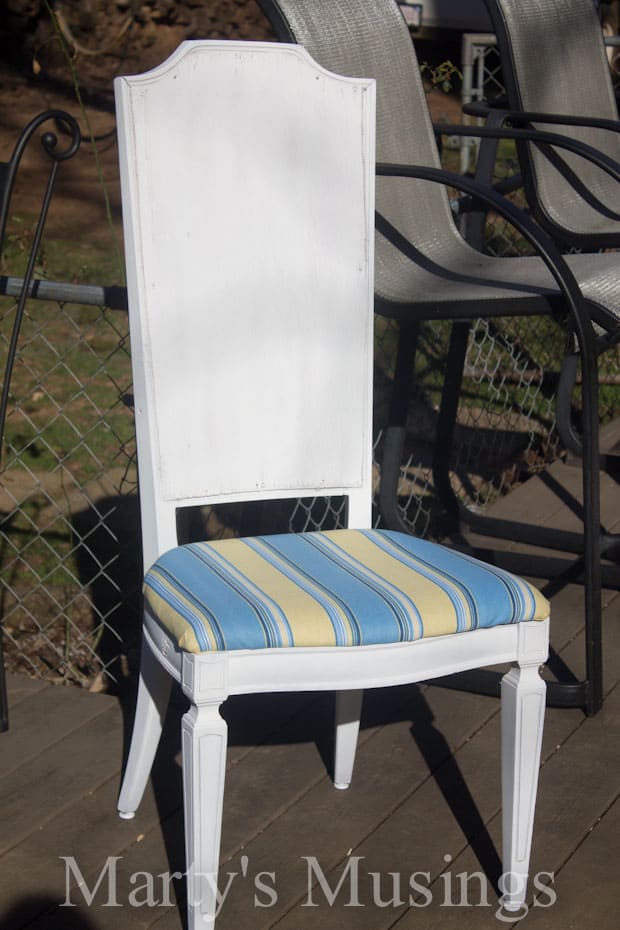
There is a small missing step between primer and this almost-finished product that was simply a top coat of flat white spray paint (latex). I much prefer using aerosols for pieces without a ton of variable surfaces. It is simply faster, plus it makes it far easier to distress with sandpaper at the end.
I thought this fabric was really nice against the chair color, plus it was perfect for the colors in the kitchen.
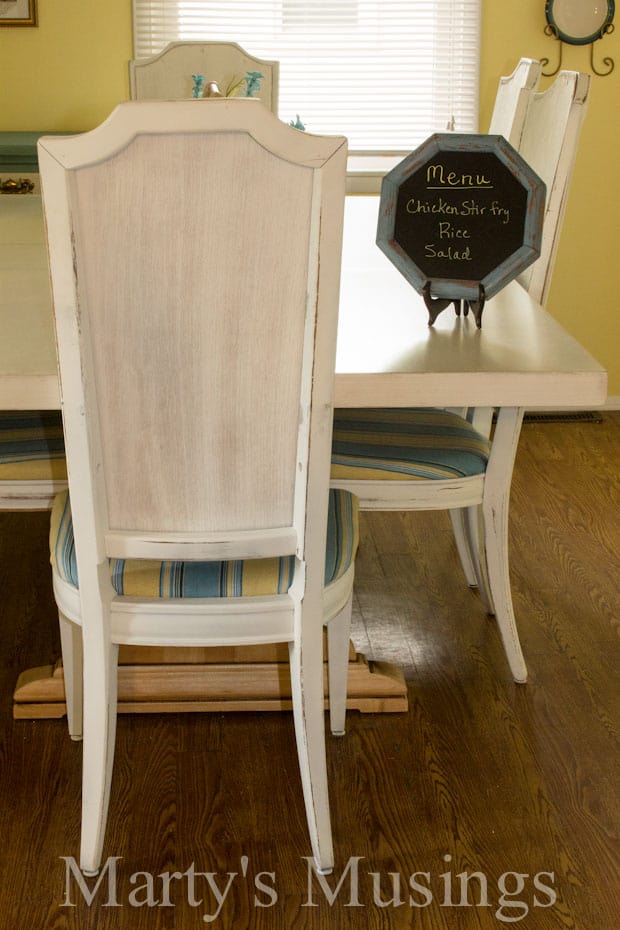
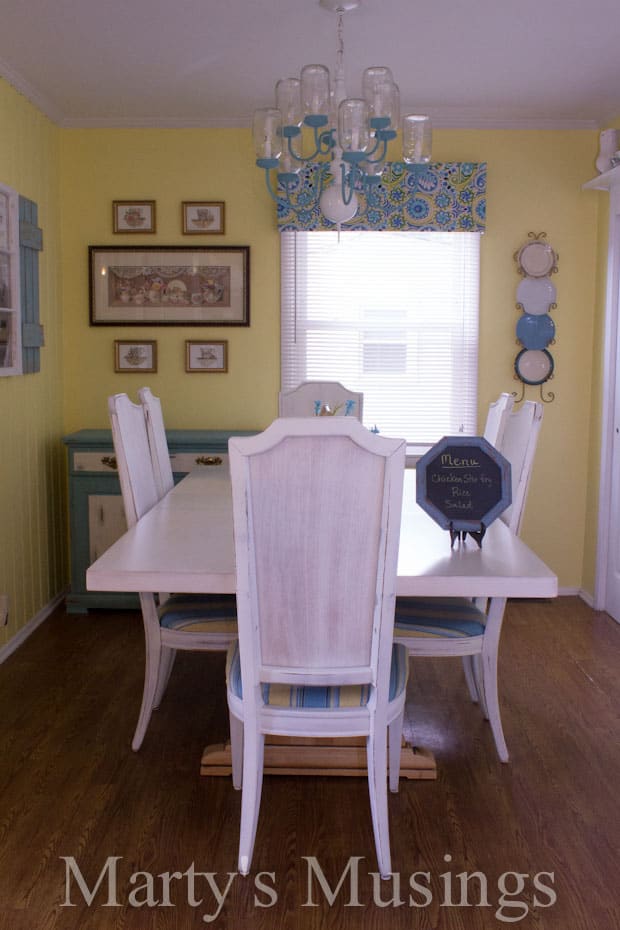
And here they are back in their place! You can see the distressed edges and corners and the bit of bleed-through on the plywood backs.
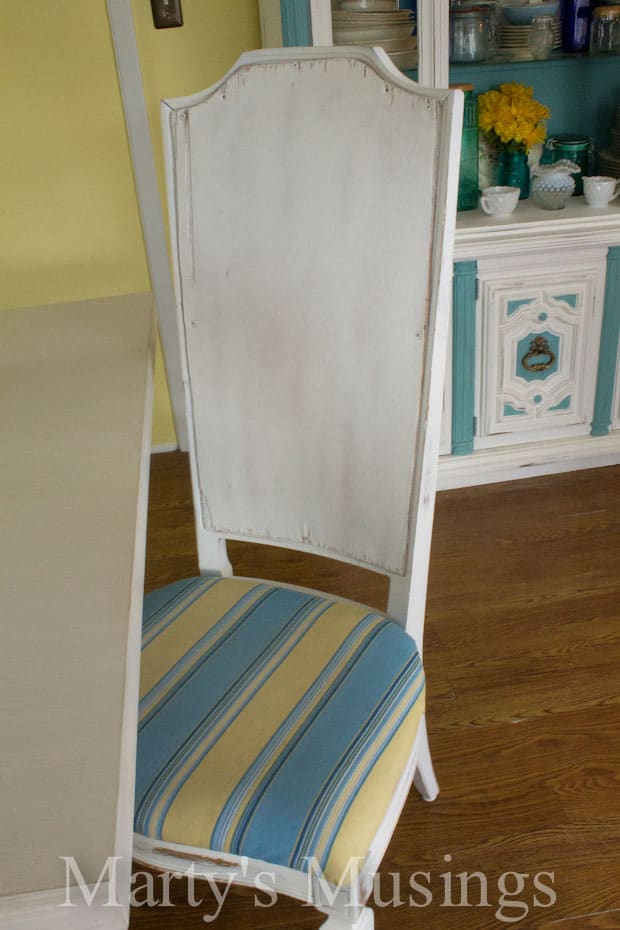
One more close-up. Remember, it is important that your distressing makes sense in the context of normal wear over many years. Otherwise it just looks like you dragged the piece up and down the driveway a few times.
Where hands touch the chair over the years is where the logical distressing should be. The same with where it might bump the table consistently, show leg abuse, and the unavoidable distress from children! You can always get that spray can out if you’ve gone too far with the sandpaper.
Hope this was of help to you all!
Tim
Total cost: $40: $20 for spray paint and $20 for for fabric



Hi, Upholstered chairs are the way to go if you want formal, but if you want a slightly laid-back look then go for a natural ash or oak chair. Solid wood chairs will last and last and are perfect for contemporary and traditional homes. Great work!
What a fabulous idea Marty !
Now I won’t be so intimidated when I see cane chairs with damage on Craigs List – they turned out gorgeous!
XXX
Hi, Suzan. I know cane chairs always scared me, too. My husband is such a wiz at fixing things! These chairs had really been through it but they turned out great!
love, Love, LOVE the final product – and how well you and your husband obviously work together 🙂
Thanks for sharing this on Coffee & Conversation! Please do come back again next week!!
These really look great! Love the color combination! Thanks for linking up with us at the #HomeMattersParty! Hope you’ll join us again!
Great chair makeover, I need a makeover for my broken chairs. Thanks for sharing with Small Victories Sunday linkup. Pinned to our linkup board and hope you linkup 3 more posts with us this weekend.
How pretty! I love the distressed look. The seat covers look great, too. Your room is so fresh and bright. Thanks for sharing on Snickerdoodle Sunday!
So glad I saw this on Roadkill Rescue. I have a whole bunch of Cane Backed chairs in poor condition and I have been pondering over how to fix them. I love the Plywood idea and I think the finished look is perfect. Great work!
A beautiful kitchen transformation Marty. I love the fabric you chose which really gives a fresh pop of colour and how good is it to have a ‘handy’ husband. Thank you for sharing this at Shabbilicious Friday.
Hey, Kerryanne! Thanks for taking the time to comment on our dining chairs. Your blog is lovely and I hope to be able to link up each week. Have a great weekend!
It all looks amazing and what a world of change of those chair…LOVE them!
You have a beautiful home!
~Kim
They turned out super! I love them.
Hi, Katy. I’m so glad you liked our shabby chic chairs! I’m glad that style is “in” because I have a lot shabby going on at our house!
These are lovely! The color is great and I love how it goes with your room! Visiting from Think Pink Sunday.
I am totally amazed at the chairs, they look fantastic. How fun is this. Thanks tons for joining Inspire Me. Hugs, Marty
The chairs look great! It’s nice you have a handy husband who helps out on projects. Keep creating and I’m going to give you a facebook ‘like’. Cheers! Cindy
I love the fabric, the colors are perfect with your redo. What originally got my attention was the chandelier redo. Could you tell me what the color is and who it is by? Thank you!
I’m glad you liked our projects! The paint is Annie Sloan Chalk Paint in Provence color, and we love it! Have a great weekend!
Thanks……