Theater Wall Made of Vinyl Albums
This post may contain affiliate links which won't change your price but will share some commission. Read more here.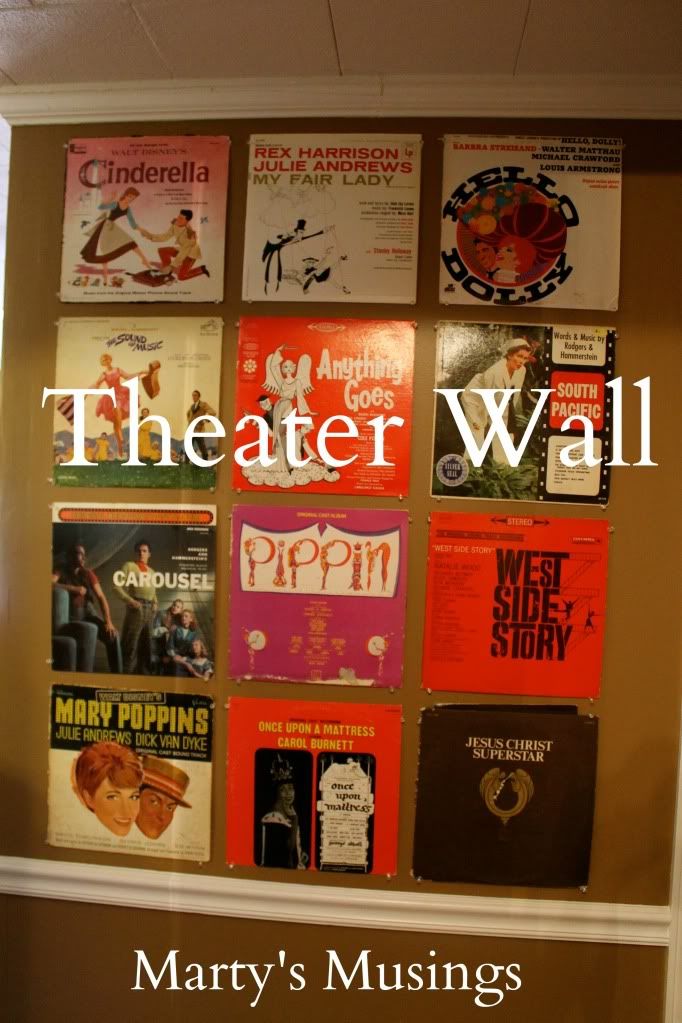
When I came home from one of my four weekends away earlier this year (read about them here, here and here) my husband had a surprise waiting for me. We have carried around show albums (remember vinyl?) with us for our entire 25 years of marriage. (They’ve been stored under beds, in the workshop and for a short while in the attic.) Some of these albums are special since they were shows one of us had been in. Others were just favorites. Tim and I met doing dinner theater so the albums had a special meaning for us.
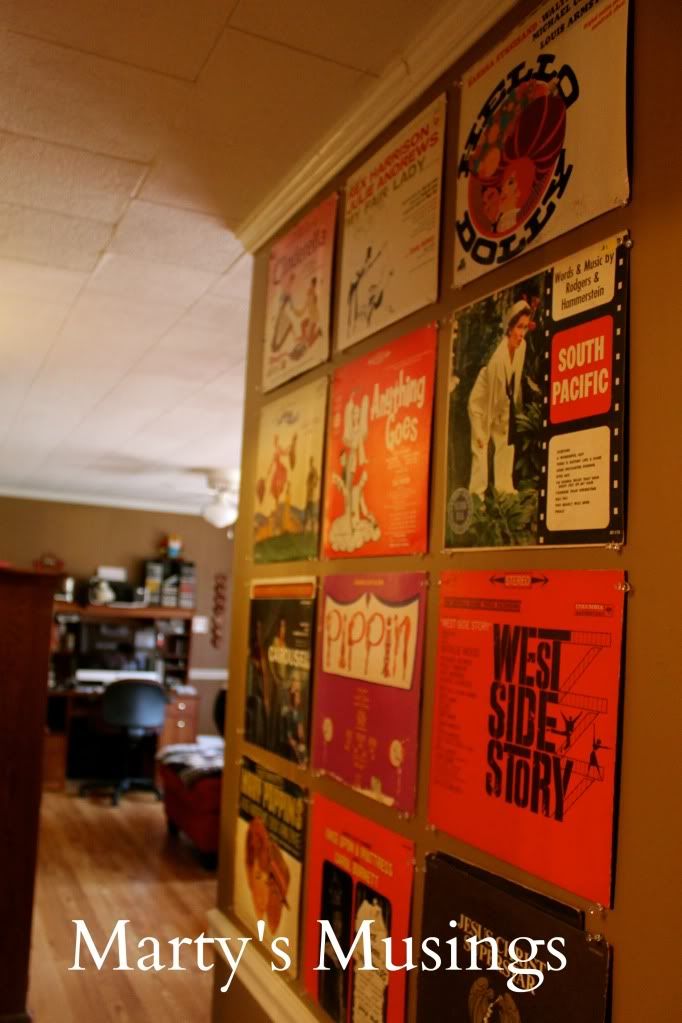
I came home to this collection.
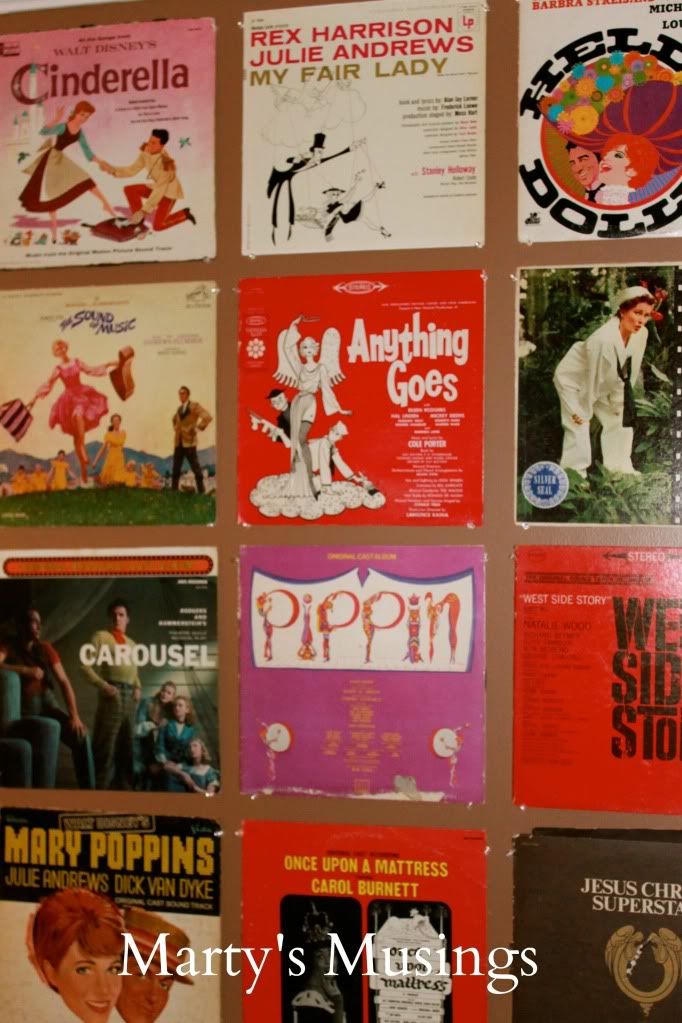
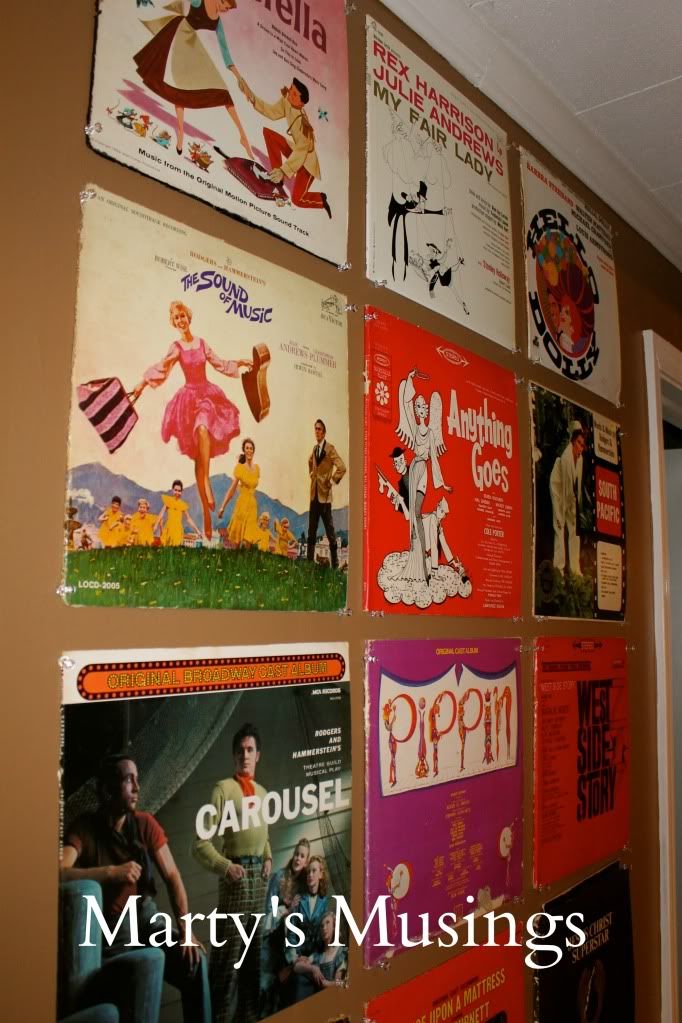
We have a short back hallway going to S’s room. Recently repainted with new flooring, Tim tacked up the album covers (with albums still inside). Totally surprised me with this.
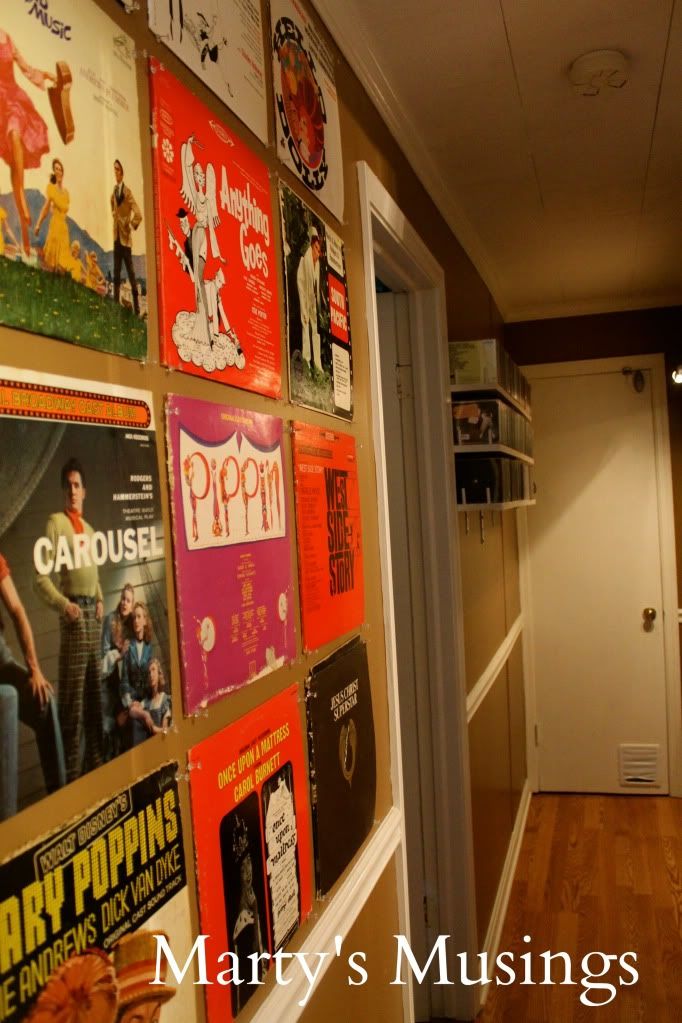
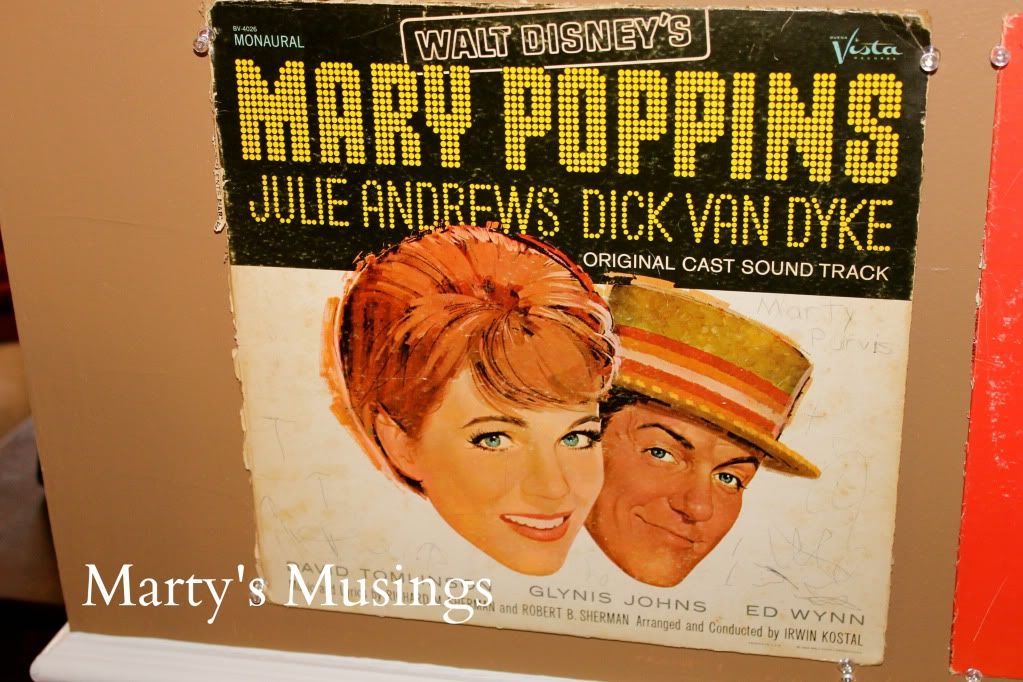
I love Mary Poppins! If you look closely I wrote my name on it. Cinderella was my favorite, though.
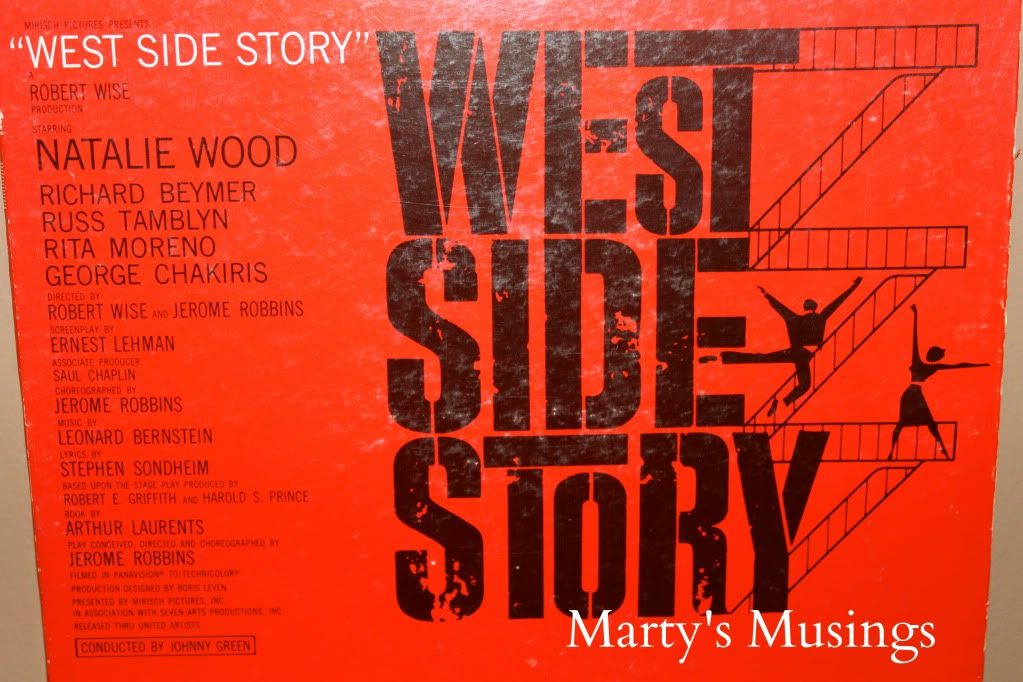
I played Maria in West Side Story in college. Ah, sweet memories!

As an extra bonus Tim built these shelves for holding CD’s. Very, very basic here…just painted 1″ x 6″ pine boards supported with L-brackets, but it got them all out of the way, especially since the entire collection has been digitized and now lives in iTunes. My hubby REALLY has trouble getting rid of music in any form, as you will soon see in his Studio.

Stay tuned because there is more to come right inside the room to the left of the CDs.


I know this post is quite old now, but you would be able to give a bit more info on the CD shelving? This is exactly what I’m looking to do in my “music room” for my CDs. I’m not exactly handy, so any additional info you could provide on those would be fantastic!
Hi, Monica! My husband has quite a long response for you so hold on!
Tim: OK, let me see if I can give you some information without going back to that post! It does have some age on it, but I still appreciate the question!
Let’s start with materials. I used 1″ x 6″ pine boards from Lowe’s. They are actually 5-1/2″ deep, which is perfect for the CDs. They are perfectly flush with the edge of the shelf. Cut to your preferred length, prime and paint. Mine are 45″ long and that holds roughly 106 single CDs in plastic rigid cases, per shelf. However, at each end I installed 2 small wooden dowels to act as book ends and hold the whole row up (just drill partially into the shelf and push the dowels into the holes). If you were going between walls or into a little nook you could omit the dowels or just use regular weights/bookends. To support the shelves I used 3″ “L”-brackets screwed into the wall and into the shelf. If you are going into sheet rock be SURE to locate the studs and place brackets there for maximum support. If not, use large anchors behind the part that is on the wall. The number of brackets will be determined by the length of your shelves. Screws are included with the brackets. Anchors are not.
So, here’s your shopping list:
1″ x 6″ pine shelving, paint grade (NOT stain grade…more expensive!), as many 8′ pieces as you need
3″ “L”-brackets, no less than 2 per shelf
primer, don’t be afraid to use aerosol if you have somewhere to spray them (it’s quicker), all sides
paint, probably just a quart will do (if staining, omit priming)
wall anchors, if necessary
dowels, if preferred
Tools! You will need a saw of some sort to cut the shelves to length, OR know your length and have the hardware store cut them there for free! Drill or screwdriver, drill bit to match the dowel size (if necessary), level or chalk line, measuring tape, painting stuff.
The process is rather simple. After determining desired location, measure for bracket placement and mark a line where each shelf will be installed. If you need to find studs, tap a small finish nail along the line until you hit a stud…the holes will be covered by the shelf. Or you could use a magnetic stud finder, but that’s no fun! Once you locate where the brackets will go, install them with the provided screws. Place the primed/painted/stained shelves on the brackets and screw into the bottom of each shelf. THIS NEXT PART IS IMPORTANT! Start with the TOP shelf so you are not attempting to install screws in a very tight space between shelves! Note that the only brackets you will see will be those for the BOTTOM shelf…all the upper ones will be hidden by the CDs.
I think that’s it! Please let me know if I can help along the way or even email a pic or two to assist! Good Luck, and Merry Christmas!
Just saw this pin on Pinterest and had to come over and leave you a comment. My husband and I met in the theatre, and boy do I have a soft spot in my heart for all those shows on your wall! I love what you’ve done – art + sentiment! I immediately emailed my mom to ask what showtunes she had in her vinyl collection..maybe I can take them off her hands for her 🙂
Love it!
Hi, Megan! What a great story about you and your husband. I look on my theater days with fond memories, especially since it’s how I met my husband! I love the show albums and I hope you find a place for yours, too!
What a great way to display these covers. I remember many of these and am sure that my mom still has them. I’ll bet any visitor to your home will stop to look at this interesting display.
I’m visiting from Rhoda’s Thrifty Treasures party.
Stopping by to let you know I featured your wall today! Love it!
Kim@madeinaday
htp://madeinaday.com
Great idea!! Your album covers are so pretty they should be on display. Thanks for sharing with us at Link It Up Thursday.
Love it. Thanks for sharing this with us at The Sunday Round Up.
Rose
@ http://www.arosiesweethome.com/
Love this tip, and the way it looks like!
Hopping by and following your FB and Pinterest.
The Quiet Mom @ http://olahmomma.com. You can visit directly to my latest post: http://olahmomma.com/blog/happy-anniversary
That is so neat! You have quite the collection. Thanks for sharing at Sunday Round Up.
xoxo
Heather
New follower:)
Wow those records made a beautiful display! Thanks for sharing at Beautify It Monday!
How Awesome!
So fun to have the collection of albums up on the wall. And … great shelves for the dvds. (I have a hard time getting rid of any music, as well.)
🙂 🙂 🙂
What a great idea! (& a guy thought of it!) Very colorful and a great conversation starter!
What a guy! Great taste! Would love a surprise like that!