Whitewashed Wood Tray for Christmas
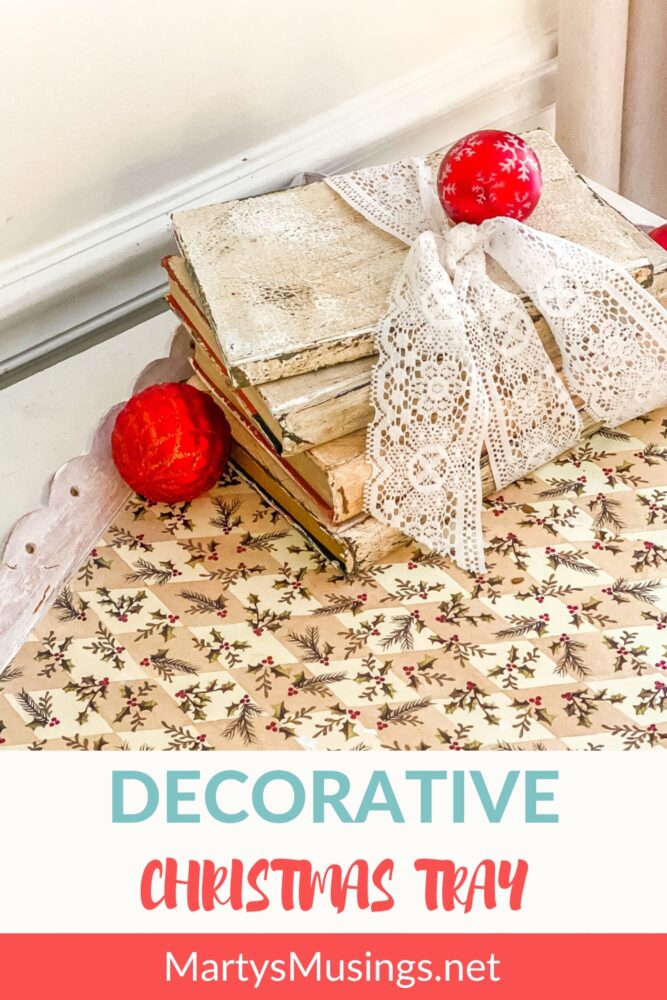
This post may contain affiliate links which won't change your price but will share some commission. Read more here.Make this thrifted whitewashed wood tray and add seasonal scrapbook paper for a rustic accent. Perfect for Christmas or any time of the year!
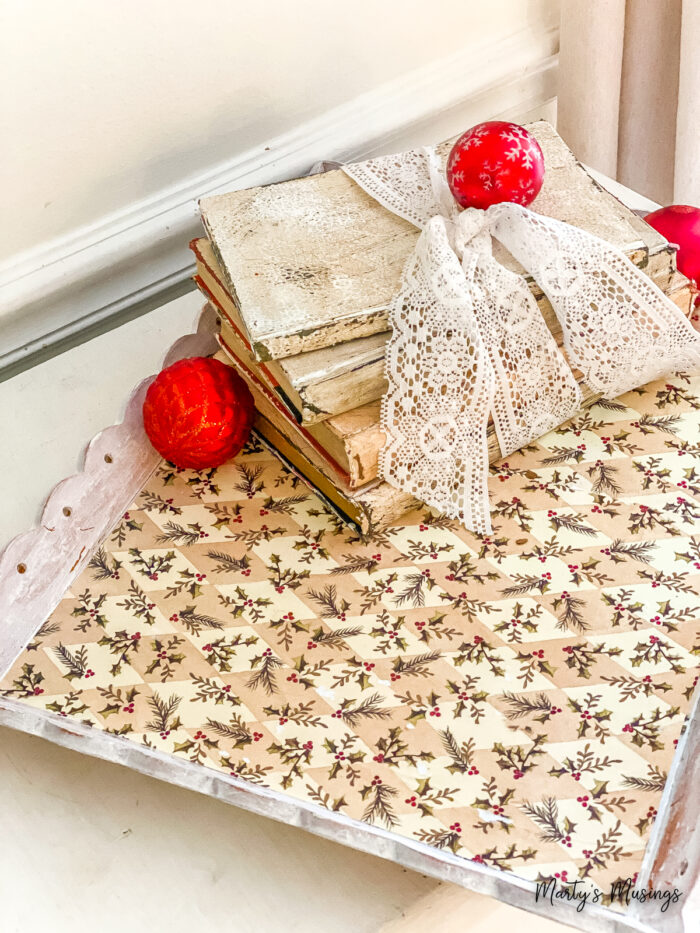
Any type of tray will work for this project, even metal. Shop thrift stores, yard sales and after Christmas sales. I keep a few on hand in case inspiration strikes!
Whitewashing is a technique where equal parts of water and paint are mixed together to create a thinner application. When applying this mixture onto the wood, the grain can be seen through the paint.
This can be done to floors or decorative elements like a simple wood tray. The technique is so simple that you’ll want to find new ways to use it throughout your home!
Because I adore scrapbook paper I thought a Christmas tray would be a beautiful addition to this fun project.
Materials:
Wood serving tray with handles
All purpose cleaner
Chalk paint
Paint brush
Mod podge
Exacto knife
Scrapbook paper
Instructions:
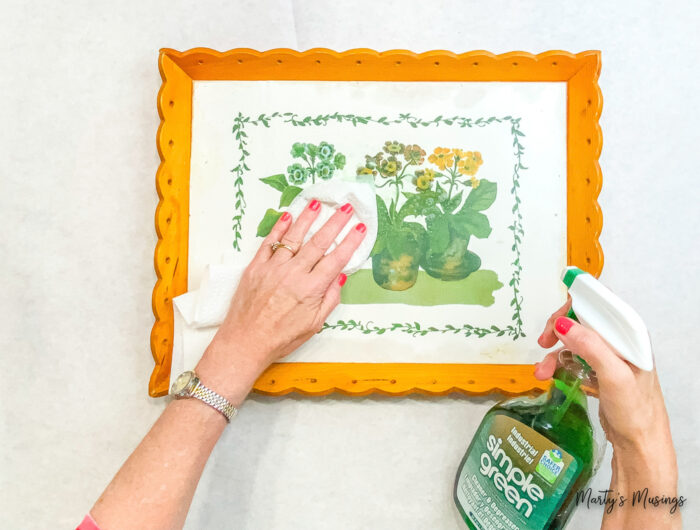
Step 1. Clean wood tray and allow to dry.
This step is especially important if you’re using a thrifted tray. The base of the tray can be any color or design because you’re going to add the scrapbook paper to this area.
The standard serving tray is 19 inches wide by 13 inches long. Just make sure you have room on the table or surface where you’ll set it.
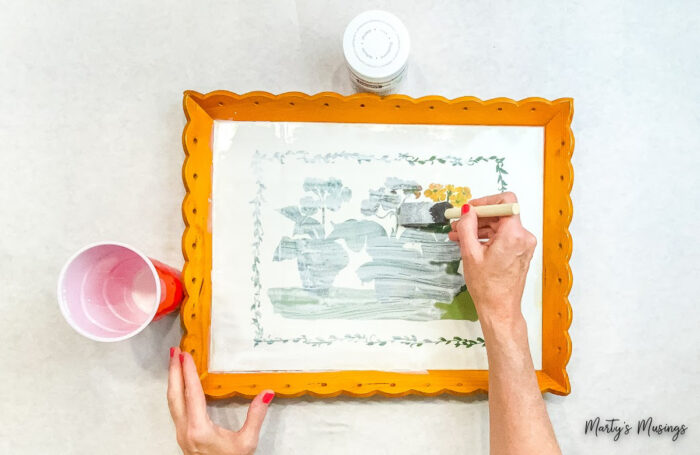
Step 2. Dilute chalk paint with an equal amount of water in a disposable cup.
Make sure you make enough of this mixture for the entire project. However, if you did run out it would be fine because whitewashing is more of an artistic application.
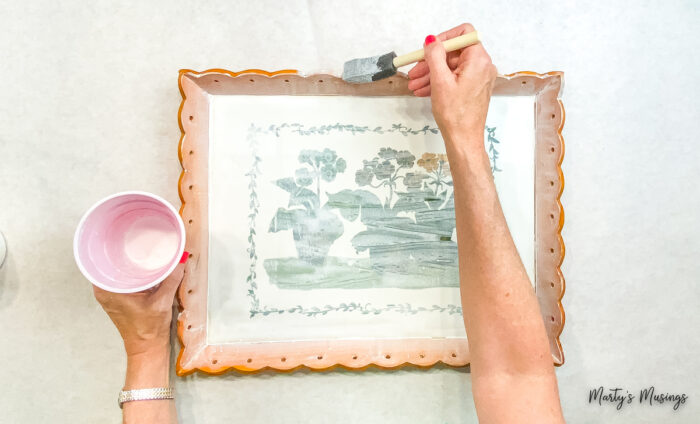
Step 3. Apply diluted chalk paint to base and sides of tray.
Use as many coats as needed and let dry.
Step 4. Cut scrapbook paper to fit with a craft knife.
Thin paper works better than heavier cardstock for this specific project. If you choose a paper that is non traditional or non seasonal you can use this tray year round.
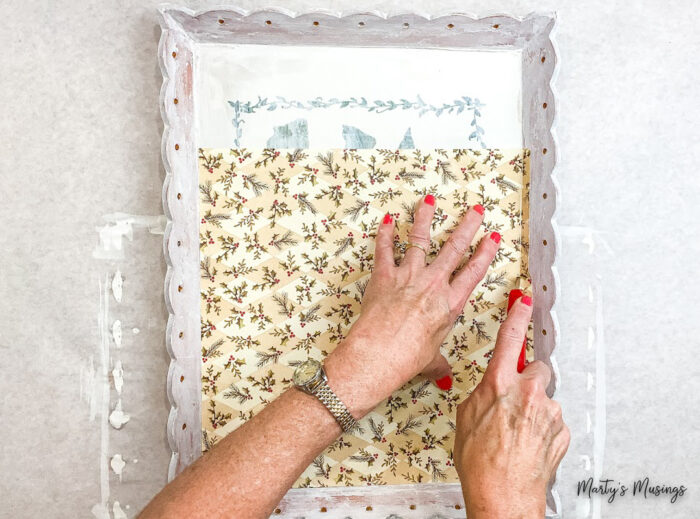
Step 5. Add a coat of ModPodge to tray, place paper on top and apply a second layer of ModPodge.
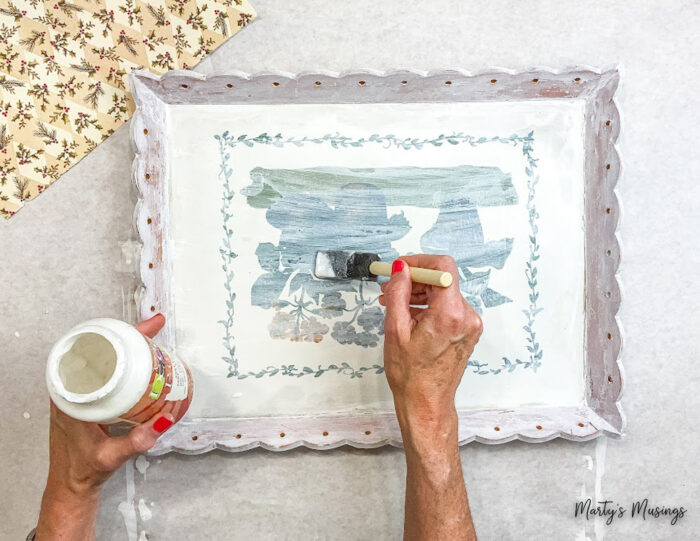
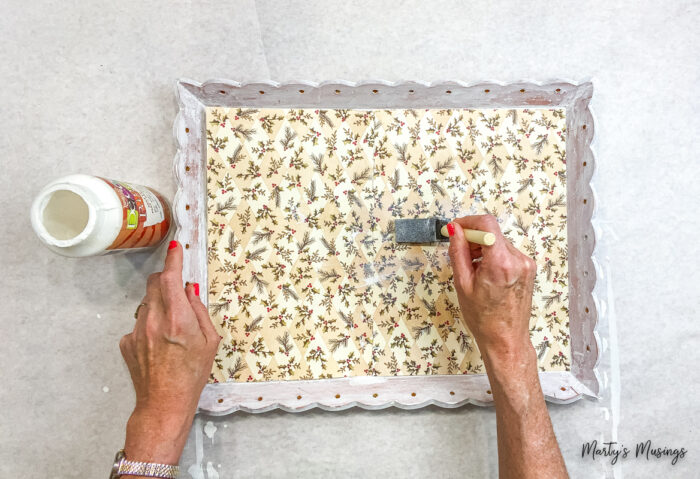
Step 6. Use hands to smooth paper in place if necessary.
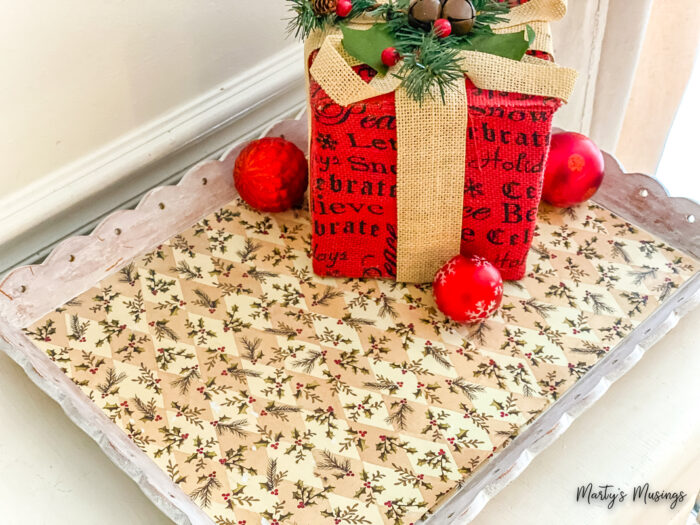
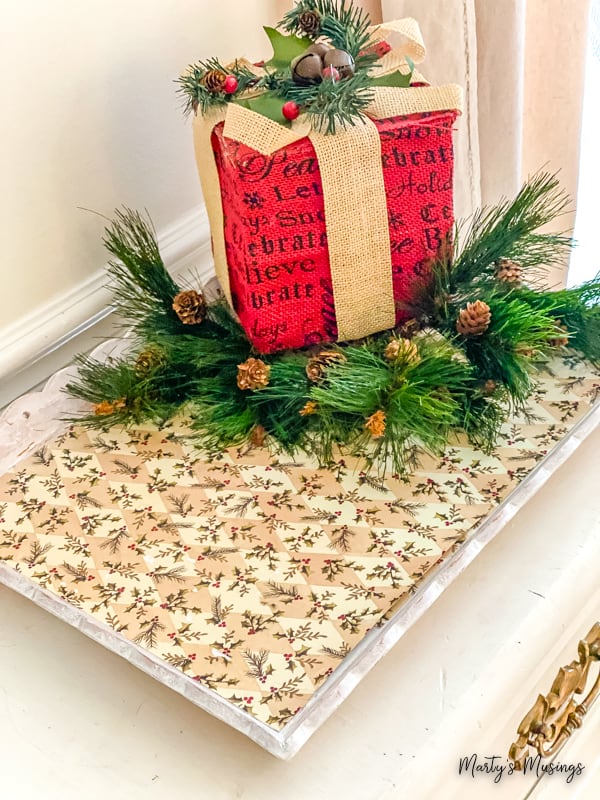
Step 7. Decorate with seasonal elements and enjoy!
This tray is perfect as part of a Christmas or holiday vignette, a centerpiece or even as a serving tray with a piece of wax paper between the tray and food.
More Easy Crafts
Try these fun and easy crafts anyone can do! A little spray paint, a few inexpensive supplies and creativity turns boring into fun!
Whitewashed Wood Tray for Christmas
Ingredients
- 1 Wooden tray
- 1 All purpose cleaner
- 1 White chalk paint
- 1 Paint brush
- 1 Mod podge
- 1 Utility knife
- 1 Scrapbook paper
Instructions
- Clean wood tray and allow to dry.
- Dilute chalk paint with an equal amount of water in a disposable cup.
- Apply diluted chalk paint to base and sides of tray.
- Cut scrapbook paper to fit with a craft knife.
- Add a coat of ModPodge to tray, place paper on top and apply a second layer of ModPodge.
- Use hands to smooth paper in place if necessary.
- Decorate with seasonal elements and enjoy!
